background image

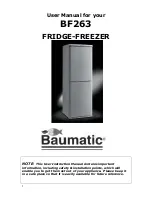
BF263 


FRIDGE-FREEZER  

Summary of Contents for BF263

Page 1: ...BF263 FRIDGE FREEZER...

Page 2: ...NOTE This User Instruction Manual contains important information including safety installation points which will enable you to get the most out of your appliance Please keep it in a safe place so that...

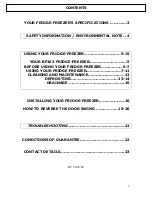
Page 3: ...5 YOUR BF263 FRIDGE FREEZER 5 BEFORE USING YOUR FRIDGE FREEZER 6 7 USING YOUR FRIDGE FREEZER 7 11 CLEANING AND MAINTENANCE 12 DEFROSTING 13 14 DRAINAGE 15 INSTALLING YOUR FRIDGE FREEZER 16 HOW TO REVE...

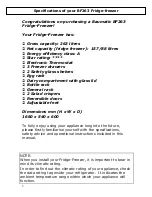
Page 4: ...le feet Dimensions mm H x W x D 1660 x 540 x 600 To fully enjoy using your appliance long into the future please firstly familiarise yourself with the specifications safety advice and operational inst...

Page 5: ...to come into contact with the elements Do not pull out or insert the plug with wet hands Before any cleaning or maintenance work ensure that the appliance has been disconnected from the power supply...

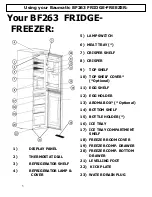
Page 6: ...HELF 8 CRISPER 9 TOP SHELF 10 TOP SHELF COVER Optional 11 EGG SHELF 12 EGG HOLDER 13 AROMA BOX Optional 14 BOTTOM SHELF 15 BOTTLE HOLDER 16 ICE TRAY 17 ICE TRAY COMPARTMENT SHELF 18 FREEZER ROOM COVER...

Page 7: ...n settle SITUATING YOUR FRIDGE FREEZER CAUTION DO NOT PLACE THE APPLIANCE NEAR HEAT SOURCES AND LEAVE AT LEAST 5CM OF SPACE ABOVE THE UPPER SECTION FOR FULL INSTALLATION ADVICE PLEASE SEE PAGE 16 MAKE...

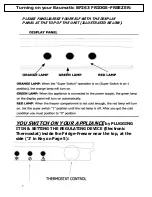
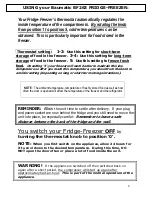
Page 8: ...T THE TOP OF THE UNIT ILLUSTRATED BELOW YOU SWITCH ON YOUR APPLIANCE by PLUGGING IT IN SETTING THE REGULATING DEVICE Electronic Thermostat inside the Fridge Freezer near the top at the side 2 in Key o...

Page 9: ...hly stored food as well as how often the door is opened will affect the temperature of the freezer and the refrigerator REMINDER Allow the unit time to settle after delivery If your plug and power soc...

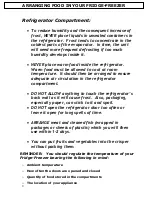
Page 10: ...ent DO NOT ALLOW anything to touch the refrigerator s back wall as it will cause frost Also packaging especially paper can stick to it and spoil DO NOT open the refrigerator door too often or leave it...

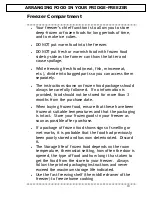
Page 11: ...hase date When buying frozen food ensure that these have been frozen at suitable temperatures and that the packaging is intact Store your frozen goods in your freezer as soon as possible after purchas...

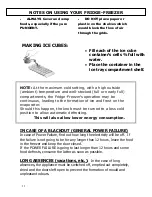
Page 12: ...d this happen the knob must be turned to a less cold position to allow automatic defrosting This will also allow lower energy consumption IN CASE OF A BLACKOUT GENERAL POWER FAILURE In case of Power F...

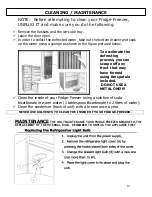
Page 13: ...r Fridge Freezer using a solution of soda bicarbonate in warm water 1 tablespoon Bicarbonate to 2 litres of water 9 Clean the condenser back of unit with a broom once a year NEVER USE SOLVENTS TO CLEA...

Page 14: ...sted water collected by the evaporating tray evaporates automatically NOTE The evaporating tray and water drain hole back of the refrigerator crisper shelf should be cleaned periodically to prevent wa...

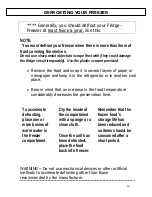
Page 15: ...nother cool place Bear in mind that an increase in the food temperature considerably decreases the preservation time To accelerate defrosting place one or more basins of warm water in the freezer comp...

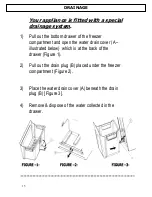
Page 16: ...partment and open the water drain cover A illustrated below which is at the back of the drawer Figure 1 2 Pull out the drain plug B placed under the freezer compartment Figure 2 3 Place the water drai...

Page 17: ...at the back of the refrigerator This will maintain good performance 5 If placing beside another refrigerator or freezer keep at least 2cm between the units to prevent condensation 6 Gently move the ap...

Page 18: ...ds to the climate classification for which the appliance is designed The climate classification can be found on the data rating tag which is located at the left on the inside of the appliance Cooling...

Page 19: ...to following 2 figures 1 Disassemble the lower hinge rod P and the distance spacer D 2 Remove the lower door 3 Slide off the hinge cover H disassemble the middle hinge C then release the upper door 4...

Page 20: ...e The hinge cover H must be remounted at the end of the installation 8 Reassemble the middle support L on the right side 9 Remount the lower door 10 Insert rod P interposing the distance spacer D 11 D...

Page 21: ...BE DISPOSED OF THE THERMOSTAT SETTING IS SET TO 1 SET IT HIGHER ENSURE THAT THE DOOR HAS BEEN CLOSED PROPERLY FOR INSTANCE THERE MAY BE A PROBLEM INSIDE THE UNIT KEEPING THE DOOR OPEN OR ANOTHER FAUL...

Page 22: ...ll not be offered The guarantee for any replacement will only be for the remainder of the guarantee on the original product purchased This guarantee does not cover x Sinks and taps X Failure to comply...

Page 23: ...United Kingdom Sales Telephone 44 118 933 6900 Sales Fax 44 118 931 0035 Service Telephone 44 118 933 6911 Service Fax 44 118 986 9124 Spares Telephone 44 118 933 6922 Technical Advice Telephone 44 11...

Page 24: ...23 NOTE YOUR APPLIANCE DETAILS HERE DATE _______ DEALER ADDRESS SERIAL NUMBER...

Page 25: ...24...

Reviews: