background image

o


The evaporating tray and defrost water drain hole should be 
cleaned periodically with the defrost drain plug. This will prevent 
water from collecting in the bottom of the refrigerator, instead of 
flowing down the defrost drainage channel and drain hole. 


o


You can also pour a small amount of water down the drain hole 
to clean inside of it. 


o


You should be careful to make sure that food packages do not 
touch the rear wall of the appliance, as this can interrupt the 
automatic defrosting process and deflect water into the base of 
your refrigerator. 


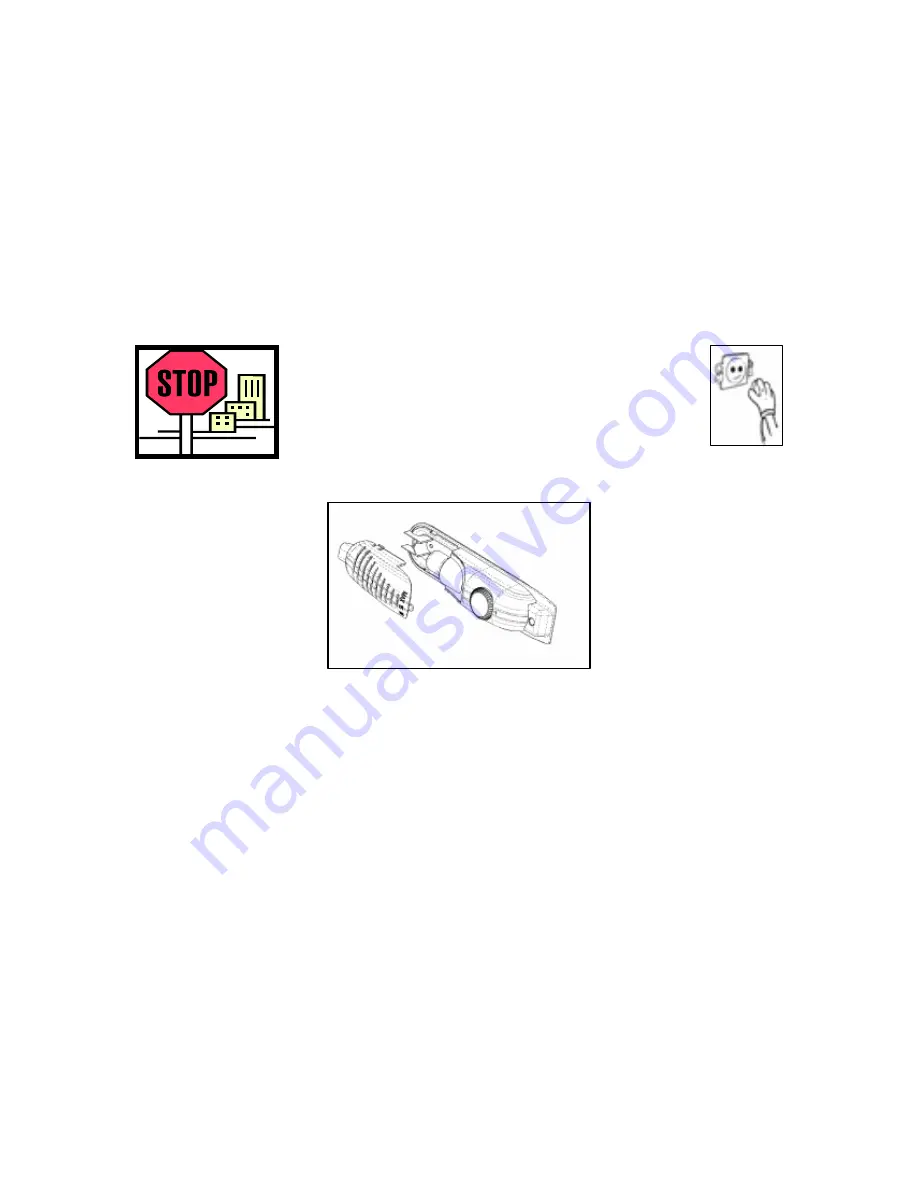
Replacing the light bulb 


14

WARNING: PLEASE ENSURE THAT YOUR 
APPLIANCE IS DISCONNECTED FROM 
YOUR MAINS SUPPLY BEFORE 
ATTEMPTING TO REPLACE THE LIGHT 
BULB. 


o


Press the hooks on the sides of the light cover and slide the 
cover off. 


o


Change the present light bulb with a new one. The replacement 
bulb should not have a greater rating than 15 W. 


o


Replace the light cover and after waiting five minutes, reconnect 
your plug to your mains supply. 


Summary of Contents for BR16.3A

Page 1: ...BR16 3A Larder fridge...

Page 2: ...ins important information including safety installation points which will enable you to get the most out of your appliance Please keep it in a safe place so that it is easily available for future refe...

Page 3: ...ting the thermostat 11 Arranging and storing food in your refrigerator 12 Cleaning and maintenance 13 Defrosting the refrigerator compartment 13 14 Replacing the light bulb 14 Installation 15 Electric...

Page 4: ...disconnect it from the power supply Cut off and render any plug useless Cut the cable off directly behind the appliance to prevent misuse This should be undertaken by a competent person Disable the do...

Page 5: ...y be caused o Altering the specification of the appliance must not be attempted for reasons of safety Before using your appliance o Check the appliance for any signs of transport damage If you notice...

Page 6: ...back coils of the appliance to come into contact with the wall surface o Always ensure that the location where you are installing your appliance is free of stored items such as papers and other flamma...

Page 7: ...Energy class A Please refer to the installation instructions for more specific information on the size of aperture that you will require IMPORTANT When you install your appliance it is important to be...

Page 8: ...Description of the appliance 1 Refrigerator shelf 2 Crisper cover 3 Crisper 4 Adjustable feet 5 Thermostat control 7 Egg shelf 8 Bottle shelf 10 Butter shelf 11 Butter shelf cover 8...

Page 9: ...nt that this channel never becomes clogged see Defrosting the refrigerator compartment for a detailed explanation of how to keep the channel clear 3 Crisper drawers and cover o The crisper drawers are...

Page 10: ...liance should be cleaned with a solution of sodium bicarbonate dissolved in lukewarm water The interior and accessories should be thoroughly dried after the cleaning process has been completed o There...

Page 11: ...temperature inside the refrigerator o Position 5 will give you a lower temperature inside the refrigerator o Ideally the thermostat should be set to a position between 3 to 4 o Your larder fridge can...

Page 12: ...on shelves inside the main section of the refrigerator o Some organic solutions such as the oils in lemon orange peel and acid in butter can cause damage to the plastic parts contained inside of the r...

Page 13: ...the accessories separately with soap and water Do not clean them in a dishwasher o Do not use abrasive products detergents or soaps o After washing the appliance wipe over the area that you have clean...

Page 14: ...ges do not touch the rear wall of the appliance as this can interrupt the automatic defrosting process and deflect water into the base of your refrigerator Replacing the light bulb 14 WARNING PLEASE E...

Page 15: ...C E I C and who will comply with the I E E and local regulations o Your refrigerator comes supplied with a 13 amp plug fitted If in future you need to change the fuse in this plug then a 13 amp ASTA a...

Page 16: ...s centigrade N 16 to 32 degrees centigrade o Your appliance should not be located in direct sunlight or exposed to continuous heat or extremes of temperature e g next to a radiator or boiler o The doo...

Page 17: ...install your appliance o The appliance must be stood on a level floor You can use the leveling feet to take into account any minor unevenness in the floor Supplied installation components a Top fixin...

Page 18: ...the aperture This will allow the appliance to be easily plugged in once you have completed the rest of the installation 18 e aperture ce door will open from are installing it into o hould slide the a...

Page 19: ...of the appliance with the front edge of the kitchen unit Fix the front feet into position using the 4 x 17 fixing screws e 7 Screw the top fixing bar to the underneath of the kitchen unit using the 4...

Page 20: ...be placed in line with the door guide d o Fix the door slide c to the furniture door using the 4 x 17 fixing screws e The outer edge of the door slide should be placed on the second pencil mark that y...

Page 21: ...On the bottom side of the door unscrew the swing stopper screws and remove the stopp A Fix the attached stopper with its bearing on the opp Unscrew the forced door closure system B and fix it to the o...

Page 22: ...o tightly into it o The thermostat setting is too low you should turn the thermostat up higher o Ensure that the door is closing properly and that the door has not been opened for a prolonged period i...

Page 23: ...ssued at the time of purchase This guarantee is transferable only with the written consent of Baumatic Ltd If the appliance fails and is considered either not repairable or uneconomical to repair betw...

Page 24: ...ngdom Sales Telephone 44 118 933 6900 Sales Fax 44 118 931 0035 Service Telephone 44 118 933 6911 Service Fax 44 118 986 9124 Spares Telephone 44 118 933 6922 Technical Advice Telephone 44 118 933 693...

Page 25: ...25...

Page 26: ...26...

Page 27: ...27...

Page 28: ...28 28...

Reviews: