background image


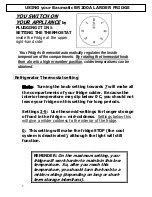
YOU SWITCH ON 

YOUR APPLIANCE


by 

PLUGGING IT IN 

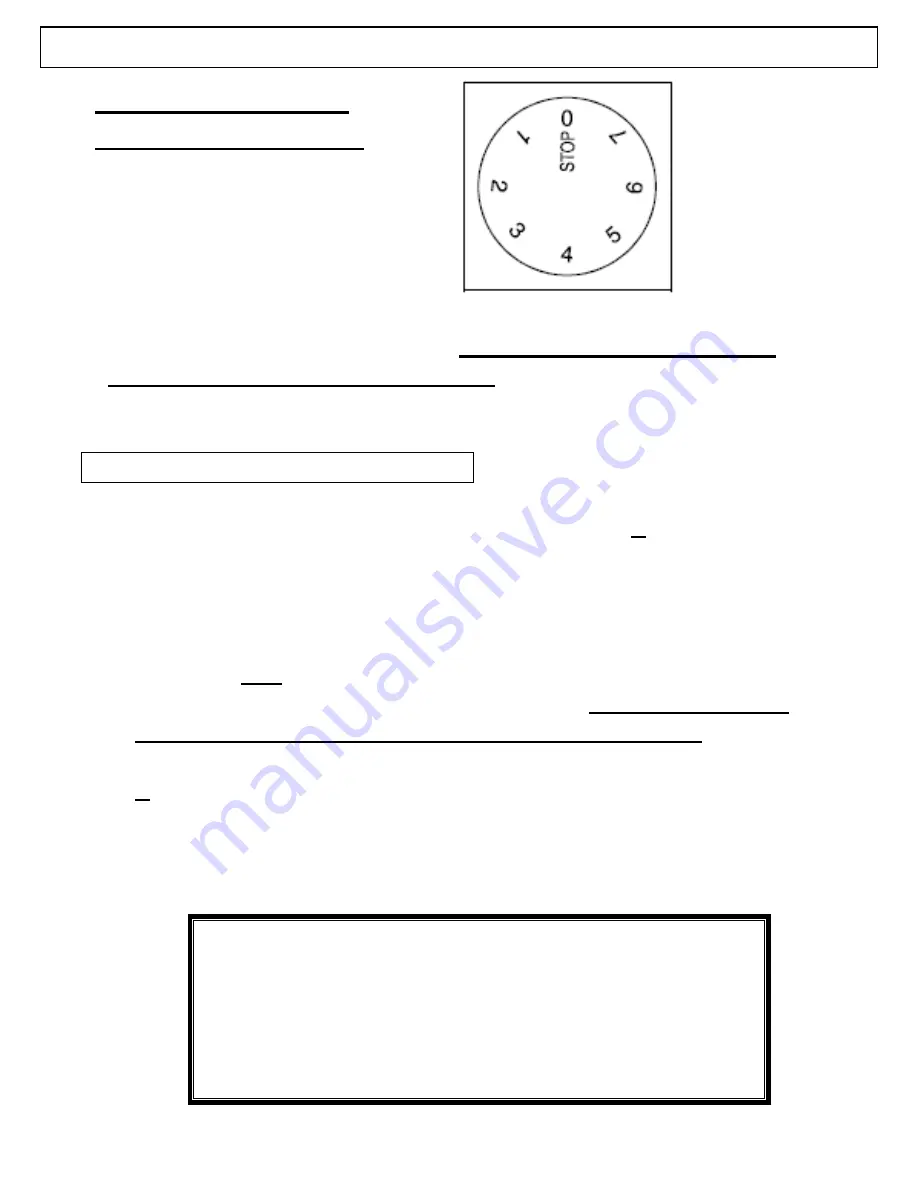
SETTING THE THERMOSTAT 

inside the Fridge at the upper 
right-hand side: 


Your Fridge’s thermostat automatically regulates the inside 

temperature of the compartments.  By rotating the thermostat knob 
from a low to a higher number position, colder temperatures can be 
obtained.   


Refrigerator Thermostat setting


Note

:  Turning the knob setting towards 7 will make all 

the compartments of your fridge colder.  Because the 
interior temperature may dip below 0

°

C, you should not 

leave your fridge on this setting for long periods.   
 

Settings 3-5:  Use these mid-settings for longer storage 

of food in the fridge = mid-coldness.  

Settings below this 

will give a milder coldness to the interior of the fridge.   


0:  This setting will make the fridge STOP (the cool 
system is deactivated), although the light will still 
function.   


REMINDER: 

On the maximum setting, your 

fridge will work harder to maintain this low 

temperature.  So, after you reach this 

temperature, you should turn the knob to a 

milder setting (depending on long or short-

term storage intentions). 

USING your Baumatic BR200A LARDER FRIDGE 

Summary of Contents for BR200A

Page 1: ...BR200A Built in Larder Fridge...

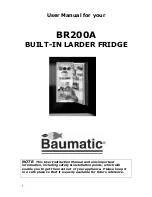
Page 2: ...DGE NOTE This User Instruction Manual contains important information including safety installation points which will enable you to get the most out of your appliance Please keep it in a safe place so...

Page 3: ...6 USING YOUR FRIDGE 7 8 ARRANGING FOOD IN YOUR REFRIGERATOR 9 NOTES ON USING YOUR FRIDGE 10 CLEANING AND MAINTENANCE 11 12 INSTALLING YOUR REFRIGERATOR 13 FITTING THE D COR DOOR 15 16 LEVELLING YOUR F...

Page 4: ...x W x D 1190 x 540 x 540 To fully enjoy using your appliance long into the future please firstly familiarise yourself with the specifications safety advice and operational instructions included in th...

Page 5: ...to come into contact with the elements Do not pull out or insert the plug with wet hands Before any cleaning or maintenance work ensure that the appliance has been disconnected from the power supply...

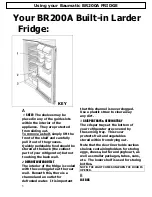
Page 6: ...oling plate at the rear wall Beneath this there is a channel and an outlet for defrosted water It is important that this channel is never clogged Use a plastic straw to clear away any dirt 3 CRISPER T...

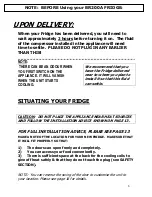
Page 7: ...uid can settle SITUATING YOUR FRIDGE CAUTION DO NOT PLACE THE APPLIANCE NEAR HEAT SOURCES AND FOLLOW THE INSTALLATION ADVICE SHOWN ON PAGE 13 FOR FULL INSTALLATION ADVICE PLEASE SEE PAGE 13 MAKE A NOT...

Page 8: ...e interior temperature may dip below 0 C you should not leave your fridge on this setting for long periods Settings 3 5 Use these mid settings for longer storage of food in the fridge mid coldness Set...

Page 9: ...our fridge OFF by turning the thermostat knob to position 0 NOTE When you first switch on the appliance allow 24 hours for it to cool down to the desired temperature During this time DO NOT open the d...

Page 10: ...W anything to touch the refrigerator s back wall as it will cause frost Also packaging especially paper can stick to it and spoil Crispy delicate foods should be stored in the coldest parts of the fri...

Page 11: ...following in mind o Ambient temperature o How often the doors are opened and closed o Quantity of food stored in the compartments o Moisture content of what you place in your fridge o The location of...

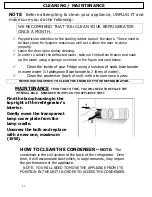
Page 12: ...blespoon Bicarbonate to 2 litres of water 9 Clean the condenser back of unit with a broom once a year NEVER USE SOLVENTS TO CLEAN THE INSIDE OF YOUR REFRIGERATOR Find the lamp housing in the top right...

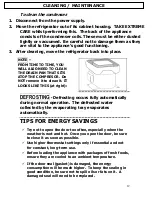
Page 13: ...t right DEFROSTING Defrosting occurs fully automatically during normal operation The defrosted water collected by the evaporating tray evaporates automatically TIPS FOR ENERGY SAVINGS 9 Try not to ope...

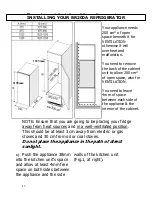
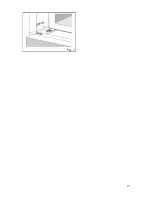
Page 14: ...sunlight 1 Push the appliance 38mm into the kitchen unit s space and allow at least 4mm free space on both sides between the appliance and the side walls of the kitchen unit Fig 1 at right Your appli...

Page 15: ...12...

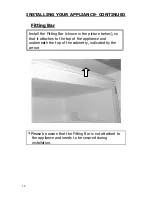
Page 16: ...are that the Fitting Bar is not attached to the appliance and needs to be secured during installation Install the Fitting Bar shown in the picture below so that it attaches to the top of the appliance...

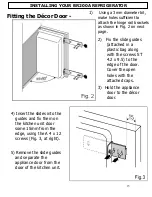
Page 17: ...or to the d cor door 4 Insert the slides into the guides and fix them on the kitchen unit door some 15mm from the edge using the A 4 x 12 screws Fig 3 at right 5 Remove the slide guides and separate t...

Page 18: ...othly Adjusting the feet to level your Appliance Adjust the feet see picture at right until your Fridge sits levelly on your floor You can level your unit using these adjustable feet to compensate for...

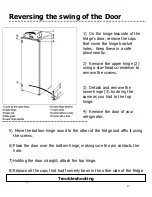
Page 19: ...y doing the same as you had to the top hinge 4 Remove the door of your refrigerator 5 Move the bottom hinge round to the other of the fridge and affix it using the screws 6 Place the door over the bot...

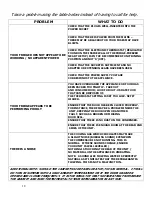
Page 20: ...THE DOOR HAS BEEN CLOSED PROPERLY FOR INSTANCE THERE MAY BE A PROBLEM INSIDE THE UNIT KEEPING THE DOOR OPEN OR ANOTHER FAULT SUCH AS A BROKEN OR MISSING DOOR SEAL ENSURE THAT THERE IS NO DUST ON THE...

Page 21: ...ll not be offered The guarantee for any replacement will only be for the remainder of the guarantee on the original product purchased This guarantee does not cover x Sinks and taps X Failure to comply...

Page 22: ...hire RG2 0QX United Kingdom Sales Telephone 44 118 933 6900 Sales Fax 44 118 931 0035 Service Telephone 44 118 933 6911 Service Fax 44 118 986 9124 Spares Telephone 44 118 933 6922 Technical Advice Te...

Page 23: ...21...

Page 24: ...22...

Reviews: