background image


INSTALLATION INSTRUCTIONS - Electrical


Before installation and usage, read all the instructions and make sure that the 

voltage (V) and the frequency (Hz) indicated on the identification plate (found 

inside your Cooker Hood) and all the data inside the appliance are exactly the 

same as the voltage and frequency in your home. 


NOTE:  The manufacturer declines all responsibility in the event of failure to observe all the 
accident-prevention regulations in force which are necessary for normal use and regular 
operation of the electric system. 


______________________________________________ 
ELECTRICAL CONNECTION   


Y

Y

o

o

u

u

r

r


c

c

o

o

o

o

k

k

e

e

r

r


h

h

o

o

o

o

d

d


i

i

s

s


i

i

n

n

t

t

e

e

n

n

d

d

e

e

d

d


f

f

o

o

r

r


fitted 


and 


permanent 


installation

fitted and permanent installation

.

.


o


The power cable must be 
connected to the terminals 
marked L (live) and N (neutral) 
in the hood and fixed with a 
cable clamp. 


o


The cooker hood’s power cable 
must be fitted upstream from the 
electrical connection using an 
omni-polar switch with a contact 
distance of at least 3mm. 


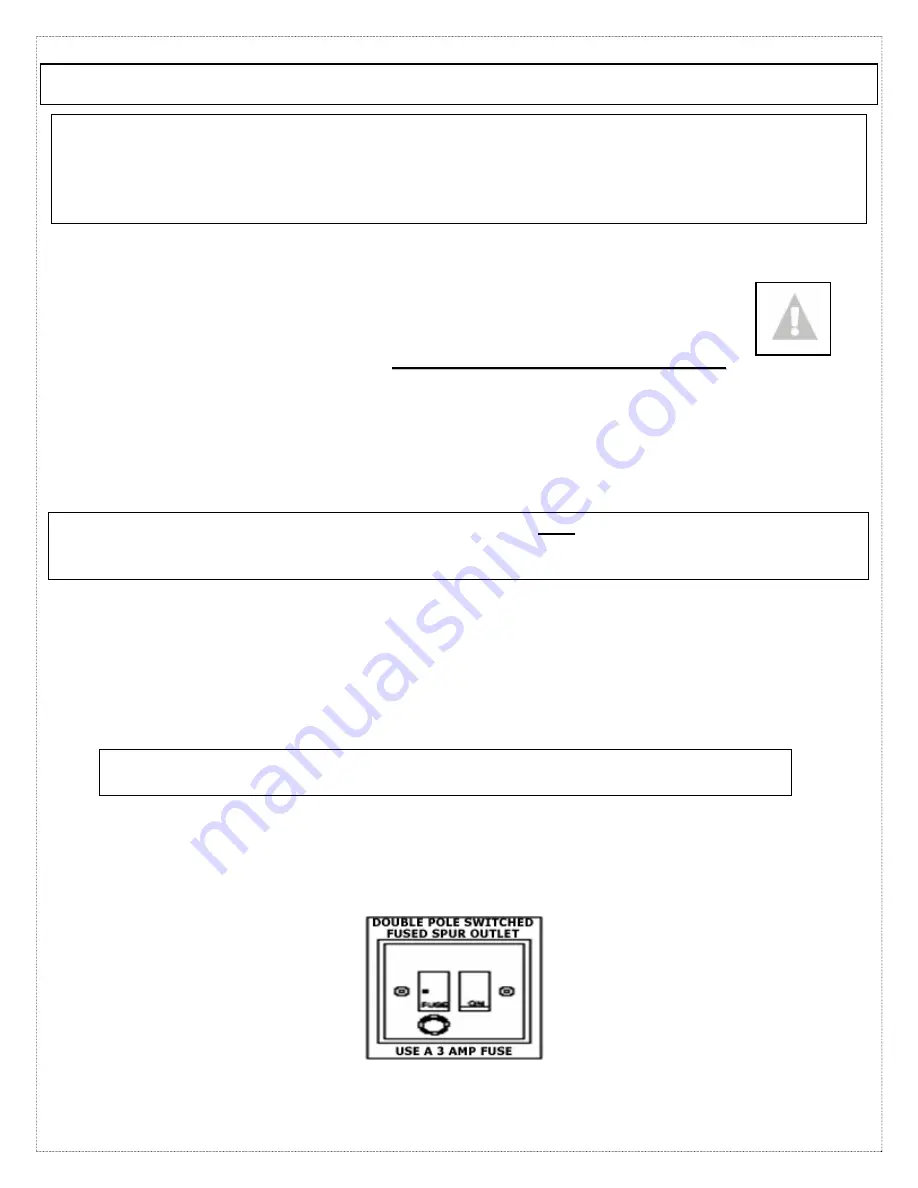
NOTE: (UK only)  WARNING – THIS APPLIANCE MUST NOT BE EARTHED.  It should only be 

connected by a competent person using fixed wiring via a DOUBLE POLE SWITCHED FUSED 
SPUR OUTLET. 


We recommend that the appliance is connected by a qualified electrician who is a member 

of the N.I.C.E.I.C. and who will comply with the I.E.E. and local regulations.  The wires in 
the mains lead are coloured in accordance with the following U.K. code: 


Blue= Neutral,   Brown = Live,  Green/Yellow = Ground 


If you can only find two wires in the cable (blue and brown), neither must be 

connected to the Earth terminal! 


As the colours of the wires in the appliance’s mains lead may not 

correspond with the coloured markings identifying the terminals in 

your spur box, please proceed as follows: 

__________________________________________________________ 


1) The BLUE WIRE 

must be connected to 

the terminal marked 
‘N’ (Neutral), or 

coloured Black. 


2) The BROWN 

WIRE must be 

connected to the 
terminal marked ‘L’ 

(‘Live’), or coloured 
RED  


12

Summary of Contents for BT82.1GL

Page 1: ...BT82 1GL Cooker Hood ...

Page 2: ...n Stainless Steel NOTE This User Instruction Manual contains important information including safety installation points which will enable you to get the most out of your appliance Please keep it in a safe place so that it is easily available for future reference DD 20 06 07 ...

Page 3: ...NTAINING AND CLEANING YOUR COOKER HOOD 8 10 INSTALLATION INSTRUCTIONS 11 16 CARBON FILTER 11 ELECTRICAL CONNECTION 12 INSTALLING THE COOKER HOOD 13 INSTALLING THE PIPE 14 INSTALLATION NOTES EXTRACTION PURIFYING VERSION 15 ATTACHING THE GLASS 16 TROUBLESHOOTING 17 CONDITIONS OF GUARANTEE 18 CONTACT DETAILS 19 2 CONTENTS ...

Page 4: ...n installed properly DIMENSIONS Width canopy 900 mm Depth canopy 500 mm Height adjustable 620 mm to 1090 mm Dimensions of Pipe Section 266mm X 266mm Your stainless steel Cooker Hood is fitted with High extraction tangential motor Pushbutton control operation 3 Speeds 2 Stainless Steel grease filters 2 Halogen lights Extraction capacity 500 m hr Optional Extras 1 x C1 carbon filter for air recircul...

Page 5: ...ghest point on the hob top including the burners and the bottom of the cooker hood 9 Electric cookers 700 mm 9 Gas cookers 700mm 9 Coal oil cookers 800 mm NOTE DO NOT SET YOUR COOKER HOOD LESS THAN 700mm ABOVE YOUR COOKER Important Safety Information Please Read this before installing using o When installed between adjoining wall cabinets the cabinets must not overhang the hob must hang 50mm or mo...

Page 6: ...n mode your cooker hood is removing air from your room Important Safety Information Please Read this before installing using o Ensure that proper ventilation measures are being observed Note that it removes odours from your room not steam o Warning Always ensure that the cooker hood has been disconnected from the power supply before carrying out any work on the hood including replacing light bulbs...

Page 7: ... off and disconnect it from the power supply Cut off and render any plug useless Cut the cable off directly behind the appliance to prevent misuse This should be undertaken by a competent person CONFORMITY TO W E E E DIRECTIVE 6 Environmental Note ...

Page 8: ...ctured below 3 The CONTROL PANEL s buttons all perform separate functions You will need to understand what these do before you attempt to use your cooker hood Note The hood should be switched on at least as soon as you start cooking Button from left on figure pictured above Mark Function 0 Turns motor ON OFF I Lowest Fan speed II Middle Fan speed III Highest Fan speed 0 l Turns light ON OFF 7 Usin...

Page 9: ...d cause a fire hazard  Never take out the grease filters and attempt to clean the space above where they are set ________________________________________________ Grease filter  Your cooker hood includes a grease filter which helps absorb vapour suspended grease particles to protect your kitchen furniture from greasy residues  The metal grease filter may become inflammable if it becomes saturate...

Page 10: ... for about one hour in hot water with a grease loosening detergent then rinse off thoroughly with hot water 9 Repeat the process if needed Refit the grease grille once it has dried 9 Refit the grease filters when dry Let the grease filters dry thoroughly before refitting them 9 Maintenance Cleaning the Grease Filters ...

Page 11: ...t you have switched it off so that it s in the 0 position 9 Remove the metal grease filters see Figure 2 below and find the old bulb located in the light fixture up inside the exposed canopy Change the halogen bulb using only halogen spares with an E14 coupling max 50W PLEASE NOTE Defective bulbs should be replaced immediately 9 Replace the metal grease filters 10 ...

Page 12: ...gure at bottom of page The active carbon filter must be replaced regularly at least once every three months to allow normal operation Before starting to fit the carbon filter turn the omni polar switch off Changing the Carbon Filters 1 Remove the grease filters 2 Find the old carbon filter on top of the fan motor 3 Undo the side clasps to release the old carbon filter 4 Place the new carbon filter...

Page 13: ...wer cable must be fitted upstream from the electrical connection using an omni polar switch with a contact distance of at least 3mm NOTE UK only WARNING THIS APPLIANCE MUST NOT BE EARTHED It should only be connected by a competent person using fixed wiring via a DOUBLE POLE SWITCHED FUSED SPUR OUTLET We recommend that the appliance is connected by a qualified electrician who is a member of the N I...

Page 14: ... above the hob 1 Remove the metal grease filters 2 Take the two angle brackets P that are included in the accessories packet and fix them to the hood using the screws S as shown in Fig 4 at right 3 Position the hood against the wall where you intend to place it 4 Using the support D and anchoring E holes at the back of the hood as guides mark the wall to indicate where the screws will go 5 Taking ...

Page 15: ...easurement of casing B and then lower it 2 Take the fixing support bracket G centre it with respect to the mark you have made for it being sure to keep it in contact with the ceiling 3 Mark the anchoring holes H 4 Using a drill bit with a diameter of 6 mm make two holes on the marks you have made 5 Insert rawlplugs into these holes 6 Put bracket G into position and secure it with the screws provid...

Page 16: ...ct this to the outlet union of the unit by means of a pipe __________________________________________________________________________________________________________________________________________________________________________________________________________________________ AIR PURIFIER OPERATION Installation Instructions The cooker hood can be converted to work as an air purifier in the event ...

Page 17: ...s Q on the upper shelf of the hood pushing it towards the wall 9 Insert the anchoring corner Z onto the short side of the unit tightening the screws F again in the hole and connecting them to the unit 9 NOTE DO NOT OVERTIGHTEN THESE SCREWS DOING SO MAY DAMAGE DISTORT THE UNIT 9 Take care that the anchoring corner is firmly fastened tightening it well Re insert the metal filters 16 INSTALLATION INS...

Page 18: ...not set high enough The grease filter is dirty The kitchen is not ventilated well enough If the hood is set for recirculation check that the carbon filters have not expired If the hood is set for extraction check that the ducting and outlets are not blocked The cooker hood has switched off during operation The safety cut out device has been tripped Turn off the hob and then wait for the device to ...

Page 19: ...ued at the time of purchase This guarantee is transferable only with the written consent of Baumatic Ltd If the appliance fails and is considered either not repairable or uneconomical to repair between 12 months 2 years if registered and five years a free of charge replacement will not be offered The guarantee for any replacement will only be for the remainder of the guarantee on the original prod...

Page 20: ...d Kingdom Sales Telephone 44 118 933 6900 Sales Fax 44 118 931 0035 Service Telephone 44 118 933 6911 Service Fax 44 118 986 9124 Spares Telephone 44 118 933 6922 Technical Advice Telephone 44 118 933 6933 E mail sales baumatic co uk technical baumatic co uk Website http www baumatic com 19 ...

Page 21: ...20 ...

Page 22: ...21 ...

Page 23: ...22 ...

Page 24: ...3 2 ...

Reviews: