Lighting the main burner.
!
Once the pilot light is established, the main burner can be lit by depressing and
turning the control knob anticlockwise to the “
High
” position.
Selecting the heat setting.
!
In order to change from one setting to another depress the control knob slightly and
turn the knob to the required position. Any setting from “
Low
” to “
High
” may be
selected.
Note:
The appliance will operate to its maximum potential if the flue is primed during
the first 20-30 minutes of operation. To do this, simply operate the appliance at its
“High” setting. This will also burn off any carbon deposits that may have formed
during previous operations. If operating the appliance for long periods it is beneficial to
change between settings. This will help to remove any carbon deposits that may form
during operation.
Turning the fire back to ‘Pilot’ setting.
!
Depress the control knob and turn clockwise until the pilot setting is reached.
Turning the appliance off.
!
Make sure that the control knob is in the pilot position. Depress the control knob
and turn clockwise to the “
Off
” position.
!
Wait at least three minutes before
relighting.
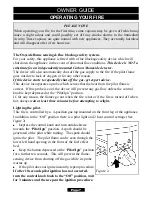
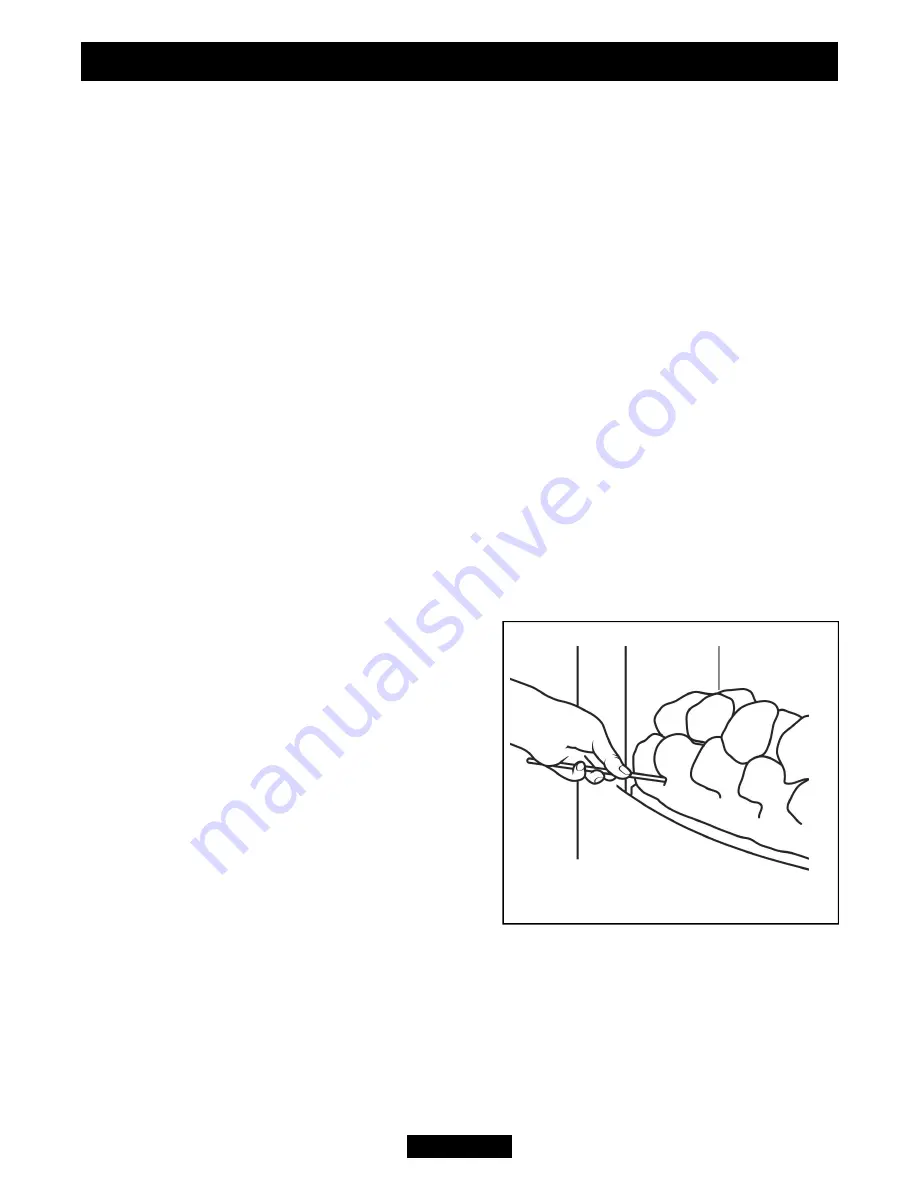
Lighting with a taper.
(See figure 3).
In the unlikely event of failure of the ignition
spark, the pilot can be lit by a taper or long spill.
Insert the taper or spill through the lower left
hand opening in the front of the fuel effect bed.
!
Follow the section ‘ Lighting the pilot’ as
described previously.
Page 8
OWNER GUIDE
Figure 3. Lighting with a taper


