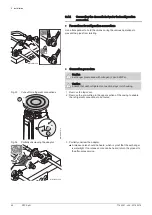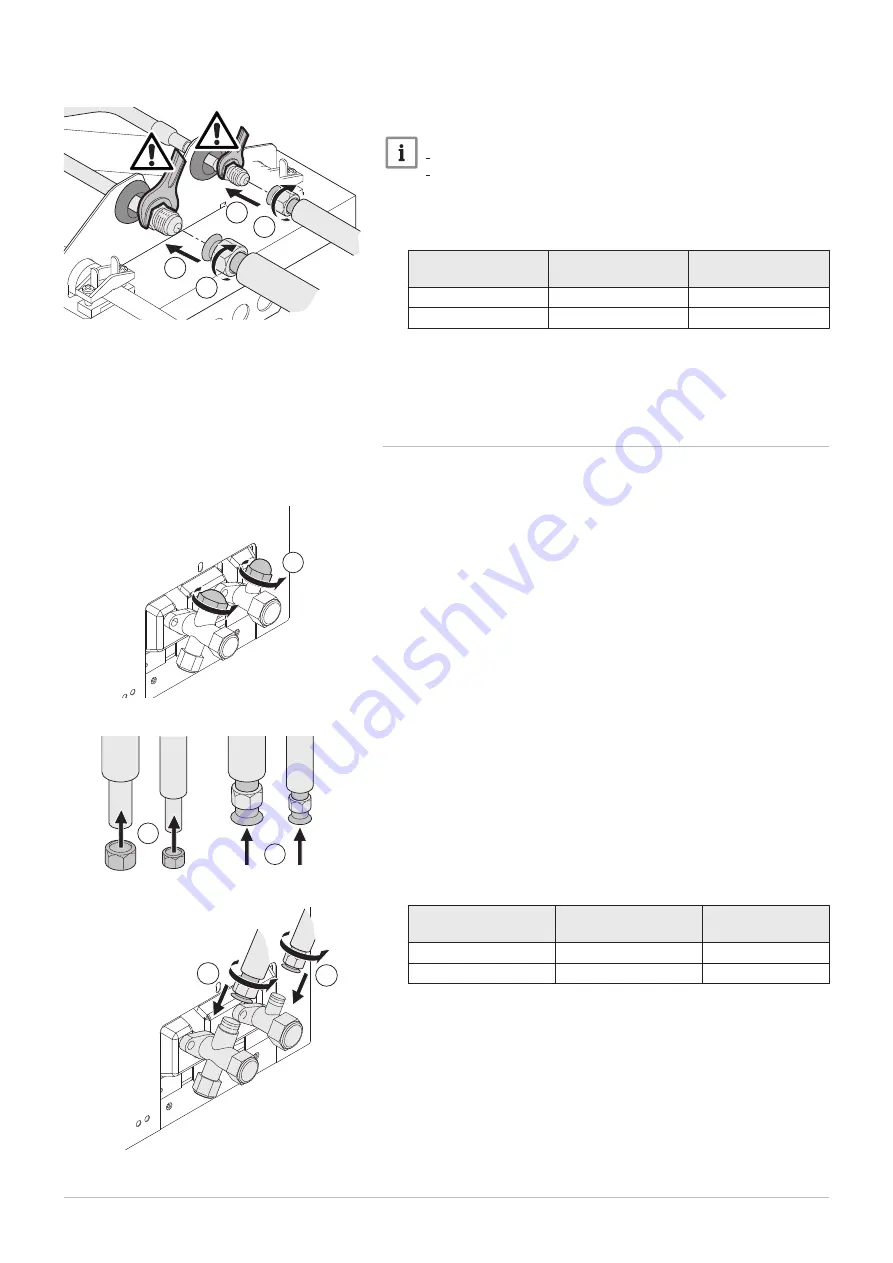
10. Position the pipes in the connections.
11. Connect and tighten the nuts with a torque wrench.
Important
Use a flat spanner to hold the unions in place.
Apply refrigerant oil to the beaded parts to facilitate tightening
and improve the seal.
Tab.16 Torque load
External diameter of
the pipe (mm/inch)
External diameter of
the cone fitting (mm)
Torque load (N.m)
6.35 - 1/4
17
14 - 18
9.52 - 3/8
22
34 - 42
12. If the electrical connections on the domestic hot water tank have
already been completed, refit the top cover and secure it in place
using the screws provided in the documentation bag.
6.4.3
Connecting the refrigerant connections to the outdoor
unit
The refrigerant connections must be connected to the outdoor unit.
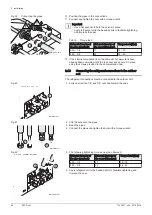
1. Fully unscrew the 1/4” and 3/8” nuts and discard the caps.
2. Slip the nuts onto the pipes
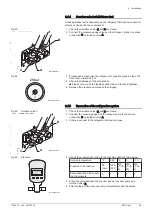
3. Bead the pipes.
4. Connect the pipes and tighten the nuts with a torque wrench.
5. The following tightening torques must be observed:
External diameter of
the pipe (mm/inch)
External diameter of
the cone fitting (mm)
Torque load (N.m)
6.35 - 1/4
17
14 - 18
9.52 - 3/8
22
34 - 42
6. Apply refrigerant oil to the beaded parts to facilitate tightening and
improve the seal.
Fig.39
Connecting the pipes
MW-4000139-2
10
10
11
11
Fig.40
MW-4000140-1
1
Fig.41
MW-4000141-1
2
3
Fig.42
4
4
MW-4000142-1
6 Installation
48
SPC Split
7740321 - v04 - 03122019


