– 16 –
T R A D I T I O N A L S E R I E S S T R A I G H T M O D E L • G R E E N H O U S E I N S T R U C T I O N S
Aluminum Frame Assembly
& Installation
(contd.)
E
G
H
F
5.
RIDGE
For a small greenhouse, you handle the ridge by yourself.
Over 12' long it be easier with 2 people. Set the ridge on
top of the end rafters in the middle of the greenhouse.
Push the end rafter out and drop the ridge down 2" and
slide it in-between as far as it goes. The bolt track in the
glass bar lines up with the punch mark in the ridge.
Undo the bolt and slide it up and fasten it
(See Pic E).
5A. TRUSS ASSEMBLY INSTALLATION
(See Appendix F).
6.
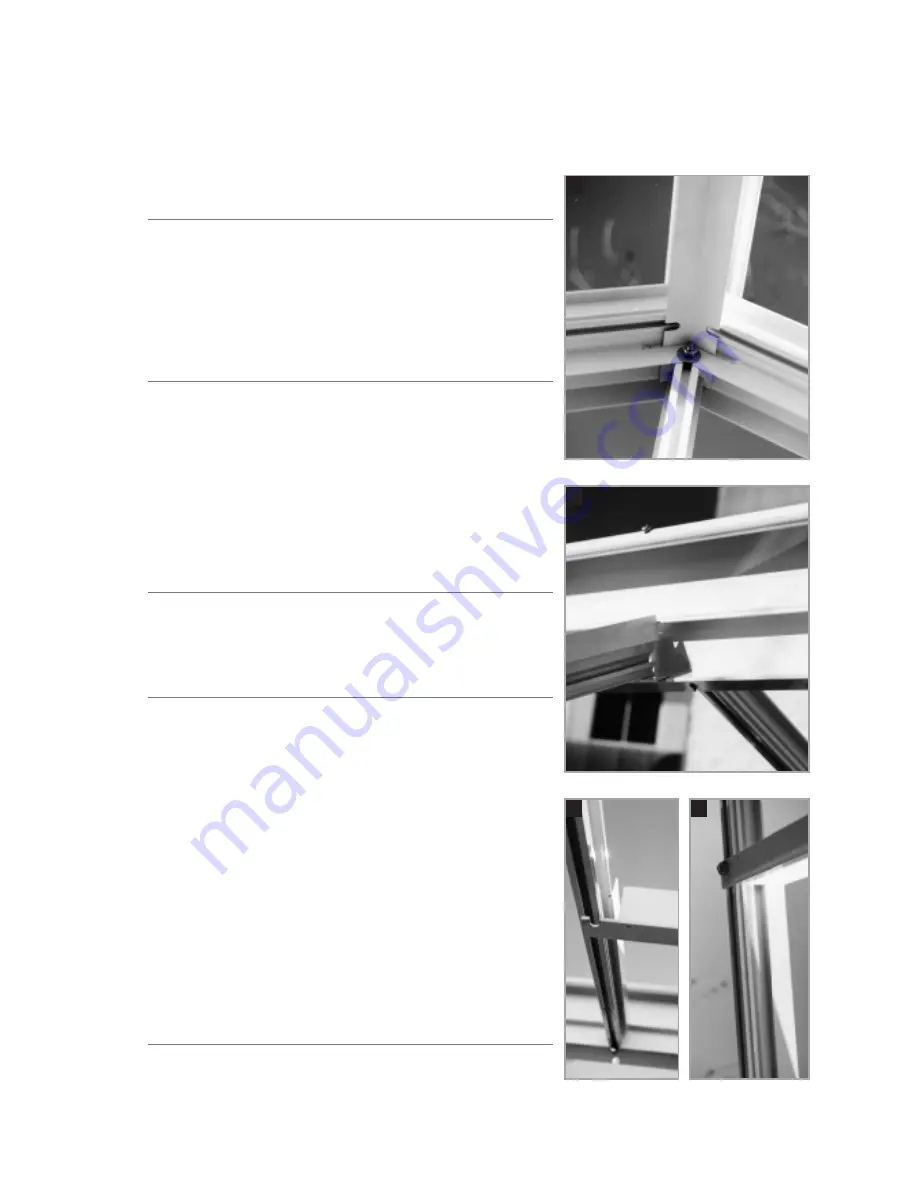
GLASS BAR WITH VENT SLIDERS
Each glass bar has a small vent frame slider on it. They
are marked 1/2/3/4 etc. On the ridge there will be the
same markings. Slide a bolt in the top and 2 in the
bottom of the glass bar and tighten. Put into place with
the angle cut on top. Note that the numbers are the same
so it can be lined up with the slots in the Ridge and
gutter. Then fasten.
(See Pic F).
7.
VENT FRAME BOTTOM SECTION
The vent frame bottom is now in between the glass bars
that you have just installed
(See Pic G).
The 2" side of
the angle faces towards the Ridge
(See Pic H).
Move the
bolt up the glass bar and fasten it.
8.
REMAINING GLASS BARS
All remaining glass bars can now be installed. Make sure
that the top is against the ridge. Before you tighten the
glass bar on the gutter, eyeball the gutter to see if it is
straight. There is usually about a 1/8" space between the
glass bar and the gutter.
9.
Fasten the greenhouse base/sill to the foundation using
#8 x 1” screws
(if it is on concrete, drill holes using a concrete
bit and push the plugs into the holes)
. If possible, seal below
he base before fastening the greenhouse to the
foundation.
(See Page 21).
10.
Your greenhouse is now ready for putting on the 1/8"
foam strips. Do not put the foam strips on the base or
beside the door. Only use the foam on the glass bars &
gutter.
(See Page 22).
Note:
Make sure the greenhouse is fastened to the
foundation with 1" screws.
OPTIONALS
Side vents, intake shutters and exhaust fan installation.
See Appendix A – F.
3
3


