76
mi-4
Series
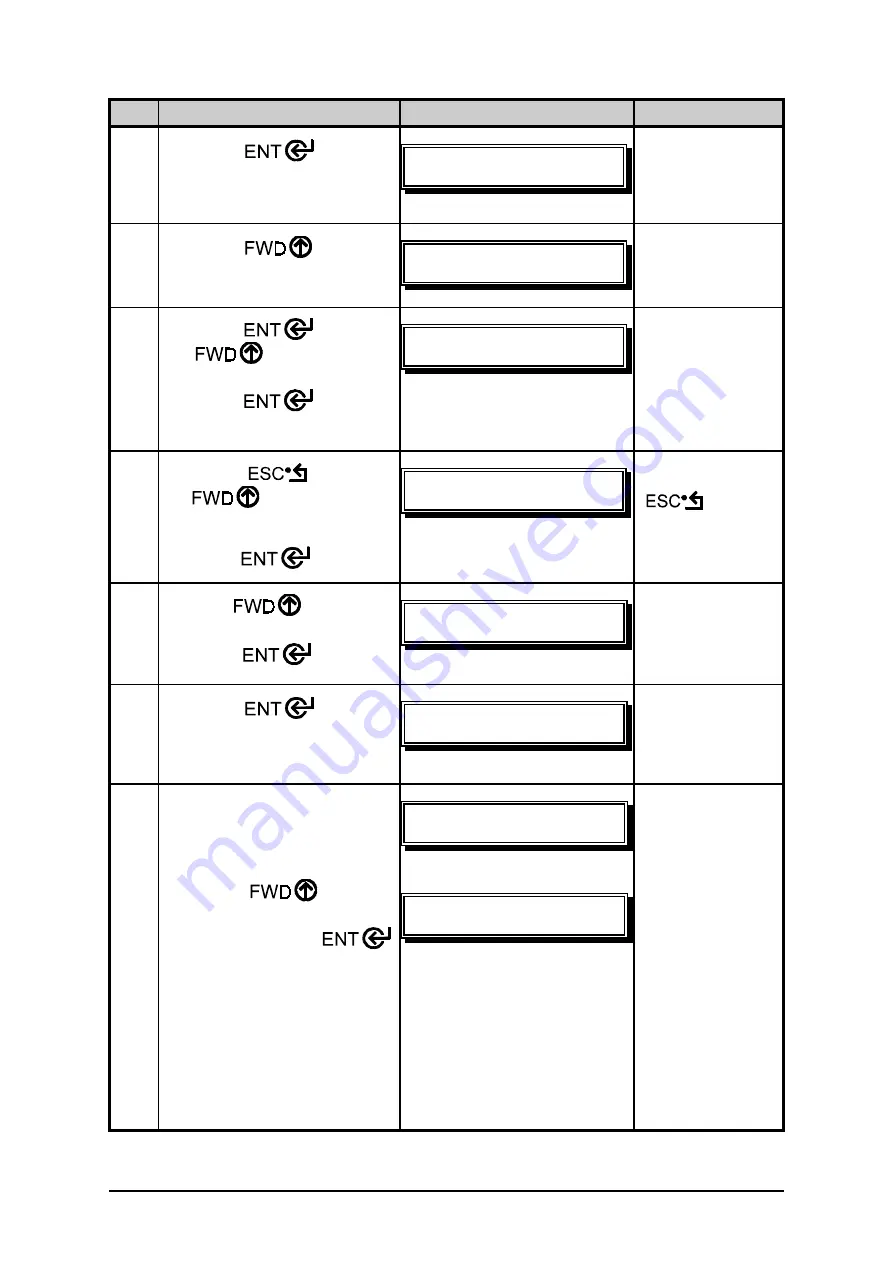
Advanced Entry Calibration (continued)
Step
Operator Action
Displayed Message
Comment
3
Press the
key to
enter the Media Settings
menu.
"
"
See Section
4.1.1 for details.
4
Press the
key.
"
See Section
4.1.1 for details.
5
Press the key. Use
the key to scroll to
the desired sensor type and
press the
key to
enable the selection.
J"
When enabled,
the selection will
be indicated by
an ‘*’
.
6
Press the key. Use
the
key to scroll to
‘Sensor Calibration’.
Press the
key.
"
"#"
Press the
key to
abort this
procedure.
7
Use the
key
to
scroll to ‘Advanced Entry’.
Press the
key.
"#"
""
See Section
4.1.1 for details.
8
Press the
key.
""
"
See Section
4.1.1 for details.
9
Place the label under the
Sensor Eye Mark and lower
the printhead.
Using the key
increment the Gain
Number. Press the
key to select the new setting
and then record the sensor
reading (the ‘yyy’ value).
Repeat this process for each
of the Gain Numbers. These
are the
Label Values
.
""]<<<_
JQQ]QLTR_
-OR-
"]<<<_
JQQHQLTRI
Ensure that an
unmarked label
area (free of
preprinting) is
under the Sensor
Eye Mark.
(Continued next page)
Summary of Contents for 4206
Page 1: ...Meto mi 4 Label and Tag Printer Extended Operating Manual B a r c o d e S y s t e m s ...
Page 5: ......
Page 7: ...ii ...
Page 9: ...iv ...
Page 11: ...vi ...
Page 12: ...vii ...
Page 13: ......
Page 17: ...4 mi 4 Series ...
Page 20: ...mi 4 Series 7 ...
Page 32: ...mi 4 Series 19 ...
Page 44: ...mi 4 Series 31 ...
Page 50: ...mi 4 Series 37 Continued next page ...
Page 56: ...mi 4 Series 43 ...
Page 58: ...mi 4 Series 45 ...
Page 62: ...mi 4 Series 49 ...
Page 74: ...mi 4 Series 61 ...
Page 78: ...mi 4 Series 65 Continued next page ...
Page 80: ...mi 4 Series 67 ...
Page 82: ...mi 4 Series 69 ...
Page 84: ...mi 4 Series 71 ...
Page 86: ...mi 4 Series 73 ...
Page 111: ...98 mi 4 Series ...
Page 114: ...mi 4 Series 101 ...
Page 139: ...126 mi 4 Series Continued next page ...
Page 142: ...mi 4 Series 129 ...
Page 144: ...mi 4 Series 131 ...


