BEAST BOX B.O.M.
D1, D3
1N4148
2
D2
1N4004
1
R3
100K
1
R10
220R
1
R11
4.7K
1
R12
1K
1
R2, R13
100R
2
R18, R23, R24, R25, R26, R27, R30
10K
7
OK1
6N138
1
C1
60nf - 100nf
1
C3
1nf - 3.3nf
1
C2
10uf
1
C4, C11, C12, C17
100nf
4
C18
10uf
1
C20
100uf
1
L1
100uh
1
IC1
LD1117v33
1
IC2
dspic33fj128gp802
1
IC3
MCP602 / MCP6022
1
Led1
3mm
1
Vactrol
1
SPST Switches
4
9mm Potentiometer
10K Linear taper
6
3.5mm mono socket
1
5 pin din socket
1
2.1mm socket
1
2.1mm to 9v battery clip
1
Summary of Contents for BEAST BOX 1.0
Page 1: ...BEAST BOX 1 0 BUILD GUIDE ...
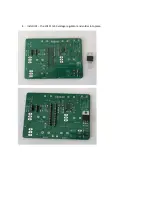
Page 6: ...4 Install IC1 the LD1117v33 voltage regulator and solder into place ...
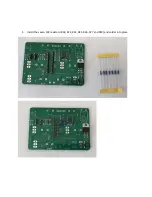
Page 7: ...5 Install the seven 10K resistors R18 R23 R24 R25 R26 R27 and R30 and solder into place ...
Page 8: ...6 Install L1 the 100uh inductor and solder into place ...
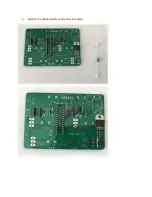
Page 9: ...7 Install the two 100R resistors R2 and R13 and solder into place ...
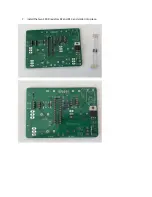
Page 10: ...8 Install the 100K resistor R3 brown black black orange brown and solder into place ...
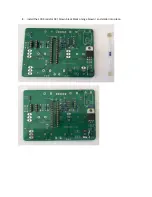
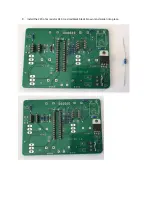
Page 11: ...9 Install the 220 ohm resistor R10 red red black black brown and solder into place ...
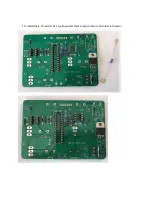
Page 12: ...10 Install the 4 7K resistor R11 yellow violet black brown brown and solder into place ...
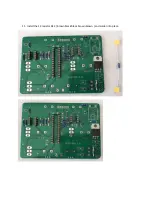
Page 13: ...11 Install the 1K resistor R12 brown black black brown brown and solder into place ...
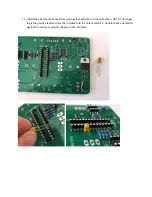
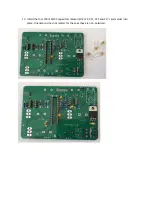
Page 16: ...14 Install the 82nf MKT capacitor C1 marked 823K100 and solder into place ...
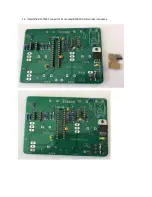
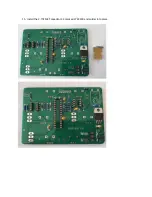
Page 17: ...15 Install the 2 7nf MKT capacitor C3 marked 272K100 and solder into place ...
Page 24: ...24 Gently flip the box back over and solder the switches and potentiometers into place ...


