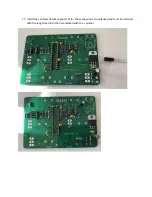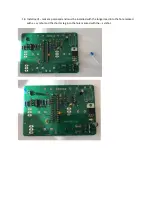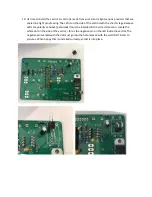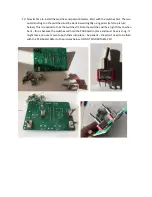
31.
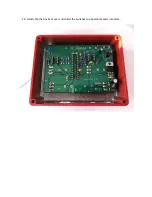
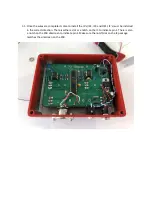
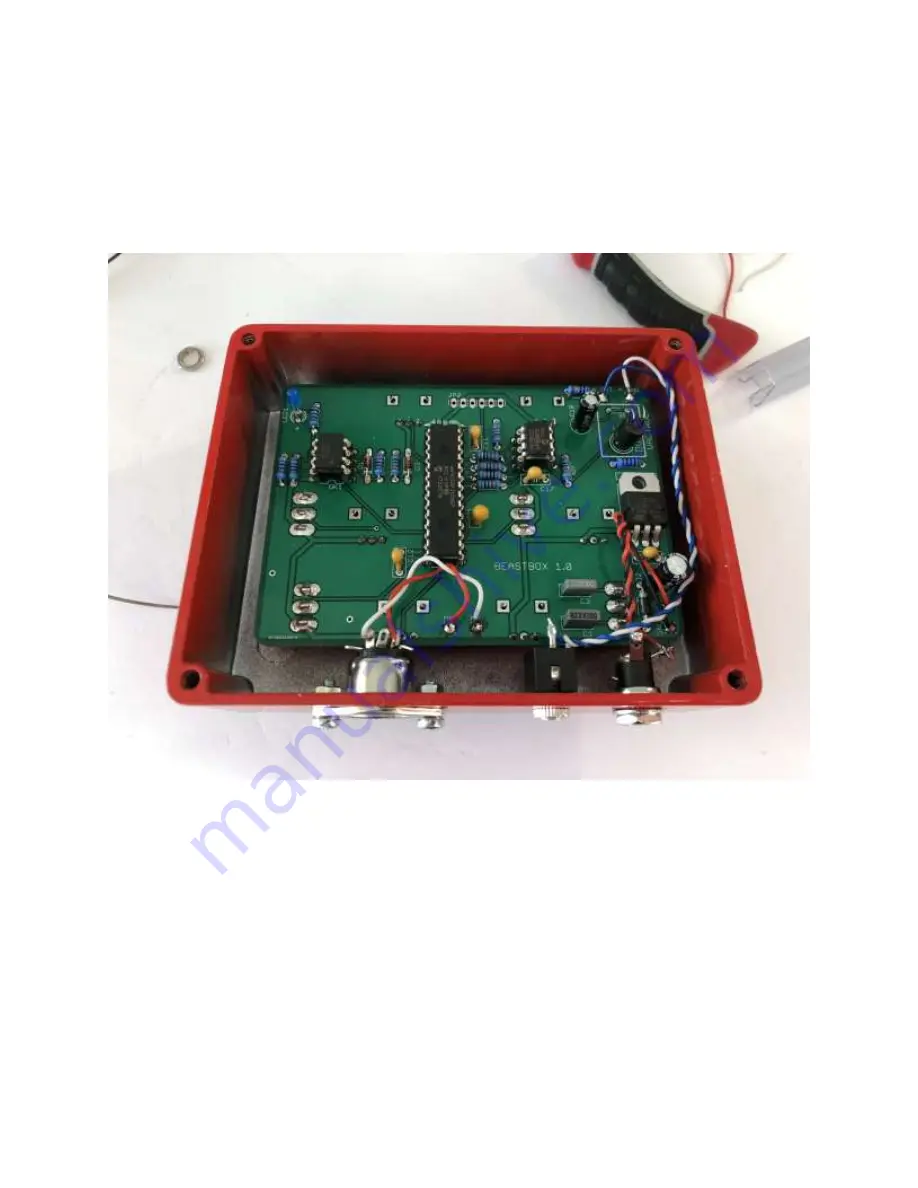
Once the wires are complete its time to install the IC’s
(IC2, IC3 and OK1). IC’s must be installed
in the correct direction. There is either a dot or a notch on the IC to indicate pin 1. There is also
a notch on the PCB silkscreen to indicate pin 1. Make sure the notch/dot on the IC package
matches the silkscreen on the PCB.
Summary of Contents for BEAST BOX 1.0
Page 1: ...BEAST BOX 1 0 BUILD GUIDE ...
Page 6: ...4 Install IC1 the LD1117v33 voltage regulator and solder into place ...
Page 7: ...5 Install the seven 10K resistors R18 R23 R24 R25 R26 R27 and R30 and solder into place ...
Page 8: ...6 Install L1 the 100uh inductor and solder into place ...
Page 9: ...7 Install the two 100R resistors R2 and R13 and solder into place ...
Page 10: ...8 Install the 100K resistor R3 brown black black orange brown and solder into place ...
Page 11: ...9 Install the 220 ohm resistor R10 red red black black brown and solder into place ...
Page 12: ...10 Install the 4 7K resistor R11 yellow violet black brown brown and solder into place ...
Page 13: ...11 Install the 1K resistor R12 brown black black brown brown and solder into place ...
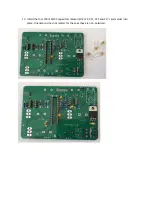
Page 16: ...14 Install the 82nf MKT capacitor C1 marked 823K100 and solder into place ...
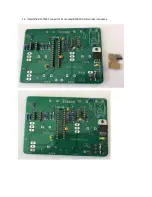
Page 17: ...15 Install the 2 7nf MKT capacitor C3 marked 272K100 and solder into place ...
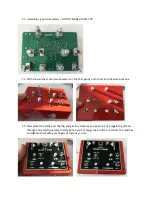
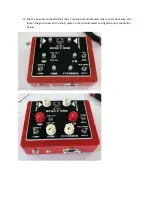
Page 24: ...24 Gently flip the box back over and solder the switches and potentiometers into place ...

