14
15
Assembly Instructions - Toddler bed
For your safety we highly recommend that you follow the instruction steps in the sequence below; assuming that the cot is
assembled in cot mode with mattress base in the
lower
position.
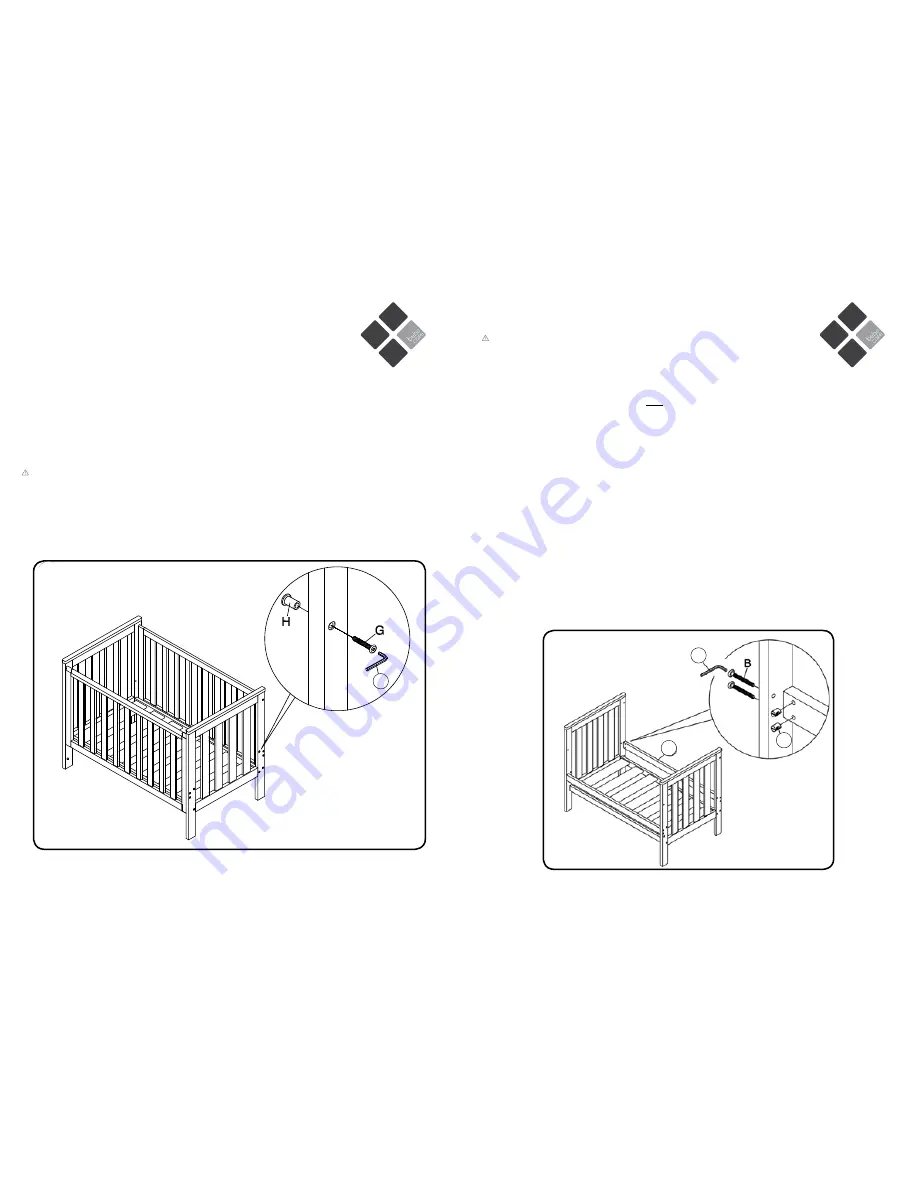
Attaching cot bed rails
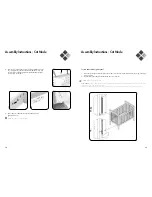
1. Loosen (but do not remove) the 45mm bolts (C) in all four corners of the mattress base.
2. Remove two 45mm bolts (C) from each end holding the fixed side panel in place and carefully lower the fixed side
panel to the ground.
3. Remove two pre-assembled 15mm filling bolts (H) and t-shaped nut set which are located nearest to the outer edge of
the end panel on both ends of the cot.
4. Place four barrel nuts (B) into the cot bed rail hole, making sure the slots are positioned pointing towards the end of the
rail.
5. Line up the cot bed rail with the holes located on the inside of each panel.
6. Place four 80mm bolts (A) into the cot bed rails (8) as shown and gently tighten. Do not over tighten bolts.
7. Place two 15mm filling bolts (H) and t-shaped nut set removed earlier in the vacant holes located at the top and bottom
of the end panel on both ends of the cot.
8. Remove the drop-side panel from the end panels by carefully detaching the drop-side guiding pins from the drop-side
track.
9. Repeat previous steps 2-6 to attach the second bed rail (8).
10. Tighten all bolts. Do not over-tighten.
11. Remove four drop-side guiding pins (D,E,F) to avoid a potential protrusion hazard.
12. Toddler bed is now ready for use.
WARNING: This cot is designed to be used as a toddler bed when it is assembled with the cot
bed rails (included). The toddler bed is only designed for use when the child can get on and
off the bed unaided, at approximately 2-5 years of age. The cot bed rails are only designed
for use with bebe care cots and with a bebe care mattress which has the following dimensions:
(1310mm long x 750mm wide x 100-150mm thick).
I
B
8
4
5
5
WARNING: Do not over-tighten bolts.
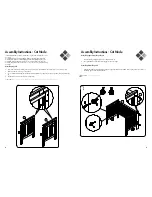
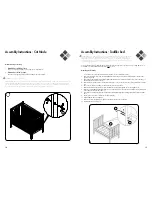
PLEASE NOTE: The cot comes with four 15mm filling bolt and t-shaped nut sets already located in the lower holes of the end
panels (b). If changing the mattress base from the upper to the lower position, you must swap over these bolts into position
(a). It is important that these bolts are replaced into the open holes to avoid the risk of a potential finger entrapment hazard.
Ensure they are secured tightly with the allen key and check regularly that they do not loosen.
Mattress base positioning
1.
Mattress base in high position;
This is for use when your baby is young and cannot sit up unaided.
2.
Mattress base in low position;
This is the normal position for an active baby which can sit up unaided.
Assembly Instructions - Cot Mode
I


