52
>>>
NAVIGATIONAL MODE
> EN
>
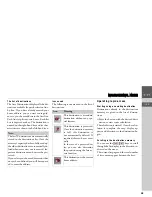
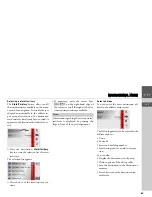
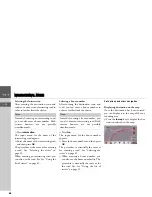
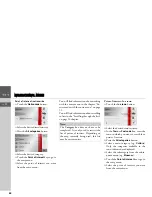
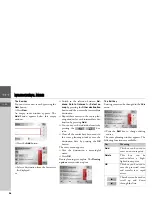
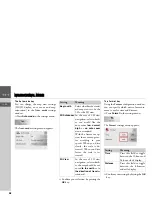
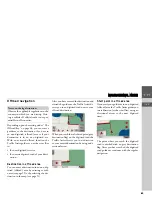
Gently press the screen surface until
a circle of dots is drawn around the des-
tination requested. The destination is
recorded.
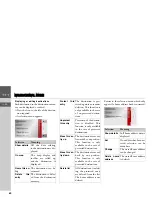
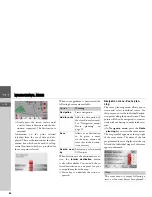
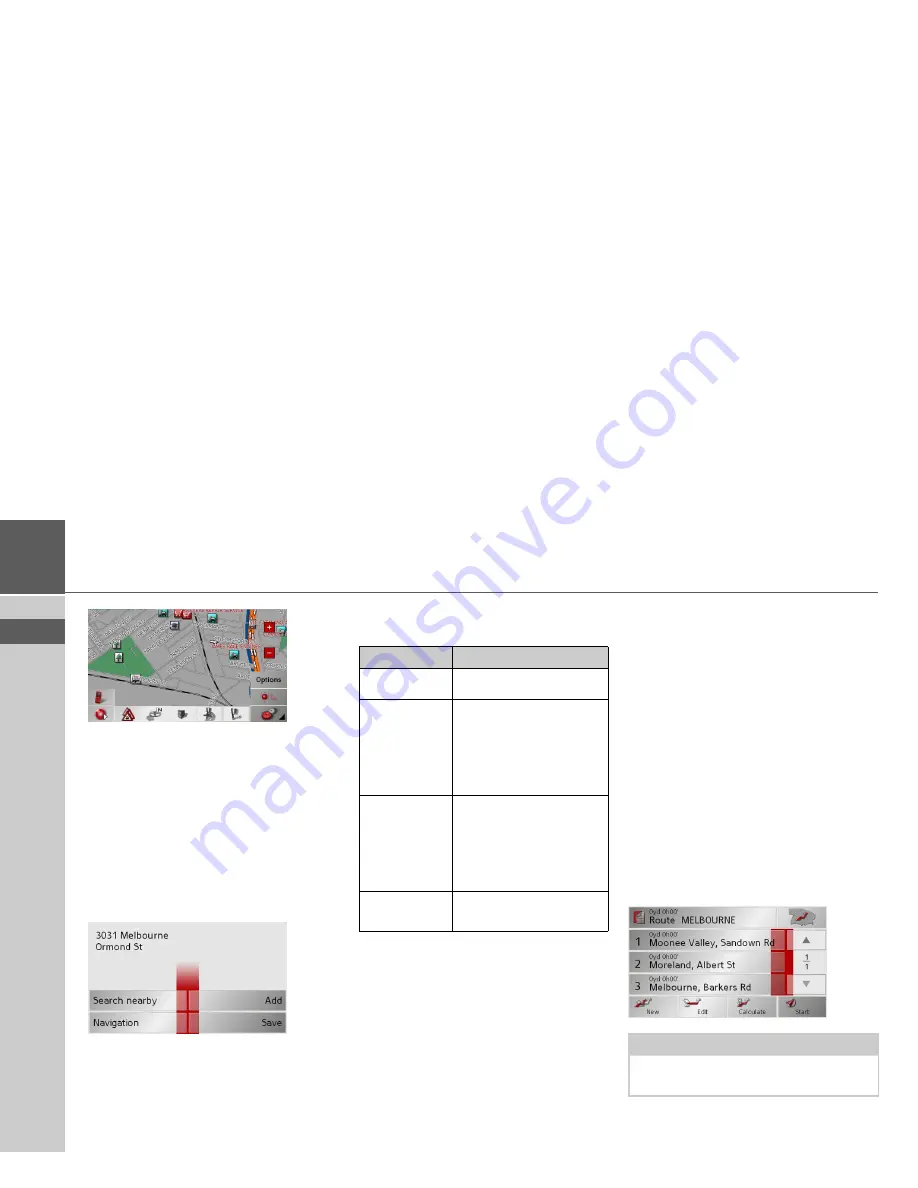
Information on the point selected
is loaded from the set of data and dis-
played. There are buttons under the infor-
mation box which can be used to call up
several functions which are provided for
the route point selected.
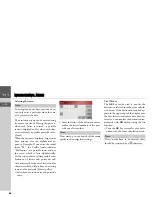
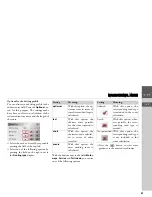
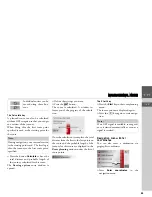
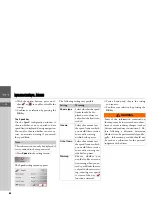
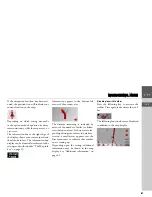
When route guidance is deactivated, the
following buttons are available:
When directions to the destination are ac-
tive, the
Interim destination
button
is also still available. You can add the se-
lected destination as a stopover for your
route guidance from the map.
>
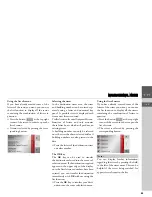
Press a key to undertake the action re-
quested.
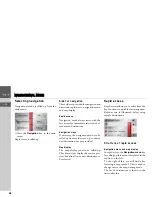
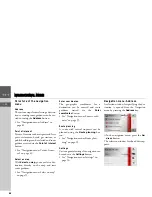
Navigation menu: Route plan-
ning
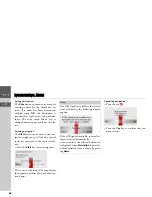
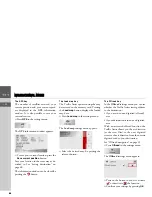
The route planning menu allows you to
create and select individual routes. For
this purpose, enter the individual destina-
tion points along the desired route. These
points will then be navigated to consecu-
tively without having to make further en-
tries.
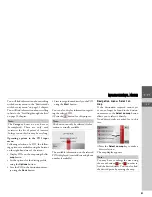
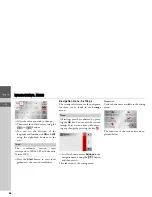
>
In
Navigation menu
, press the
Route
planning
key to access the route menu.
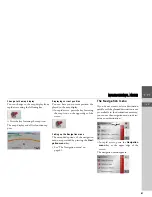
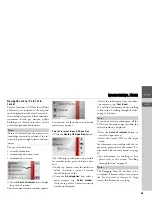
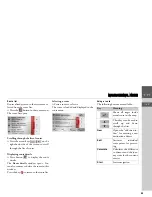
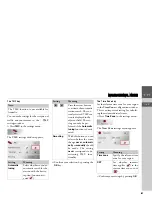
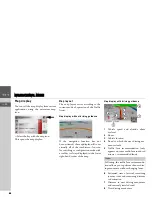
The map symbol appears at the top right
of the route menu. The name of the last
programmed route is displayed at the top
left and the individual stages of this route
appear underneath.
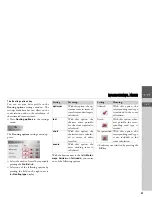
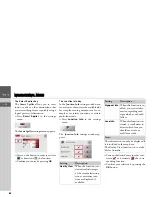
Button
Meaning
Navigation
Starts navigation
Add to route
Adds the destination of
the stored route last used,
See “Navigation menu:
Route planning” on
page 52..
Save
Allows your destination
to be given a name
via the entry menu and
saves this in the destina-
tions memory
Search near-
by
Entry menu as for normal
POI entries
Note:
The route menu is empty following a
reset, or if no route has yet been planned.
Summary of Contents for TRAFFIC ASSIST
Page 1: ...Instructions for Use ...

