Installation Instructions
Installation of the PC in the control cabinet
The Built-in Panel PC CP63xx is designed for mounting in control cabinets
in machine and plant engineering applications.
The ambient conditions specified for operation must be observed (see the
section on
Technical data
).
Preparation of the control
cabinet
The control cabinet wall must be prepared with the required mounting
opening for the computer unit according to the PC's dimensions.
i
Note
When the unit is installed in an enclosure, adequate space for
ventilation and for opening the PC must be provided.
Please note the following points during installation of the PC:
•
Position the PC in such a way that reflections on the screen are
avoided as far as possible.
•
Use the position of the screen as a guide for the correct installation
height; it should be optimally visible for the user at all times.
•
The PC should not be exposed to direct sunlight.
•
When the unit is in its mounting position, the ventilation openings must
not be obstructed.
Warning
Extreme environmental conditions should be avoided as far as
possible. Protect the rear of your PC from dust, humidity and heat.
The clearance above and below the housing must be at least 100 mm
in order to ensure adequate ventilation of the PC.
The ventilation slots of the PC must not be covered.
Installation in a control
cabinet wall
Proceed as follows:
1. Insert the PC at the intended control cabinet wall position and protect it
from falling out, prior to final mounting.
2. Release the clamping levers with a No. 3 Allen key, turn the clamping
levers to the side through 90° and retighten the screws.
Earthing measures
Earthing measures
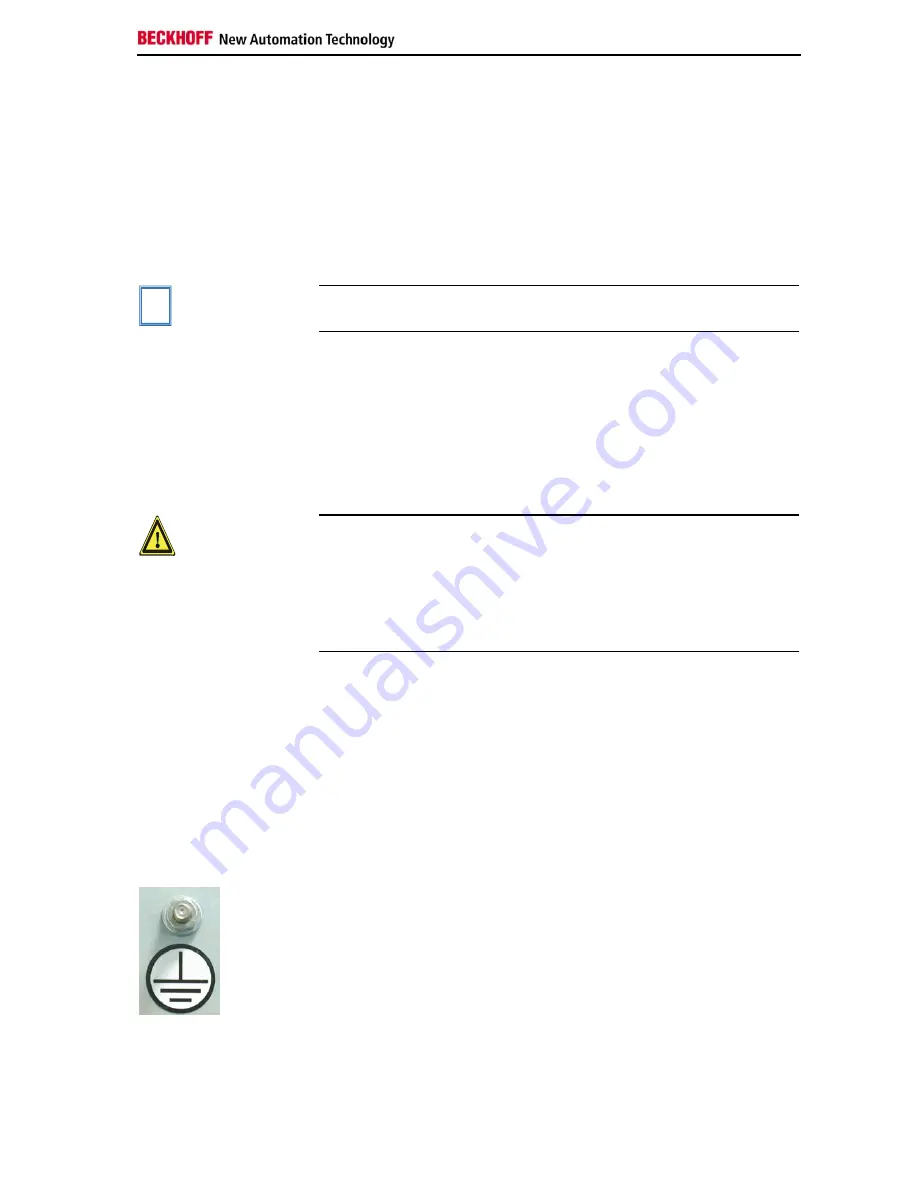
Earthing connections dissipate interference from external power supply
cables, signal cables or cables to peripheral equipment.
Establish a low-impedance connection from the earthing point on the PC
housing to the central earthing point on the control cabinet wall, in which
the computer is being installed. The earthing connection is located at the
top of the housing (see photograph on the left).
CP64xx
9
Summary of Contents for CP64 Series
Page 2: ......


