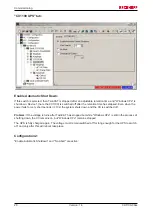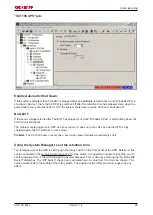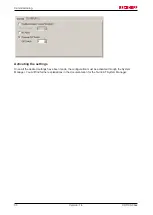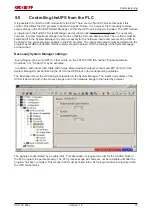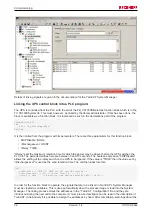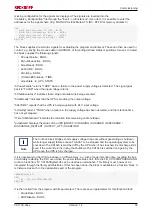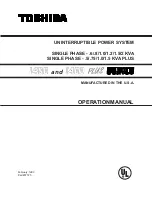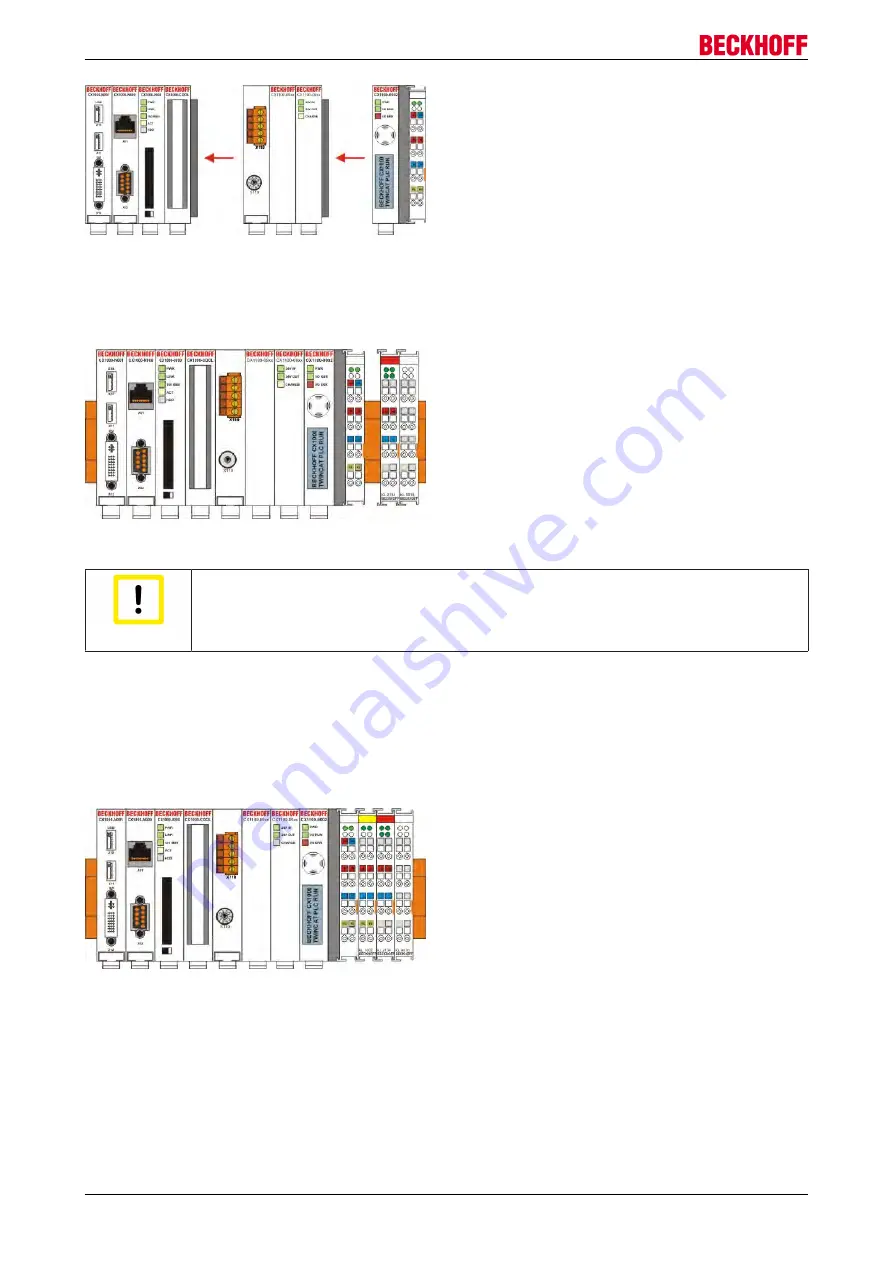
Fitting and wiring
2.2 Engaging on the top-hat rail
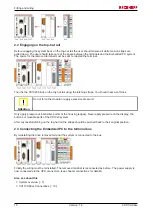
Before engaging the system back on the top-hat rail the user should ensure all white tension straps are
pulled down. The user should take care of the space between the terminals and the Embedded PC system.
The space for the removed terminal must be kept to reinstall the terminal.
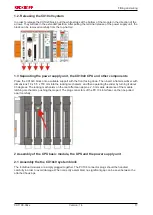
Then fix the CX1020 block on the top hat-rail using the latching straps. You should hear a soft click.
Attention
Do not force the module or apply excessive pressure!
Only apply pressure at insensitive points of the housing (edges). Never apply pressure on the display, the
buttons or movable parts of the CX10x0 system.
After successful latching on the top-hat rail the straps should be pushed back to their original position.
2.3 Connecting the Embedded PC to the terminal bus
By reinstalling the once removed terminal the system is connected to the bus.
Finally the wiring must be reinstalled. The removed terminal is reconnected as before. The power supply is
now connected via the UPS-connectors. (see chapter connections for details)
Also see about this
2
2
CX1100-09xx
18
Version: 1.4
Summary of Contents for CX1100-09 Series
Page 1: ...Hardware Documentation CX1100 09xx UPS for Embedded PCs CX10x0 1 4 2015 07 02 Version Date...
Page 2: ......
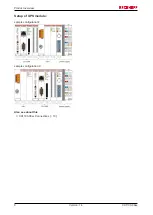
Page 15: ...Fitting and wiring CX1100 0910 UPS Module CX1100 0920 UPS Module CX1100 09xx 15 Version 1 4...
Page 24: ...Commissioning The retention times are CX1100 09xx 24 Version 1 4...

