Testing – 6
6–5
1.
When
OUTPUT TEST (RELAY)
is
displayed press the right arrow to display
the following:
INPUT TEST
output INPUT led target
2.
Press
ENTER
. The following is displayed:
INPUT NUMBER
1
3.
Press
ENTER
. The following is displayed:
INPUT NUMBER 1
CIRCUIT OPEN
4.
Connect
IN RTN
, terminal #11, to
IN1,
terminal #10.
5.
Alternatively, if the input in step 4 above
is being used in this application and
external wiring is complete, the actual
external status input contact can be
manually closed. This will test the input
contact operation
and the external wiring
to the input contacts. The following is
immediately displayed:
INPUT NUMBER 1
CIRCUIT CLOSED
6.
Disconnect
IN RTN
, terminal #11, from
IN1
, terminal #10. The following is
immediately displayed:
INPUT NUMBER 1
CIRCUIT OPEN
7.
Press
ENTER
. The following is displayed:
INPUT NUMBER
1
8.
Use the up button to go to the next input.
Repeat the procedure using the contacts
as shown in Table 6-3, Input Contacts.
9.
When finished, press
EXIT
to return to the
DIAGNOSTIC MODE
menu.
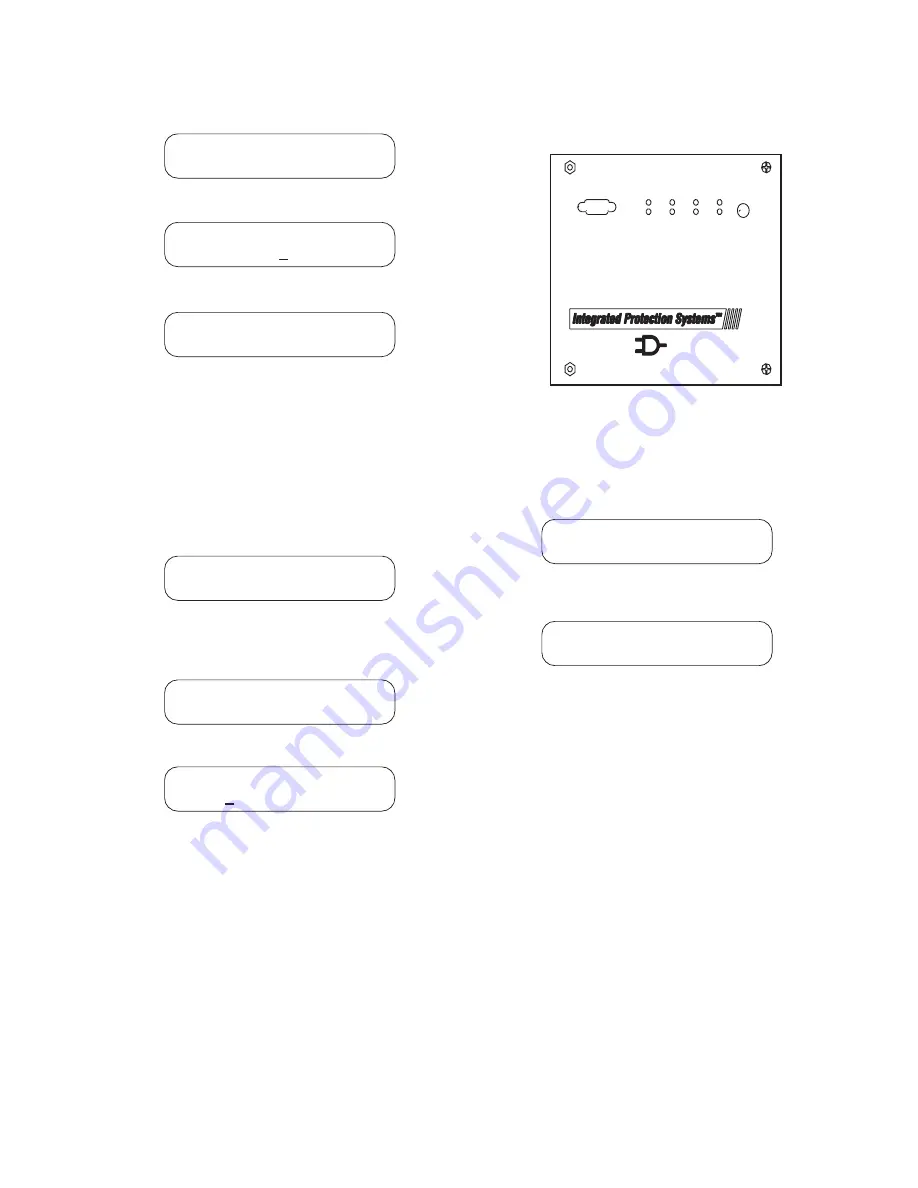
Status LED Test
The
STATUS LED TEST
menu enables the user to
check the front panel LED’s Individually.
RESET
SYNC
TIME
OK
RELAY
PS 1
TARGET
CLOSED TARGET PS 2
BRKR
OSC.
TRIG
DIAG
INTERTIE PROTECTION
M-3520
Made in U.S.A.
CO. INC.
BECKWITH
ELECTRIC
COM 1
Figure 6-1
Status LED Panel
For units with the optional HMI panel:
1.
When
INPUT TESTS (STATUS)
is
displayed, press the right arrow button
until the following is displayed:
STATUS LED TEST
output input LED target
2.
Press
ENTER
. LED #1,
RELAY OK
,
illuminates and the following is displayed:
STATUS LED TEST
LED NUMBER 1 = ON
3.
Repeat step 2 for each of the 5 remaining
LED’s shown in Figure 6-1. The PS1 and
PS2 LED’s are not subject to this test.
4.
When
STATUS LED
testing is complete,
press
EXIT
to return to
DIAGNOSTIC
MODE
.
Summary of Contents for M-3520
Page 1: ...Instruction Book M 3520 Intertie Protection Relay ...
Page 83: ...2 50 M 3520 Instruction Book This Page Left Intentionally Blank ...
Page 95: ...M 3520 Instruction Book 3 12 This Page Intentionally Left Blank ...
Page 133: ...M 3520 Instruction Book 5 12 This Page Intentionally Left Blank ...
Page 195: ...A 20 M 3520 Instruction Book This Page Intentionally Left Blank ...
Page 213: ...D 12 M 3520 Instruction Book This Page Intentionally Left Blank ...


