Controlling The Burners
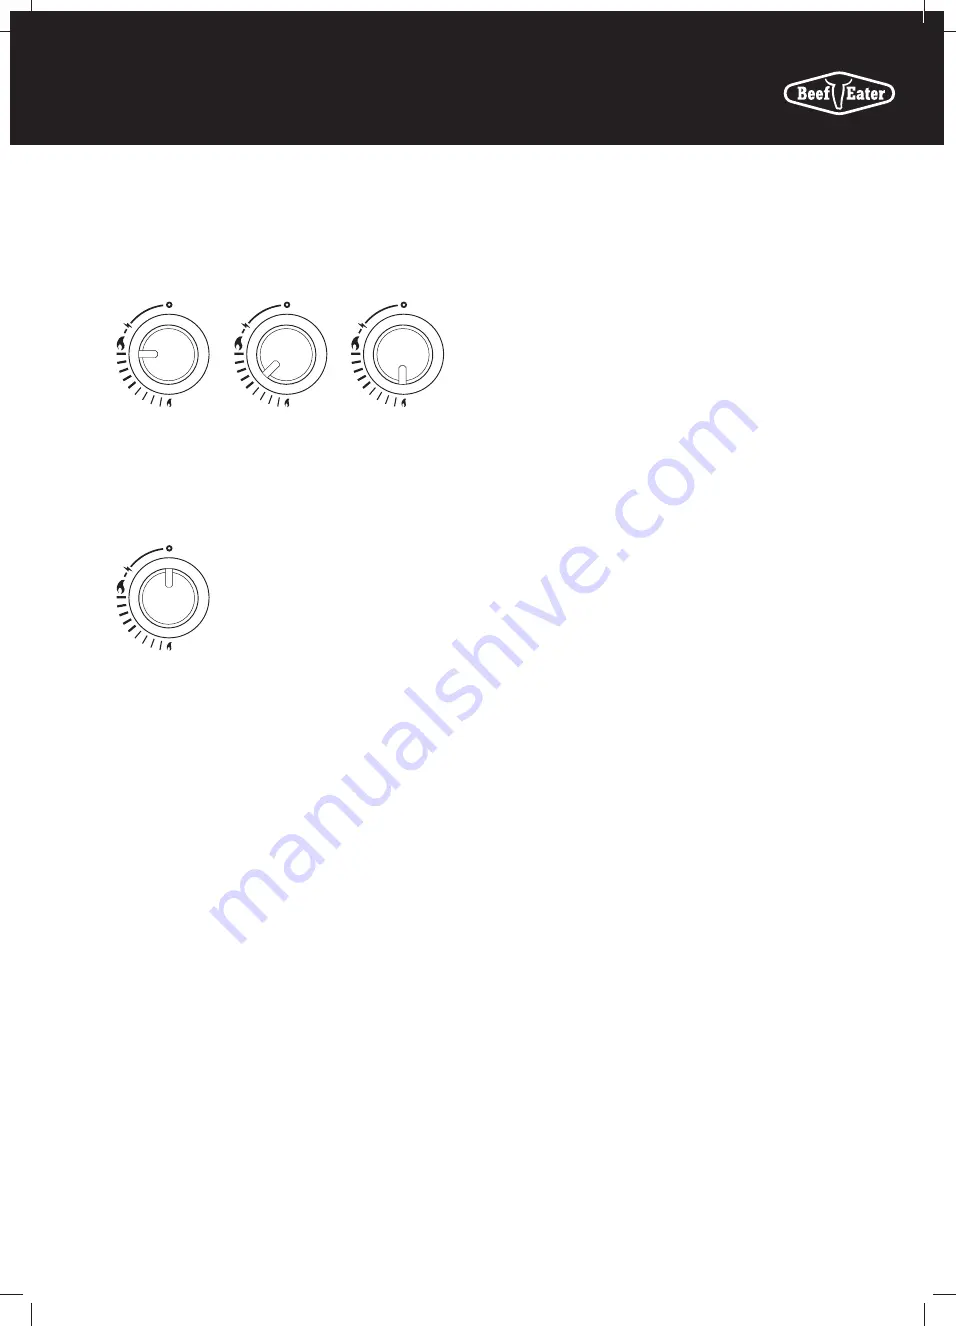
The control knob can now be turned to the desired heat
setting, Low, Medium or High. The control knob does not
need to be pushed in while selecting the heat setting.
HIGH
MEDIUM
LOW
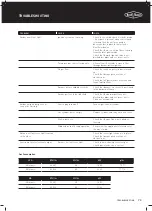
To Turn Off The Burner
Push in and hold the control knob while turning in a
clockwise direction until the Off position is reached.
OFF
After Use
It is a good idea to leave the barbecue on for about 10
minutes after you have finished cooking. This helps to burn
away any excess food residues and oil, and makes cleaning
easier.
1.
Be sure to turn off all control knobs and the cylinder
valve (for LPG/propane) or shut-off valve (for Natural
Gas)
2.
Allow barbecue to cool
3.
Clean the drip tray and cooking surfaces
4.
Clean any food spills from the side burner
5.
Lower the hood and side burner lid
Remove the gas cylinder from the enclosure before
disconnecting the gas line from the appliance. Tighten
all connections before placing the gas cylinder back in its
enclosure.
67
INSTALLATION WARNINGS
Summary of Contents for 7000 Series
Page 5: ...5 BMF7645SA PRODUCT DIMENSIONS DIMENSIONS 1602 708 1284 ...
Page 7: ...7 BMF7655SA PRODUCT DIMENSIONS DIMENSIONS 1758 708 1284 ...
Page 9: ...9 BMG7642SA PRODUCT DIMENSIONS DIMENSIONS 1602 685 1284 ...
Page 11: ...11 BMG7652SA PRODUCT DIMENSIONS DIMENSIONS 1758 685 1284 ...
Page 15: ...15 ASSEMBLING THE BARBECUE 4 18 19 3 ...
Page 16: ...16 19 15 ASSEMBLING THE BARBECUE 5 6 11 BMF7645SA BMF7655SA ASSEMBLY ...
Page 17: ...17 ASSEMBLING THE BARBECUE 7 8 11 ...
Page 18: ...18 ASSEMBLING THE BARBECUE 17 9 10 BMF7645SA BMF7655SA ASSEMBLY ...
Page 19: ...19 ASSEMBLING THE BARBECUE 11 12 13 16 ...
Page 20: ...20 ASSEMBLING THE BARBECUE 11 13 14 23 BMF7645SA BMF7655SA ASSEMBLY ...
Page 21: ...21 ASSEMBLING THE BARBECUE 15 16 20 22 21 ...
Page 26: ...26 ASSEMBLING THE BARBECUE 25 26 BMF7645SA BMF7655SA ASSEMBLY ...
Page 27: ...27 ASSEMBLING THE BARBECUE 27 28 6 7 ...
Page 28: ...28 ASSEMBLING THE BARBECUE 29 30 BMF7645SA BMF7655SA ASSEMBLY ...
Page 31: ...31 ASSEMBLING THE BARBECUE 35 36 1 Locate the warming rack Sliding locked Sliding unlocked ...
Page 32: ...32 ASSEMBLING THE BARBECUE 10 37 38 9 BMF7645SA BMF7655SA ASSEMBLY ...
Page 33: ...33 ASSEMBLING THE BARBECUE 39 40 8 Spanner 19mm Spanner 22mm ...
Page 39: ...39 ASSEMBLING THE BARBECUE 5 Assemble the back trolley panels with M6 head screws x7 11 11 ...
Page 40: ...40 ASSEMBLING THE BARBECUE 6 7 13 13 BMG7642SA BMG7652SA ASSEMBLY ...
Page 41: ...41 ASSEMBLING THE BARBECUE 17 16 8 9 Assemble the trolley top panel with M6 head screws x8 ...
Page 43: ...43 ASSEMBLING THE BARBECUE 14 12 13 ...
Page 44: ...44 ASSEMBLING THE BARBECUE 14 15 BMG7642SA BMG7652SA ASSEMBLY ...
Page 46: ...46 ASSEMBLING THE BARBECUE 18 19 BMG7642SA BMG7652SA ASSEMBLY ...
Page 47: ...47 ASSEMBLING THE BARBECUE 4 20 21 ...
Page 49: ...49 ASSEMBLING THE BARBECUE 10 24 25 ...
Page 51: ...51 ASSEMBLING THE BARBECUE 28 29 Push down ON to brake Push down OFF to move ...
Page 74: ...74 NOTES NOTES NOTES ...


