6
SECTION 3
P1351 AC POWER SUPPLY OPERATING INSTRUCTIONS
TYPICAL OPERATION
.
1.)
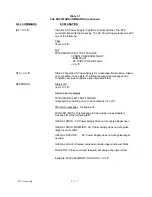
Connect the AC power supply to a suitable source of 120 VAC power using the supplied line cord. See
operational considerations for further information on input power requirements.
2.)
Connect the load or device to be tested to the front or rear panel output terminals. The load must
be connected between the HIGH and LOW terminals.
3.)
Set the
VOLTS
adjust control to minimum ( fully CCW ) and ensure that the output switch is in the
off ( button out ) position.
4.)
Turn on the power switch. At this point the sound of the cooling fans should be evident and the front
panel
VOLTS
display should indicate zero volts. ( 000 to 002 is normal )
5.)
Push the display
SELECT
switch so that the green
FREQ
LED
is on. Use the frequency adjust control
to set the desired output frequency.
6.)
Set the output range as desired using the output
RANGE SELECT
switch ( in for 0 to 270). There red
HIGH
LED will light to indicate the 0-270V range is selected.
7.)
Set the
VOLTS
control to provide the desired output voltage and energize the load by pressing the
OUTPUT
switch. It is also permissible to set the
OUTPUT
switch on and then slowly increase the
output voltage with the
VOLTS
control. The best procedure to use is load dependent. See section 4
of this manual for additional information.
8.)
To monitor the load current, toggle the
FREQ/AMPS
display to read amps by pressing the display
SELECT
switch. The
AMPS
LED should be on.
The frequency and voltage may now be varied as required by individual testing needs. The load may
also be turned on and off using the
OUTPUT
switch, however, certain limitations exist. Certain load
types may cause surge currents that may eventually wear out the power supply’s output relay or trip
output protective circuits. See section 4 for more information.
IMPORTANT !
To prevent damage to the load or power supply the RANGE switch should only be used when
the output is off and the VOLTS control is set to zero. This will prevent potentially damaging
output transients.
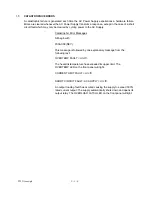
SHUTDOWN PROCEDURE
1.)
Press the OUTPUT switch to turn of the load .
2.)
Set the VOLTS adjust to maximum counter-clockwise.
3.)
Set the POWER switch to OFF.


