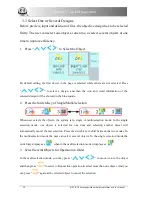
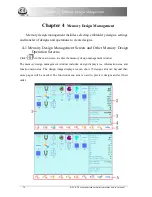
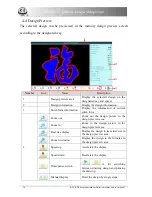

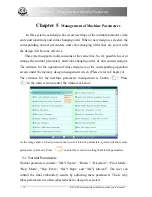
Chapter 4 Memory Design Management
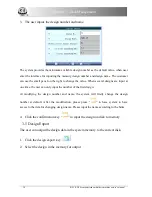
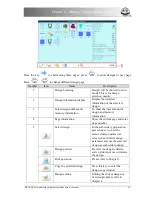
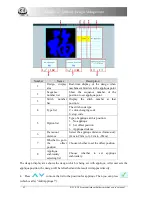
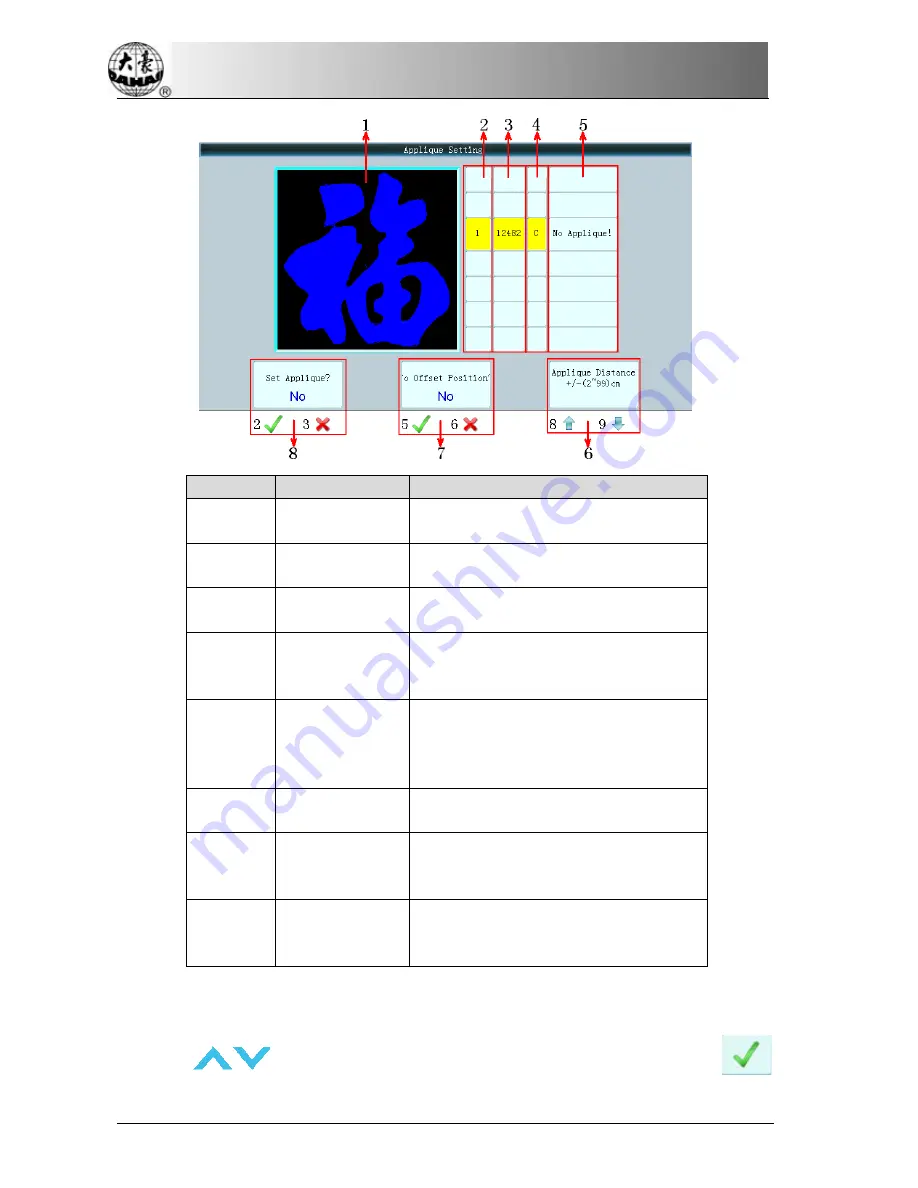
Number
Name
Description
1
Design display
area
Real-time display of the design when
machine embroiders to the applique point
2
Sequence
number list
Show the sequence number of the
position to set applique point.
3
Stitch number
list
Display the stitch number at that
position.
4
Type list
The stitch code type
C: color-changing code
S: stop code
5
Option list
Type of applique at this position:
1
.
No applique
2
.
Set offset position
3
.
Applique distance
6
Frame-out
distance
Select the applique distance (frame-out):
(2cm to 99cm) or (-2cm to -99cm)
7
Whether to go to
the offset
position
Choose whether to set the offset position
8
Applique
embroidery
selecting list
Choose whether to set applique
embroidery.
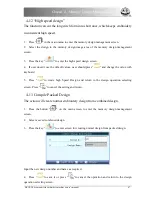
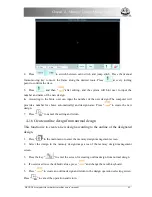
The design display area shows the design which is being set with applique. After user sets the
applique position, the design will be refreshed and the result will appear directly.
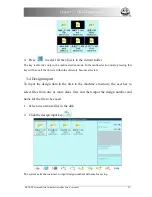
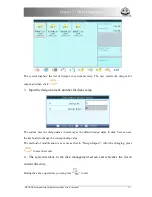
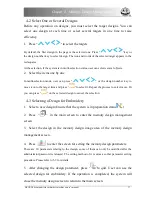
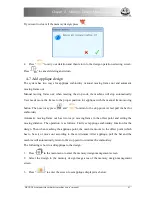
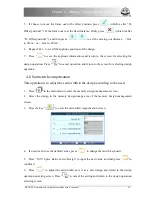
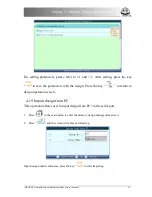
4.
Press
to move the list to the position for applique. Then you can press
(which is after “Add Applique?”).
42 BECS- D56 computerized embroidery machine owner’s manual
Summary of Contents for BECS-D56
Page 2: ......