2-8
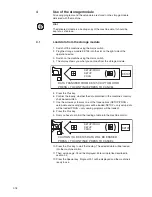
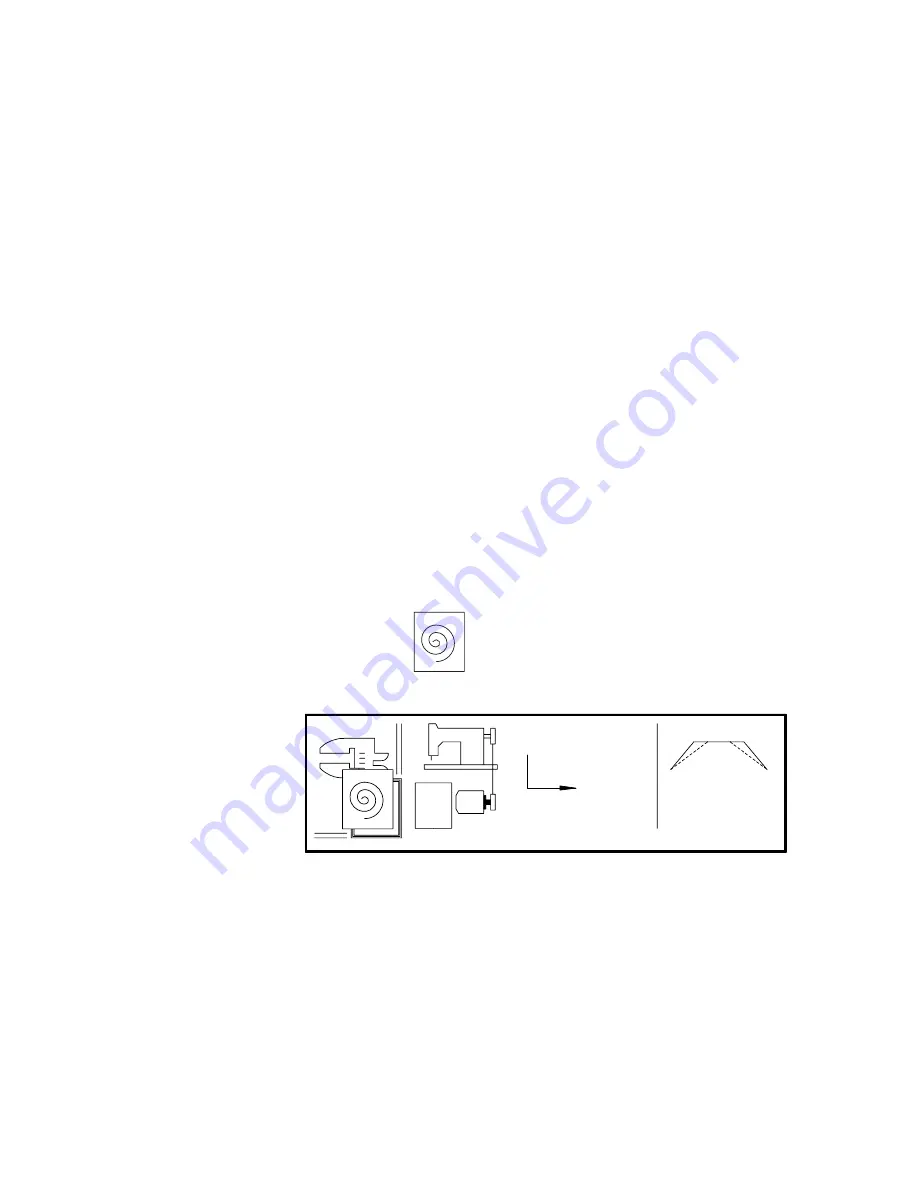
After opening the setup page, the cursor is positioned on the icon of the turn
direction. Press the Plus key to change the turn direction (viewed on the belt
disc).
Define needle zero-position
1. Position the cursor on the icon of the needle zero position.
2. Turn the hand wheel with impetus in the set turn direction until the angle
value below the turn direction icon changes.
3. Turn the hand wheel, until the needle stands at the top edge of the stitch
plate.
4. Press the Plus key to accept the value as zero position.
5. Press the Special key to leave the page or continue with the setting of the
needle top and bottom position.
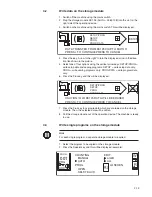
Define needle top and bottom position
These positions are defined as a factory setting but can be modified:
1. Position the cursor on the stroke „II. Pos.“.
2. Turn the hand wheel into the set turn direction, until the needle stands in
the desired top position.
3. Read the angle value below the turn direction icon (est. 294).
4. Press the Plus or Minus key to enter the displayed value into the entry box
beside the stroke „II Pos.“.
5. Position the cursor on the stroke „I Pos.“.
6. Press the Plus or Minus key to enter the value „170“ into the entry box
beside the stroke „I Pos.“.
7. Press the Special key to leave the setup page.
3.4.2
Revs (min. and max.)
Pull: 75
5400
[3600]
MAX.:
MIN.: 400
DEC.
80%
ACC.
100%
RESET
ON
SETUP-02
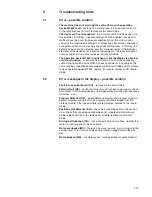
Position the cursor on all sections listed below and set the recommended
values using the Plus or Minus key:
MAX.:
3600
MIN.:
400
ACC.
100 %
Summary of Contents for 1500/70 Series
Page 24: ...1 22 ...


