ITALIANO
ENGLISH
MICROTEC 810
10
COD. 653628 Rev.0
7
10
INSTALLAZIONE
MONTAGGIO CARTER DI PROTEZIONE
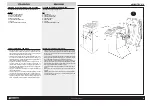
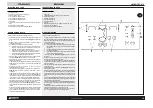
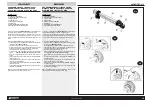
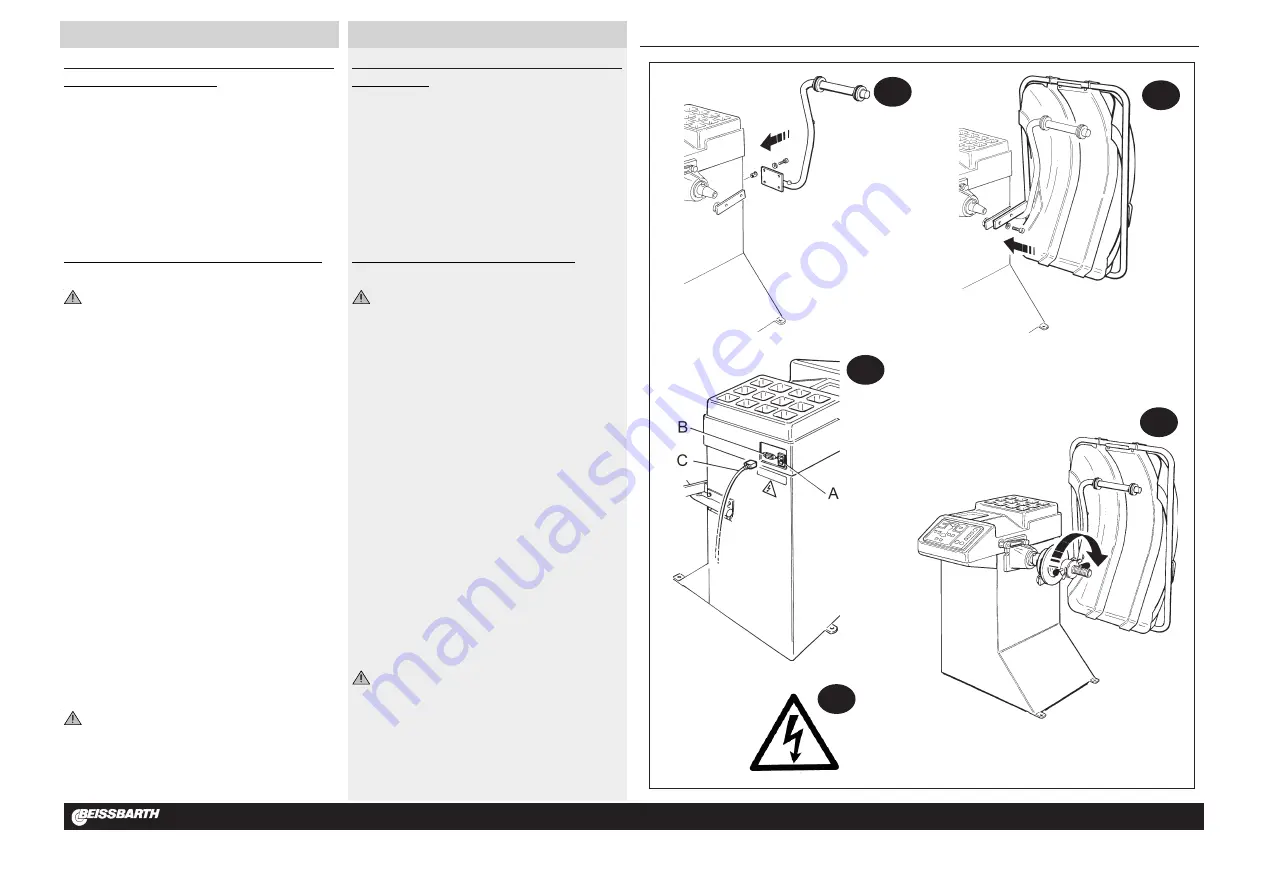
Fissaggio braccio di sostegno
(fig.7):
1. inserire i 4 dadi a gabbietta, in dotazione, nei fori previsti nella parte
posteriore del cassone;
2. fissare il braccio di sostegno al cassone, con 4 viti, nei dadi fissati in
precedenza (interponendo 4 rondelle); usare un chiave a brugola di 6.
Fissaggio carter di protezione
(fig.8):
3. fissare il carter protezione ruota al perno di supporto, con 2 viti
(interponendo 2 rondelle); usare un chiave a brugola di 6. Il carter aperto
deve appoggiare sul braccio di supporto come in fig. 8.
COLLEGAMENTO ELETTRICO E VERIFICHE DI FUNZIONAMENTO
COLLEGAMENTO ELETTRICO
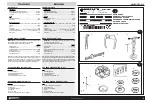
(fig.9)
OGNI INTERVENTO SULL’IMPIANTO ELETTRICO, ANCHE DI
LIEVE ENTITÀ, DEVE ESSERE EFFETTUATO DA PERSONALE
PROFESSIONALMENTE QUALIFICATO !
»
Controllare la conformità tra la tensione di linea e quella indicata sulla
targa della macchina;
in caso contrario NON ALIMENTARE la
macchina
.
»
Il cavo di alimentazione della macchina, fornito nella dotazione, è dotato
di spina normalizzata conforme alle norme Europee.
»
Collegare il cavo di alimentazione (
C
in fig.9) al connettore (
B
in fig.9)
posto sul lato posteriore della macchina ed inserire la spina nella presa
di rete.
»
Verificare l’efficacia della messa a terra.
»
La protezione della rete a valle del collegamento a spina deve ve-
nire eseguita a cura del cliente
mediante fusibili di sicurezza oppure
mediante interruttore automatico di sicurezza o sezionatore onnipolare
con apertura dei contatti di almeno 3mm, conformi alle norme Europee.
»
Effettuato il collegamento, accendere la macchina mediante l’interruttore
generale (
A
in fig.9).
VERIFICHE DI FUNZIONAMENTO (fig.10)
»
Premendo il pulsante di START (con il carter abbassato), la ruota montata
deve ruotare in senso orario, vista dal lato destro della macchina.
La
corretta direzione di rotazione è indicata da una freccia sulla
carcassa della macchina
.
»
Se la rotazione avviene nel senso sbagliato, la macchina si arresterà
immediatamente.
»
Nel caso in cui si verificasse un uso anomalo della macchina, azionare
immediatamente
l’interruttore generale
(
A
in fig.9) e controllare il
manuale di istruzioni nella sezione
malfunzionamenti
.
IL COSTRUTTORE DECLINA OGNI RESPONSABILITÀ PER LA
MANCATA OSSERVANZA DI DETTE PRESCRIZIONI
.
Prestare sempre particolare attenzione ai
SEGNALI DI SICUREZZA
rappresentati da appositi adesivi applicati sulla macchina.
Fig.11: etichetta scarica elettrica - cod. N.100789
Nel caso di smarrimento o deterioramento dell’etichetta adesiva si prega di
richiederla attraverso il relativo numero di codice, al servizio “parti di ricambio”
BEISSBARTH.
8
9
INSTALLATION
MOUNTING GUARD
Fixing support arm
(fig.7):
1. Insert the 4 nuts (supplied) in the holes bored in the back of the body;
2. Fix the support arm to the body with 4 screws fastened in the 4 nuts
already mounted, inserting 4 washers; use no. 6 hex key.
Mounting guard
(fig.8):
3. Mount the wheel guard on the support pin, using 2 screws and relative
washers; use a no. 6 hex key to tighten. The open guard should rest on
the support arm as in fig. 8.
ELECTRICAL CONNECTIONS AND OPERATING CHECKS
ELECTRICAL CONNECTION
(fig.9)
ALL WORK ON THE ELECTRICAL SYSTEM, EVEN OF A MINOR
NATURE, MUST BE CONDUCTED BY PROFESSIONALLY QUALI-
FIED PERSONNEL !
»
Check that mains tension is the same as on the rating plate;
DO NOT
CONNECT THE MACHINE if the two do not match.
»
The machine supply cable (supplied) is fitted with CE standard plug.
»
Connect up supply cable (
C
in fig.9) to connector (
B
in fig.9) located on
the back of the machine and insert plug into mains socket.
»
Check earth.
»
Supply protection downstream of the plug-socket connection is
the user’s responsibility.
A fuse or automatic safety switch or cut-off
with minimum 3 mm contact break in conformity with European standards
can be used.
»
After connecting, start up the machine by throwing the main switch (
A
in
fig.9).
OPERATING CHECKS (fig.10)
»
Press the START button (with guard down); the mounted wheel should
rotate in a clockwise direction looking from the right side of the machine.
Correct rotation direction is indicated by an arrow on the machine
body
.
»
If the wheel rotates in the wrong direction, the machine will shut down
immediately.
»
Should a fault be observed in machine operation, throw the
main switch
immediately (
A
in fig.9) and consult the manual in the
malfunctioning
section.
THE MANUFACTURER DECLINES ALL RESPONSIBILITY FOR THE
FAILURE TO OBSERVE THE INSTRUCTIONS GIVEN ABOVE.
Always pay attention to the
SAFETY WARNING SIGNS
applied as
labels on the machine.
Fig.11:
electrical discharge label – code no. 100789
In the case of the disappearance or deterioration of the adhesive labels
please
request replacements from BEISSBARTH’s spare parts service, quoting the
relevant code number
.
11
Summary of Contents for MICROTEC 810
Page 44: ...MICROTEC 810 N 653332 Rev 2 ...
Page 45: ...MICROTEC 810 N 653333 Rev 3 ...
Page 48: ...OPTIONAL N 653334 Rev 1 ...
Page 49: ......


