Installation
Operating manual AVERO Motion
V2.6 E
Page 12 of 48
5.1.1 Removing the cardboard
Proceed in the following way to remove the cardboard:
•
Cut the strap with the cutter knife
•
Remove the strap
•
Lift the cardboard up to remove it and put it aside
•
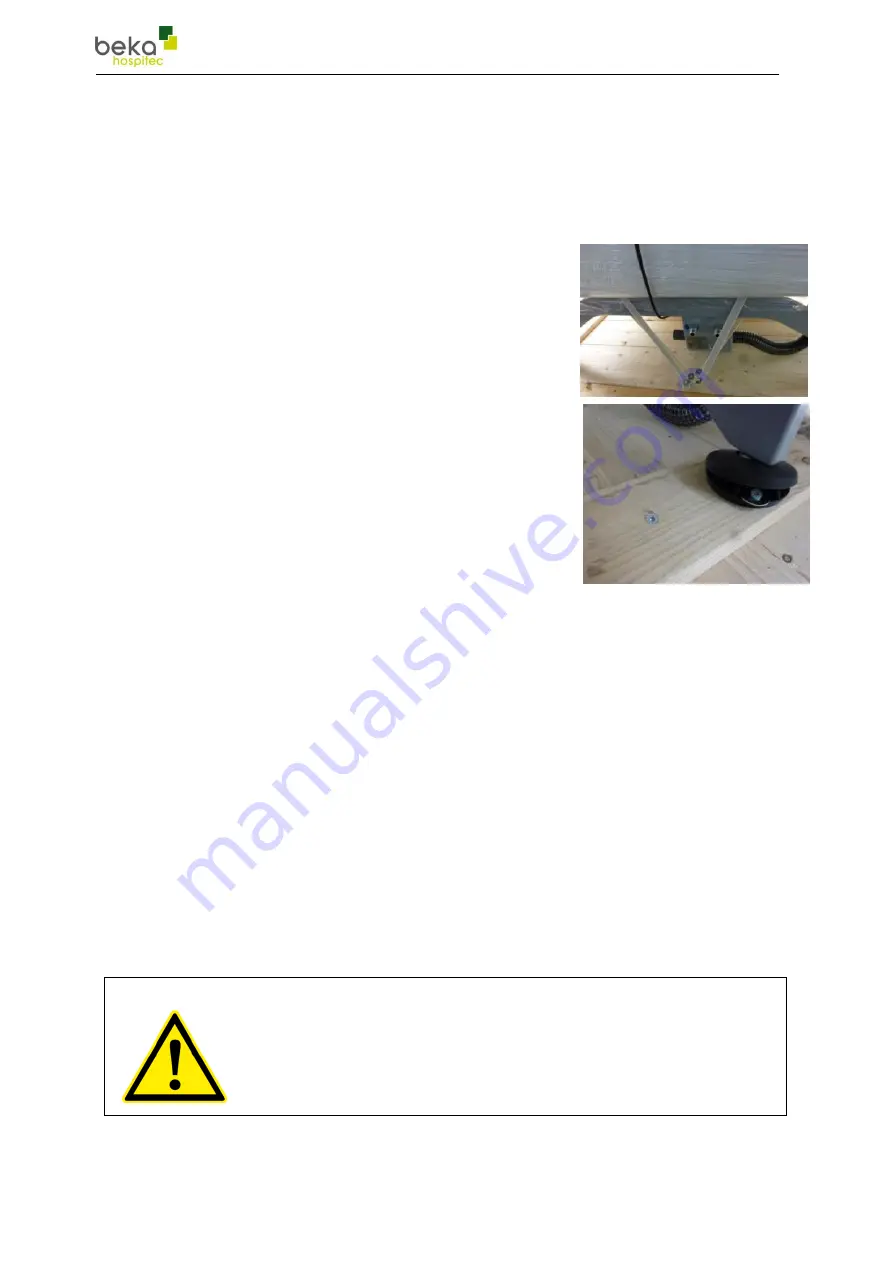
5.1.2 Loosening the product from the pallet
The bath tub is on both sides strapped to the pallet.
Proceed in the following way to loosen the product
from the pallet:
•
Unscrew the fixing screws of the straps and the feet
of the tub.
•
Remove the straps
•
Lift the bath tub off the pallet.
•
Install the bath tub at the intended location of use.
•
Remove the bubble wrap and the stretch film
After all fixations have been removed, you can lift the bath tub from the pallet
(2 persons).
The accessories for your bath tub are included in the supplied cardboard box.
6 Installation
The bath tub is supplied ready for use. Use the level and the wrench (SW 10) to
vertically align the bath tub. The tub legs can be screwed in or out to adjust their
height. Please make sure that all legs are in contact with the floor and that the bath tub
stands stable.
Prior to the assembly of the footbath, the local connection pipes must be sufficiently
flushed before the footbath is connected. To avoid soiling of the pipes and fittings, dirt
filters must be installed on site.
NOTE
To connect the bath to the water supply, dirt filters must be used
on site. Please contact your plumber to this effect.
The bath tub must be connected through
½‘‘ hoses.
Summary of Contents for AVERO Motion
Page 34: ...Appendix Operating manual AVERO Motion V2 6 E Page 34 of 48 13 3 2 Connection at the rear...
Page 35: ...Appendix Operating manual AVERO Motion V2 6 E Page 35 of 48 13 3 3 Connection at the floor...
Page 36: ...Appendix Operating manual AVERO Motion V2 6 E Page 36 of 48 13 4 Declaration of Conformity...
Page 47: ...Appendix Operating manual AVERO Motion V2 6 E Page 47 of 48 Your notes...
Page 48: ...BEKA Hospitec GmbH Am R benmorgen 3 35582 Wetzlar Germany Phone Fax 49 0 6 41 9 22 20 0...


