background image

Issue: 1

11th September 2018

BA504G-SS-PM

and BA524G-SS-PM

general purpose

loop-powered 

panel mounting indicators

Issue 1

Summary of Contents for A504G-SS-PM

Page 1: ...Issue 1 11th September 2018 BA504G SS PM and BA524G SS PM general purpose loop powered panel mounting indicators Issue 1 ...

Page 2: ...al reference 6 2 1 Example Adding break points to a new indicator 6 3 Under and over range 6 4 Default configuration 7 Maintenance 7 1 Fault finding during commissioning 7 2 Fault finding after commissioning 7 3 Servicing 7 4 Routine maintenance 7 5 Guarantee 7 6 Customer comments 8 Accessories 8 1 Units of measurement and instrument identification 8 2 Display backlight 8 2 1 Loop powering the bac...

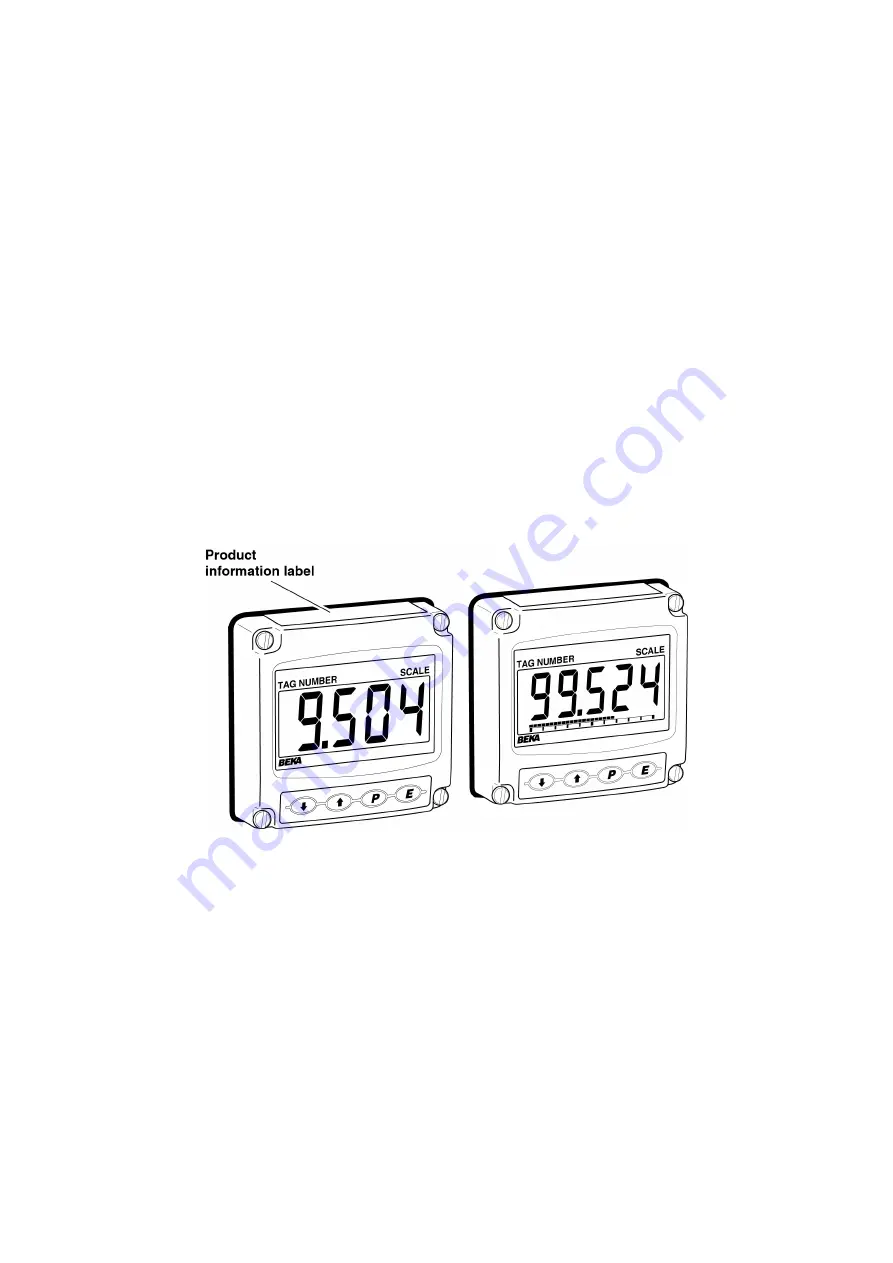
Page 3: ...presented by the 4 20mA current e g temperature flow pressure or level The BA504G SS PM and the BA524G SS PM are not certified for use in explosive atmospheres For hazardous area applications the BA304G SS PM or the BA324G SS PM should be used 2 OPERATION Fig 1 shows a simplified block diagram of all models The 4 20mA input current flows through resistor R1 and forward biased diode D1 The voltage ...

Page 4: ...function has been enabled Provides access to the configuration menu via optional security code Note BA524G SS PM only Φ If the indicator has been calibrated using the CAL function calibration points may not be 4 and 20mA 3 APPLICATIONS 3 1 Transmitter loops Both models may be connected in series with almost any 4 20mA current loop and calibrated to display the measured variable or control signal i...

Page 5: ...anel cut out dimensions and Fig 5 the installation procedure The panel should be flat and there should be no burrs or rough edges on the cut out a Position the black moulded silicone gasket onto the indicator s stainless steel casting b Secure the indicator assembly onto the panel using the four supplied M5 x 16 stainless steel hexagon headed screws and spring washers Ensure that the casting is co...

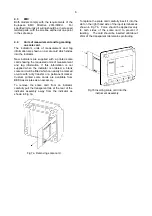
Page 6: ... indicator is ordered a blank scale card will be fitted which can easily be marked on site with a dry transfer or a permanent marker Custom printed scale cards are available from BEKA associates as an accessory To remove the scale card from an indicator carefully pull the transparent tab at the rear of the indicator assembly away from the indicator as shown in Fig 7a Fig 7a Removing scale card To ...

Page 7: ...tion BA504G SS PM BA524G SS PM Access code CodE 0000 0000 Function FunC Linear Linear Display at 4mA 2ero 0 0 0 00 Display at 20mA 5PAn 100 0 100 00 Resolution rE5n 1 digit 1 digit Bargraph start BarLo 0 00 Bargraph finish BarHi 100 00 button in display mode C P Tare tArE Off Off 5 1 Summary of configuration functions This section summarises each of the main configuration functions and includes a ...

Page 8: ...lay mode See section 5 9 CodE Security code Defines a four digit numeric code that must be entered to gain access to the configuration menu Default code 0000 disables this security function and allows unrestricted access to all conditioning functions See section 5 10 r5Et Reset Contains two sub functions ConF which returns the indicator to the default conditions shown in section 5 0 and LtAb which...

Page 9: ...9 ...

Page 10: ...s not required it should be positioned beyond the most or least significant digit When positioned as required press the button to enter the selection and return to the configuration menu 5 5 Calibration using an external current source CAL This function enables the zero and span of the indicator to be adjusted using an external calibrated current source When used with an accurate traceable current...

Page 11: ...dicator s digital display at which the bargraph starts is defined by the bArLo sub function which is selected by pressing the button followed by the button which will reveal the current indicator display at which the bargraph starts The flashing digit can be adjusted by pressing the or button when set as required pressing will transfer control to the next digit When all the digits have been adjust...

Page 12: ...shown in sections 5 0 and 6 4 To reset the indicator or lineariser select r5Et from the configuration menu and press the indicator will display one of the reset options ConF or LtAb ConF Resets the indicator to defaults LtAb Resets the lineariser to defaults Using the or push button select the required sub function and press To prevent accidental resetting the request must be confirmed by entering...

Page 13: ...ows direct calibration of the lineariser with an external current source and is the preferred method when traceability is required If the exact system non linearity is unknown this method also allows direct calibration from the variable to be displayed e g the output from a level sensor in an irregular tank may be displayed in linear volumetric units by filling the tank with known incremental volu...

Page 14: ...14 ...

Page 15: ...owing break point 6 1 1 Example Adding break points to a new indicator When adding break points to a new indicator or to a lineariser following resetting to the factory defaults using the LtAb function described in section 5 11 each additional break point should be added before the highest existing breakpoint The first additional break point should be added before the default break point 1 1 which...

Page 16: ...n by pressing the button The corresponding indicator display at each of the break points can now be defined using the di5P sub function Using the or button select the di5P sub function and press which will reveal the starting point for the first break point 0 n where n is the total number of break points entered Press and use the or button and the button to move between digits to enter the require...

Page 17: ...w the procedure shown in section 7 1 If this does not reveal the cause of the fault it is recommended that the instrument is replaced This can be done without disconnecting power but while the indicator is disconnected the 4 20mA loop will be open circuit 7 3 Servicing All BA504G SS PM and BA524G SS PM loop powered indicators are interchangeable if the required optional backlight and alarms are fi...

Page 18: ... separately powered When loop powered the backlight produces green background illumination enabling the display to be read at night or in poor lighting conditions No additional power supply or field wiring are required but the indicator voltage drop is increased When separately powered the backlight is brighter but additional field wiring is required Fig 11 Terminals for optional backlight 8 2 1 L...

Page 19: ...tor is removed both alarm outputs will open irrespective of configuration The open circuit condition should therefore be chosen as the alarm condition when designing an alarm system Fig 14 illustrates the conditions available and shows which are fail safe When an alarm occurs an alarm annunciator on the indicator front panel is activated and if required the numerical display can alternate between ...

Page 20: ...arised and current will only flow in one direction Ron less than 5Ω 0 7V Roff greater than 1MΩ Fig 15 Equivalent circuit of each alarm output The solid state output of each alarm may be used to switch any dc circuit with parameters equal to or less than Vmax 40V Imax 200mA Fig 16 Typical alarm application Shown without recommended screened cables ...

Page 21: ...21 ...

Page 22: ...larm setpoint The alarm is activated when the indicator display equals the setpoint See section 8 3 4 Hi Lo Alarm function Defines the alarm function as High or Low See section 8 3 5 no nC Normally open or normally closed output Sets the alarm output open or closed in the non alarm condition See section 8 3 6 H5tr Hysteresis Adjusts the alarm hysteresis See section 8 3 7 dELA Alarm delay time Intr...

Page 23: ...for fail safe operation both alarm outputs should be conditioned to be open in the alarm condition nC To check or change the alarm output status select no nC from the alarm configuration menu and press to reveal the setting The function may be changed by pressing the or button followed by the button to return to the alarm configuration menu 8 3 7 Hysteresis H5tr Hysteresis is shown in the units th...

Page 24: ...hout having access to the indicator configuration menu Protection against accidental adjustment of the setpoints when the indicator is in the display mode is provided by a separate security code This direct setpoint access menu is enabled and the separate security code entered from the AC5P function in the alarm configuration menu as shown in Fig 17 To change the menu parameters select AC5P from t...

Page 25: ...int plus the displayed value to be represented or a low and a high setpoint plus the displayed value to be represented by the bargraph as shown in Fig 19 Fig 19 Displayed value and setpoints on bargraph The bargraph area below the low alarm setpoint and the area above the high alarm setpoint are activated The displayed variable is represented by an activated bar which moves between these low and h...

Reviews: