


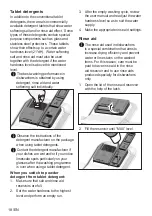

11/EN
Your dishwasher
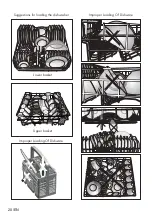
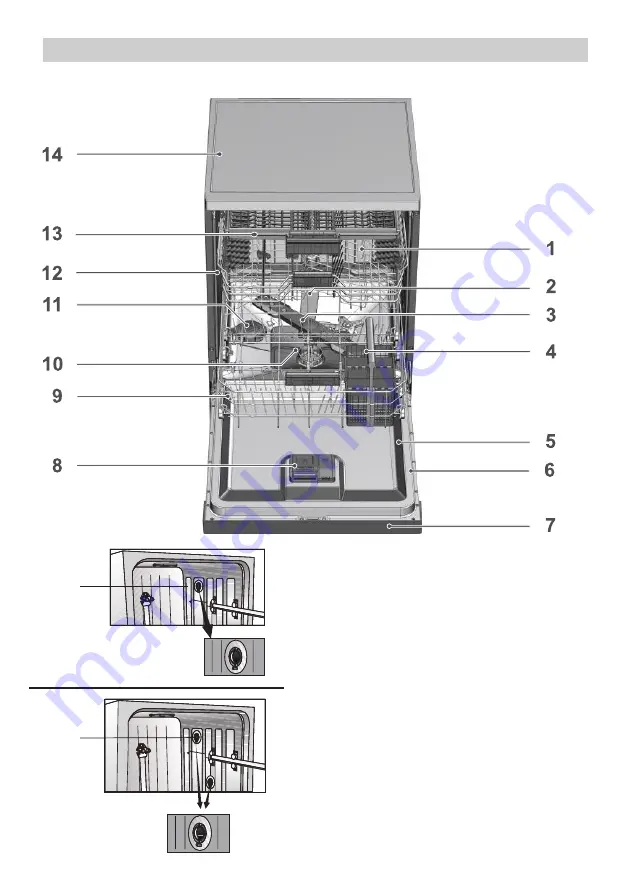
Overview
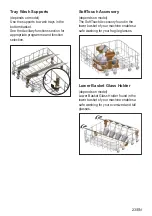
1. Upper basket
2. Upper impeller
3. Lower impeller
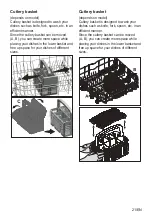
4. Cutlery basket (depends on model)
5. Door
6. Rating Label
7. Control panel
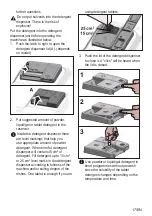
8. Detergent dispenser
9. Lower basket
10. Filters
11. Salt reservoir lid
12. Upper basket rail
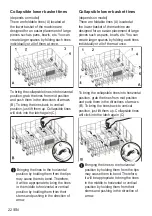
13. Upper cutlery basket (depends on model)
14. Tabletop (depends on model)
15. Fan drying system (depends on model)
3-
15
15


