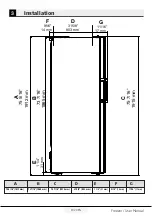
Installation
10 / 20 EN
Freezer / User Manual
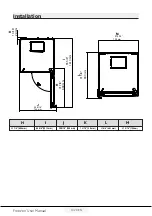
3.1. Before Installat
i
on
•
Before
i
nstall
i
ng, be sure the
open
i
ng measurements are
suff
i
c
i
ent to rece
i
ve the product
and that the appropr
i
ate electr
i
cal
and plumb
i
ng connect
i
ons are
present.
•
Refer to the nearest Author
i
zed
Serv
i
ce Agent for
i
nstallat
i
on
of the product. To make the
product ready for use, make sure
that the electr
i
c
i
ty
i
nstallat
i
on
i
s appropr
i
ate before call
i
ng the
Author
i
zed Serv
i
ce Agent. If not,
call a qual
i
f
i
ed electr
i
c
i
an to have
any necessary arrangements
carr
i
ed out.
•
Place the product on an even floor
surface to prevent jolts.
•
Install the product at least
12’’(30cm) away from heat sources
such as hobs, heater cores and
stoves and at least 2’’(5 cm)away
from electr
i
cal ovens.
•
Product must not be subjected to
d
i
rect sun l
i
ght and kept
i
n hum
i
d
places.
•
Appropr
i
ate a
i
r vent
i
lat
i
on must
be prov
i
ded around your product
i
n order to ach
i
eve an eff
i
c
i
ent
operat
i
on. If the product
i
s to be
placed
i
n a recess
i
n the wall, pay
attent
i
on to leave at least 2’’(5 cm)
d
i
stance w
i
th the ce
i
l
i
ng and s
i
de
walls.
•
Do not
i
nstall the product
i
n places
where the temperature falls below
23 °F (-5°C).
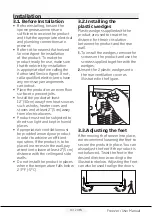
3.2.Installing the
plastic wedges
Plast
i
c wedges suppl
i
ed w
i
th the
product are used to create the
d
i
stance for the a
i
r c
i
rculat
i
on
between the product and the rear
wall.
1.
To
i
nstall the wedges, remove the
screws on the product and use the
screws suppl
i
ed together w
i
th the
wedges.
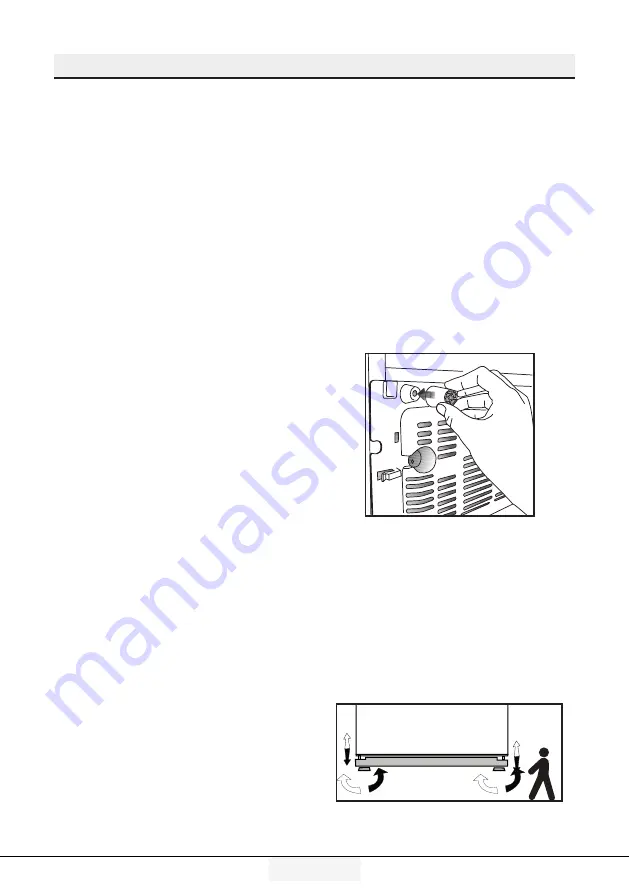
2.
Insert the 2 plast
i
c wedges onto
the rear vent
i
lat
i
on cover as
i
llustrated
i
n the f
i
gure.
3.3.Adjusting the feet
After mov
i
ng the freezer
i
nto place,
we recommend lower
i
ng the feet to
secure the product
i
n place. You can
also adjust the feet
i
f the product
i
s
not balanced. Tw
i
st the feet
i
n the
des
i
red d
i
rect
i
on accord
i
ng to the
i
llustrat
i
on below. Adjust
i
ng the feet
can also be used to al
i
gn the doors.


