


18
Dishwasher / User’s Manual
/44 EN
Preparation
Items not suitable for
washing in the dishwasher
•
Never wash dishes soiled by cigarette
ash, candle remnants, polish, dyestuff,
chemicals, etc. in your dishwasher.
•
Do not wash silverware and cutlery
with wooden or bone stems, glued
pieces, or pieces that are not resistant
to heat, as well as copper and tin-
plated containers in the dishwasher.
C
Decorative prints of chinaware
as well as aluminum and silver
items may get discoloured or
tarnished after washing in the
dishwasher just as it happens
in handwashing as well. Some
delicate glass types and crystals
may become dull in time. We
strongly recommend you to
check if the tableware you are
going to purchase is suitable
for washing especially in the
dishwasher.
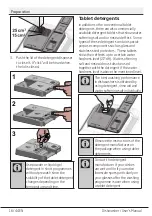
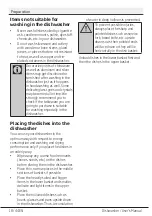
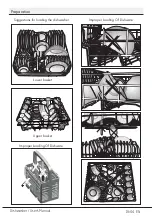
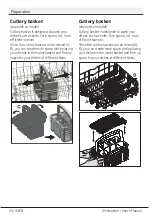
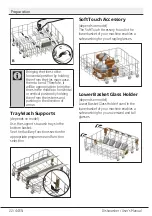
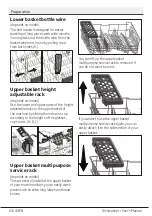
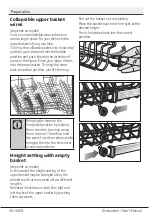
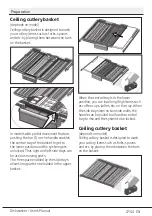
Placing the dishes into the
dishwasher
You can use your dishwasher in the
optimum way with respect to energy
consumption and washing and drying
performance only if you place the dishes in
an orderly way.
•
Wipe away any coarse food remnants
(bones, seeds, etc.) on the dishes
before placing them in the dishwasher.
•
Place thin, narrow pieces in the middle
sections of baskets if possible.
•
Place the heavily soiled and bigger
items in the lower basket and smaller,
delicate and light items in the upper
basket.
•
Place the hollowed dishes such as
bowls, glasses and pans upside down
in the dishwasher. Thus, accumulation
of water in deep hollows is prevented.
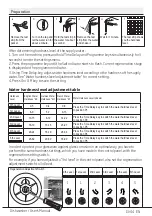
A
To prevent possible injuries,
always place the sharp and
pointed dishes such as service
fork, bread knife, etc. upside
down so as their pointed ends
will face down or they will lie
horizontally in the dish basket.
Unload dishes in the lower basket first and
then the dishes in the upper basket.


