INSTALLATION AND STARTUP
1MANUL220
Belanger, Inc.® * PO BOX 5470. * Northville, MI 48167-5470 * Ph (248) 349-7010 * Fax (248) 380-9681
4-7
Chapter 4 Frame and Carriage Assembly
Carriage Prep
Once the carriage has been placed on the rails, it will need to be rolled from end to end to verify various system
operations and functions. The carriage can be moved “manually” or “electrically”. See the procedures below to
disengage the drive, raise the carriage or adjust the rails. See the procedure in Chapter 22 of this manual to move
the carriage “electrically.”
The following information is a recommended procedure to be carried out before the initial carriage installation. The following
procedures will allow you to roll the machine back and forth on the rails without having to fight with the drive system which is
tied into the drive gearbox. Since you will be able to roll the machine much more easily, the time it takes to properly space the
rails at both ends will be reduced. These procedures will also reduce the time it takes to set the right amount of slack for the
boom hoses at the machine side, the center of the boom arms, and at the boom wall mount weldment.
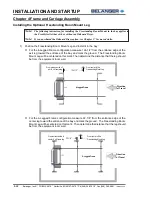
To prevent unwanted movement of the Carriage Assembly, it is locked into place by a steel key located in the Carriage
Gearbox. The following will instruct you how to disengage the Gearbox allowing free movement during the installation process.
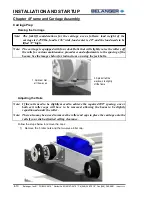
Drive Shaft Disengagement
While the carriage is on the shipping frame the drive train can be disengaged from the gearbox allowing the carriage to
roll freely when mounted onto the rails. This movement allows ease during installation when verifying the expansion
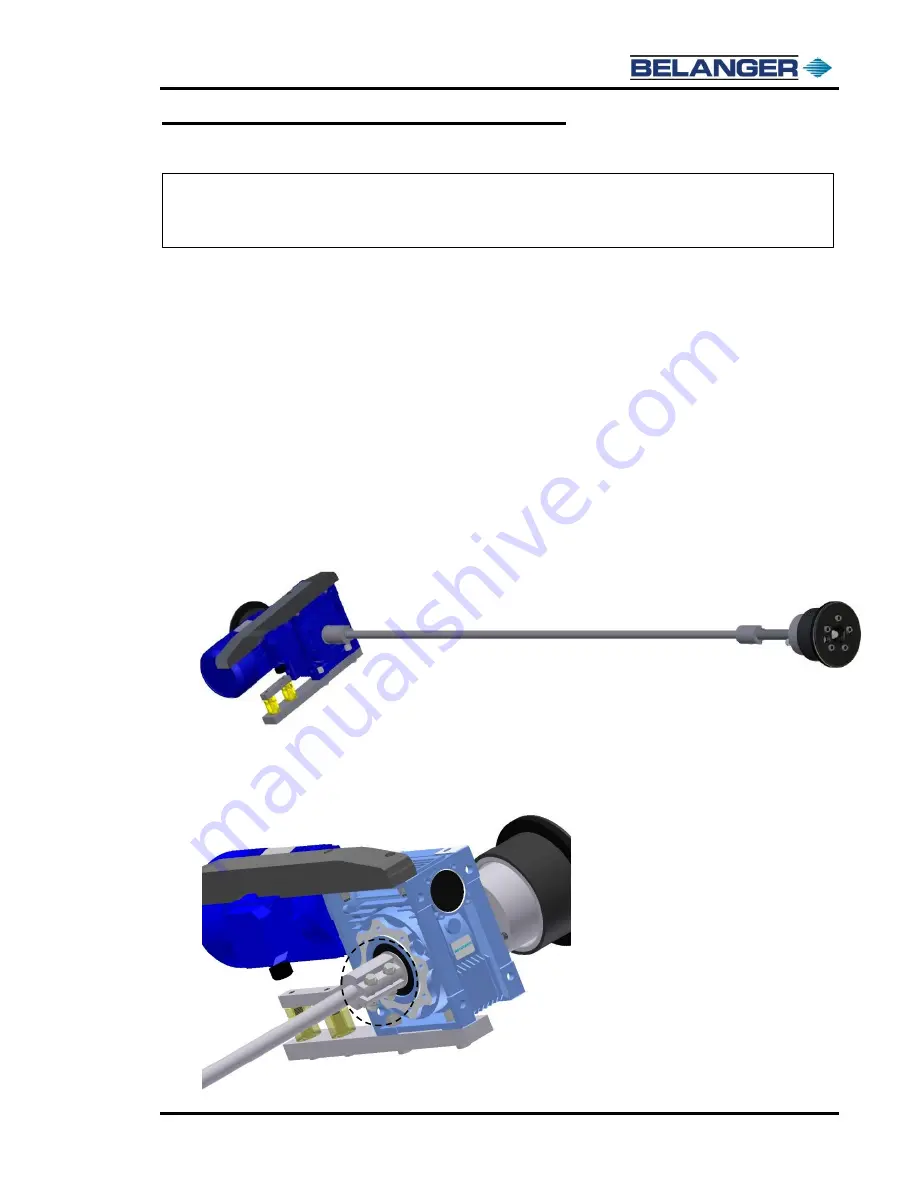
beam spacing, utility boom and boom mount operations. See the image below for an overview of the drive train.
Follow the steps below to properly disengage the drive train:
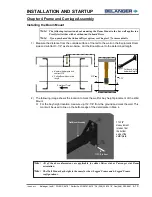
1) Locate the drive shaft coupling closest to the gearbox shown below.
Using a 9/16” open end wrench or ratchet with socket, loosen the coupling bolts.
Note:
The forklift considerations for the carriage are as follows: load weight of the
carriage is 2,250 lbs., load is 136” wide, load center is 40”, and the load needs to
be lifted 72” high.
Summary of Contents for FreeStyler
Page 1: ...FreeStyler Installation Startup FreeStyler Installation Startup 1MANUAL220 Rev14 ...
Page 2: ......
Page 4: ......
Page 12: ......
Page 13: ... Chapter 1 Introduction Chapter 1 Introduction ...
Page 14: ......
Page 26: ......
Page 28: ......
Page 31: ... Chapter 3 Getting Started Chapter 3 Getting Started ...
Page 32: ......
Page 52: ......
Page 53: ... Chapter 4 Frame and Carriage Assembly Chapter 4 Frame and Carriage Assembly ...
Page 54: ......
Page 123: ... Chapter 5 Entrance and Exit Photo Eyes Chapter 5 Entrance and Exit Photo Eyes ...
Page 124: ......
Page 135: ... Chapter 6 Treadle Assembly Chapter 6 Treadle Assembly ...
Page 136: ......
Page 142: ......
Page 144: ......
Page 151: ... Chapter 8 MixStir Options Chapter 8 MixStir Options Triple Foam and High Pressure Wax ...
Page 152: ......
Page 163: ... Chapter 9 Reclaim Water Adapter Kit Option Chapter 9 Reclaim Water Adapter Kit Option ...
Page 164: ......
Page 167: ... Chapter 10 Booster Pump Assembly Option Chapter 10 Booster Pump Assembly Option ...
Page 168: ......
Page 174: ......
Page 175: ... Chapter 11 Bug Spray Applicator Option Chapter 11 Bug Spray Applicator Option ...
Page 176: ......
Page 183: ... Chapter 12 Undercarriage Options Chapter 12 Undercarriage Options ...
Page 184: ......
Page 191: ... Chapter 13 Water Softener Option Chapter 13 Water Softener Option ...
Page 192: ......
Page 205: ... Chapter 14 HydroBlade Assembly Option Chapter 14 HydroBlade Assembly Option ...
Page 206: ......
Page 226: ......
Page 249: ... Chapter 16 Signage Options Chapter 16 Signage Options ...
Page 250: ......
Page 253: ... Chapter 17 Onboard Dryer Option Chapter 17 Onboard Dryer Option ...
Page 254: ......
Page 258: ......
Page 259: ... Chapter 18 Spot Free Rinse R O Option Chapter 18 Spot Free Rinse R O Option ...
Page 260: ......
Page 264: ......
Page 265: ... Chapter 19 Trades Chapter 19 Trades ...
Page 266: ......
Page 270: ......
Page 271: ... Chapter 20 Electrical Chapter 20 Electrical ...
Page 272: ......
Page 282: ......
Page 284: ......
Page 293: ... Chapter 22 Initial Startup Chapter 22 Initial Startup ...
Page 294: ......
Page 320: ......
Page 321: ......


