background image

706773

support@tdcusainc.com

1800 599 8898

E-Mail:

Address:

Name:

Your details:

Description of problem:

SERVICE CENTER

PRODUCT CODE

AFTER SALES SUPPORT

WARRANTY CARD

US

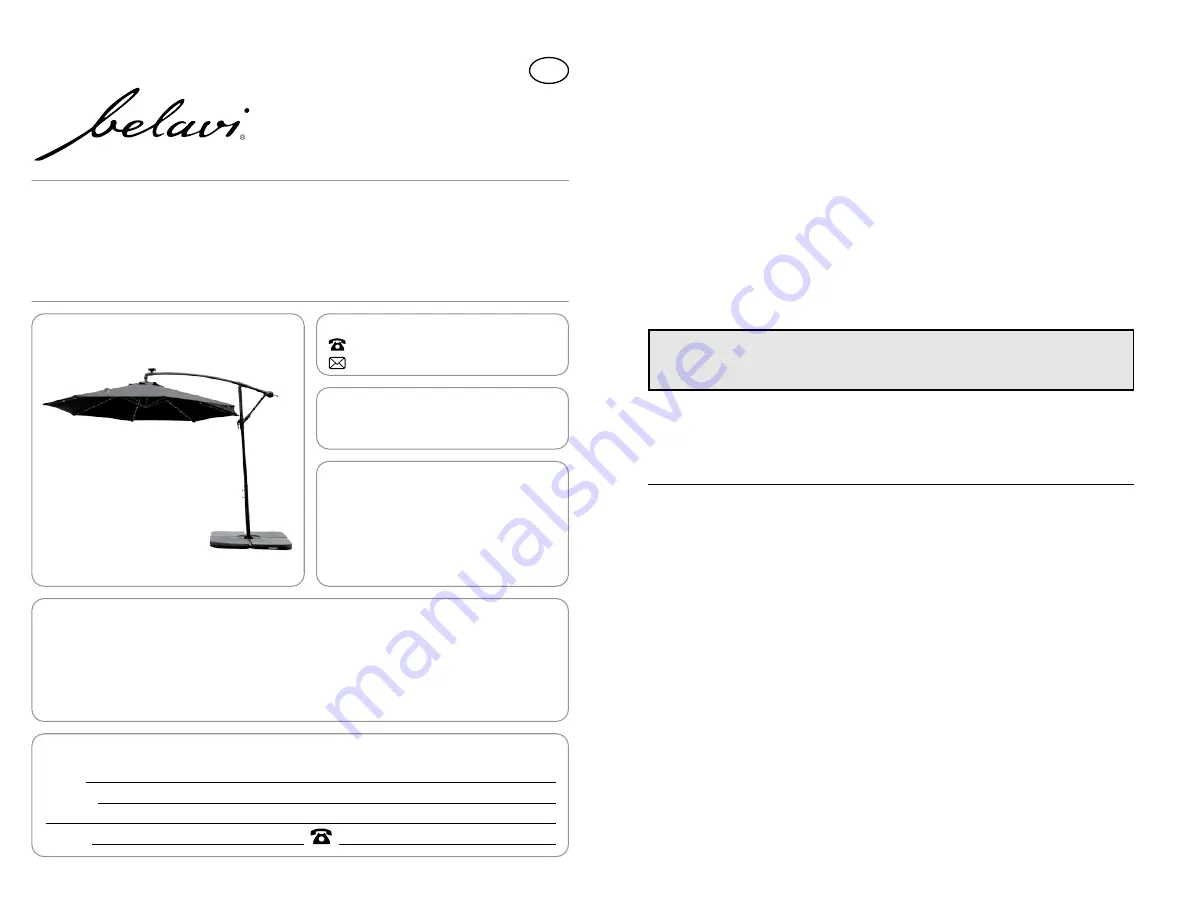
10 FOOT OFFSET 

SOLAR LED UMBRELLA

w h a t   a   w o n d e r f u l   w o r l d

23680-22

MODEL NUMBER

TDC USA, Inc.

5 Industrial Road, STE 1

Fairfield, NJ 07004-3017

United States of America

Phone lines available Monday to Friday

9am - 5pm EST.

Please contact our AFTER SALES SUPPORT by phone or e-mail when

needing assistance with your purchase.

Please retain your sales receipt which validates the 1-year Limited Warranty.

Only submit the Warranty Card when needing assistance with a faulty part.

Dear Customer:

The ALDI warranty is a full warranty offering you the following benefits:

Warranty period:

Costs:

Hotline:

Operating hours:

1 year* from date of purchase

6 months for movable parts and consumables under 

normal and proper conditions of use.

Free repair/exchange or refund.

No shipping or handling costs

1-800-599-8898

Monday - Friday, 9:00 AM - 5:00 PM EST

Please contact our service hotline by phone, email, or fax when needing assistance 

with assembly or with faulty parts. This allows us to provide support in the event of 

possible operator errors.

ALDI INC. FULL WARRANTY CONDITIONS

In order to make a claim under the warranty, please send us:
A copy of your sales receipt, your completed warranty card with contact 

information provided, and an explanation as to how we can help and what 

concerns you have with any parts. 

The warranty does not cover damage caused by:

•  Accident or unanticipated events to frame [metal parts] (e.g. wind, snow, 

lighting, fire).

•  Deterioration, fading, sagging, or unanticipated events to canopies and 

netting panels (e.g. wind, sun, rain, pets/animals).

•  Improper use or transport.
•  Failure to follow safety 
and maintenance instructions.
• 

Other improper treatment or modification.

After the expiration of the warranty period, you may have your product repaired at 

your own expense. You will be notified of the repair costs in advance.

This warranty gives you specific legal rights, which may vary from state to state, 

that are not intended to exceed statutory minimum requirements beyond what is 

included above.

This warranty does not limit the statutory obligation of the seller arising from any 

implied warranties. The period of warranty can only be extended in accordance 

with applicable law.

For 

Reference 

Only

Summary of Contents for 23680-22

Page 1: ...User Manual ________________ Manual del usuario 10 FOOT OFFSET SOLAR LED UMBRELLA English Page 3 Español Página 20 SOMBRILLA LED SOLAR DE 10 PIES CON SOPORTE LATERAL F o r R e f e r e n c e O n l y ...

Page 2: ... Do not use this umbrella without an umbrella counterweight Umbrella is NOT suitable for use in conditions of rain showers or light wind Failure to do so may result in personal injury and or damage CAUTION Assemble and use umbrella on a flat surface Recommend inserting the umbrella into an umbrella counterweight not included to secure umbrella in an upright position Placement of the umbrella over ...

Page 3: ...ns may result in faulty assembly and potential injury Assemble product on a soft non abrasive surface such as a carpet or cardboard to avoid damaging the item Seek assistance to assemble bulky or heavy items After final alignment make sure all bolts and nuts are securely tightened with screw covers pressed in place Cleaning Maintenance Spot clean with mild solution of soap and water Allow to air d...

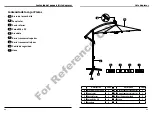
Page 4: ...scription Qty Description Qty A Umbrella Frame 1 F Top Crossbar 1 B Solar Panel 1 G Bottom Crossbar 1 C Bottom Pole 1 H Locking Knob 2 D M8x20 Bolt 4 I Wrench 1 E Washer 4 Hardware List A F E A D H G C B I F o r R e f e r e n c e O n l y ...

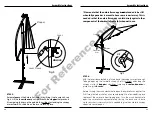
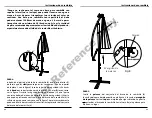
Page 5: ...pole placed in between the umbrella canopy and the canopy arm Turn the crank handle clockwise until the line inside the canopy arm tightens some Use the push pins to connect the top of the umbrella canopy to the umbrella housing see Fig 1 2 Please familiarize yourself with the descriptions for each component of the Umbrella Frame A below Assembly Instructions A Fig 1 Fig 2 Fig 11 Umbrella Canopy P...

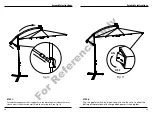
Page 6: ...t Locking Knob H through band found at the top of part C and into the bolt threading of this part see Fig 7 Insert second Locking Knob H into bolt threading underneath band Tighten the Locking Knobs H until pressed against the pole of the Umbrella Frame A enough to hold it in place see Fig 7 Over tightening may dent or chip away at the protective coating of the Umbrella Frame A Fig 7 Band Prong H ...

Page 7: ...topper and without securing the extension arm in place using the bracer Before turning the crank clockwise to open the umbrella canopy for the first time please be sure to have a counterweight not included in place to prevent the umbrella from tipping over Turn the crank clockwise to open the umbrella canopy completely Having the crank and its base up to your chest is normally what is needed to gi...

Page 8: ...eve meets the extension arm to lock the arm in place see Fig 10 Fig 10 ON OFF Fig 11 STEP 8 Flip the power switch on when ready to use Be sure to allow the battery of the solar panel to charge when power is running low Assembly Instructions Assembly Instructions F o r R e f e r e n c e O n l y ...

Page 9: ...ur solar umbrella for at least 8 hours in direct sunlight before the first use Failure to charge the batteries will result in premature dimming of the lights in your new solar umbrella For everyday normal use turn on the light switch at nighttime when you want to use the solar light and turn off the light switch after every use MAKE SURE THE LIGHT SWITCH IS IN THE OFF POSITION IN THE DAYTIME FOR T...

Page 10: ...e with assembly or with faulty parts This allows us to provide support in the event of possible operator errors ALDI INC FULL WARRANTY CONDITIONS In order to make a claim under the warranty please send us A copy of your sales receipt your completed warranty card with contact information provided and an explanation as to how we can help and what concerns you have with any parts The warranty does no...

Page 11: ...as sobre una superficie no abrasiva para evitar que se rayen Si falta alguna pieza NO intente ensamblar la unidad Llame a nuestro centro de atención al cliente de lunes a viernes de 9 00 a m a 5 00 p m EST al 1 800 599 8898 Precauciones Lea todas las instrucciones antes de ensamblar la unidad No hacerlo puede resultar en un ensamblaje incorrecto lo que puede ocasionar lesiones Ensamble la unidad s...

Page 12: ...nsversal superior G Barra transversal inferior H Perilla de seguridad I Llave Lista de piezas A C H E D G F B I Descripción Cant Descripción Cant A Brazo de la sombrilla 1 F Barra transversal superior 1 B Panel solar 1 G Barra transversal inferior 1 C Poste inferior 1 H Perilla de seguridad 2 D Perno M8 x 20 4 I Llave 1 E Arandela 4 F o r R e f e r e n c e O n l y ...

Page 13: ...F E A D H G C B I C D E F G PASO 1 Coloque la barra transversal superior F sobre la barra transversal inferior G para formar una cruz Fije el poste inferior C a las barras transversales con 4 pernos M8 x20 D con arandelas E F o r R e f e r e n c e O n l y ...

Page 14: ...de la sombrilla A a continuación A Fig 1 Fig 2 Fig 11 Toldo de la sombrilla Pasador Soporte de la sombrilla Poste Brazo Manivela Fig 3 Fig 4 Fig 5 Fig 6 A B Cable de alimentación Carcasa de energía solar PASO 3 Pase el cable de alimentación a través de la abertura posterior de la carcasa del panel solar vea la figura 3 Conecte el cable de alimentación al cable que se encuentra en la parte posterio...

Page 15: ...l brazo de la sombrilla A Fig 7 Banda Clavija H Ponga un contrapeso tal como una base para sombrilla con soporte lateral no se incluye que pueda llenarse con agua o arena o bases de pesas triangulares no se incluyen antes de continuar Una base para sombrilla con soporte lateral debe poder contener 150 libras de arena o agua o 4 bases de pesas triangulares de un mínimo de 38 lb cada una Esta es la ...

Page 16: ...anivela en sentido horario para abrir el toldo de la sombrilla completamente Tener lamanivelaysubasealaalturadelpechoesnormalmenteloquesenecesita para que el toldo de la sombrilla tenga suficiente espacio para abrirse Tenga en cuenta que el toldo de la sombrilla no está diseñado para quedar tenso al abrirse completamente sino ligeramente suelto para poder mecerse Esto es necesario para que el told...

Page 17: ... la abrazadera del manguito de la palanca para desbloquear estas partes 2 Lleve la base de la manivela a la palanca al nivel del pecho tirando del brazo del toldo hacia usted 3 Gire la manivela en sentido antihorario para cerrar el toldo de la sombrilla vea la figura 12 4 Baje el brazo del toldo a su posición plegada 5 Desbloquee la palanca y baje el brazo del toldo y el manguito de la palanca con...

Page 18: ...ación disminuye Solo use tres 2 pilas recargables Ni MH de 1200 mAh tamaño AA de cualquier vendedor minorista reconocido Instale solo pilas nuevas del mismo tipo en su producto No respetar la polaridad correcta al instalar las pilas como se indica en el compartimiento de las pilas puede acortar la vida útil de las pilas o provocar que tengan una fuga No mezcle pilas nuevas y viejas No mezcle pilas...

Page 19: ... podemos ayudarle y qué inquietudes tiene con las piezas La garantía no cubre los daños ocasionados por Eventos accidentales o imprevistos para el marco partes metálicas por ejemplo viento nieve rayos fuego Deterioro decoloración hundimiento o eventos imprevistos para los toldos y paneles de malla por ejemplo viento sol lluvia mascotas animales Uso o transporte inadecuados Incumplimiento de las in...

Page 20: ... F o r R e f e r e n c e O n l y ...

Page 21: ...EL MODELO support tdcusainc com 1800 599 8898 US 706773 AFTER SALES SUPPORT SERVICIO POSVENTA 1 YEAR WARRANTY AÑO DE GARANTÍA US Made in China DIST SOLD EXCLUSIVELY BY ALDI BATAVIA IL 60510 F o r R e f e r e n c e O n l y ...

Reviews: