11
[PRODUCT NAME]
[DOCUMENT TYPE]
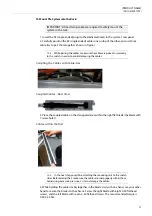
To Mount The System into the Rack:
1. Insert the SE (single ended) plugs to the dedicated inlets in the system's rear panel.
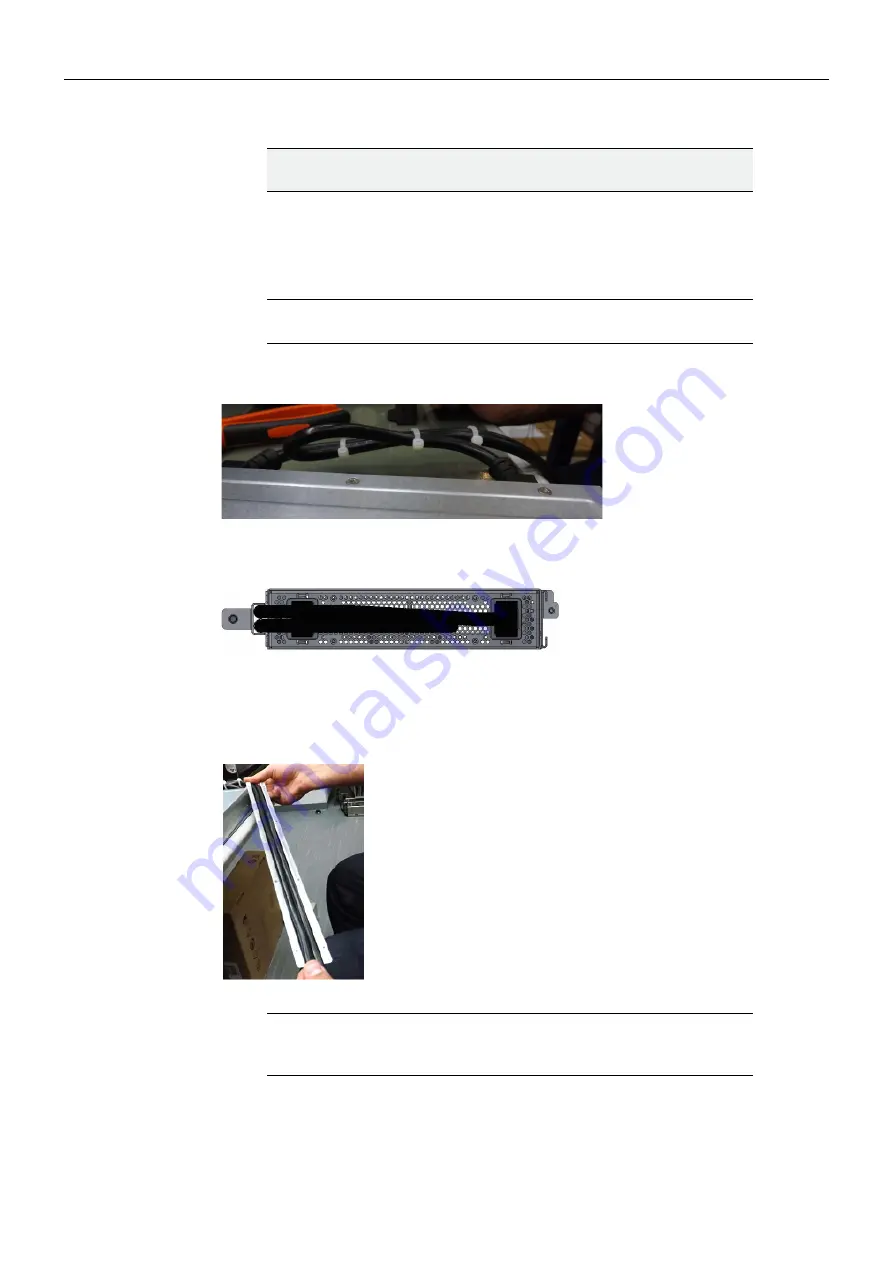
2. Carefully position the SE (single ended) cables one on top of the other, and use three
cable ties to pair them together (shown in figure).
Coupling the Cables with Cable-ties
Coupled Cables - Rear View
3. Place the coupled cables in the designated area within the right flat blade (the blade with
7 screw holes).
Cables within the Rail
4. While holding the cables stably together in the blade's rail with one hand, use your other
hand to secure the blades to the chassis. Screw the right blade with eight 4-40 flathead
screws, and the left blade with seven 4-40 flathead screws. The recommended torque is
0.49-0.54 Nm.
IMPORTANT: At least two people are required to safely mount the
system in the rack.
Note:
While pairing the cables, make sure the cables are paired in symmetry
to the switch, in order to avoid damaging the cables.
Note:
In the next step you will be attaching the mounting rails to the switch
sides. Before doing that, make sure the cables are laid properly within them.
Avoid using excessive pressure, as it can damage the cables.


