15
Cable Installation
Cable Installation Overview
All cables can be inserted or removed with the unit powered on.
To insert a cable, press the connector into the port receptacle until the connector is firmly
seated. The LED indicator, corresponding to each data port, will light when the physical
connection is established. When a logical connection is made, the relevant port LED will turn
on.
To remove a cable, disengage the locks and slowly pull the connector away from the port
receptacle. The LED indicator
for that port will turn off when the cable is unseated.
For full cabling guidelines, ask your Grass Valley representative for a copy of Grass Valley Cable
Management Guidelines.
For more information about port LEDs, refer to Port LEDs.
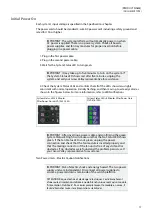
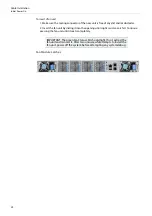
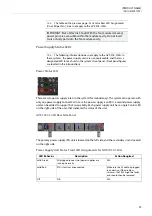
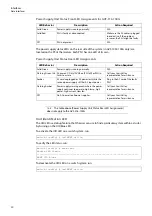
GVF-1032-100G and GVF-516-100G QSFP Cable Orientation
Splitter (Breakout) Cables and Adapters
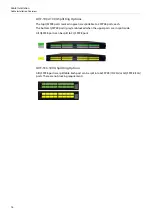
A 100GbE port can be split to two 50GbE ports, or to four (or less) 25GbE ports, using a Grass
Valley splitter cable. For GVF-1032-100G systems, splitting a 100GbE QSFP28 port to 4 separate
25GbE ports (using a splitter cable) disables (unmaps) the 100GbE port below it. See "GVF-
1032-100G Splitting Options" below.
Using Splitter (Breakout) Cables
When using this feature, you should log into the CLI and configure the individual ports to be
'split-2' or 'split-4'.
IMPORTANT: Do not force the cable into the cage with more than 40
newtons / 9.0 pounds / 4kg force. Greater insertion force may cause
damage to the cable or to the cage.


