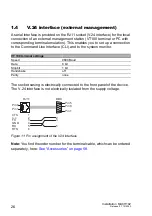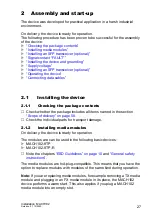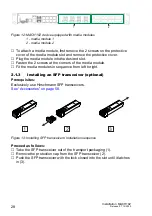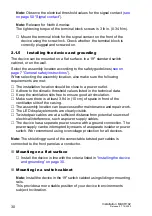
Installation MACH102
Release 07 12/2020
31
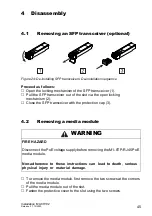
For more information on sliding/mounting rails and how to install them,
please contact your switch cabinet manufacturer.
The devices are designed to be mounted in a 19" switch cabinet.
Ensure adequate ventilation. If necessary, install an additional fan in
the switch cabinet to prevent the device from overheating.
Measure the depth of the 19" switch cabinet so as to allow the power
supply cables to be fitted at the back and the data cables to be fitted
at the front.
Assemble the sliding or mounting rails in the 19" switch cabinet as
specified by the manufacturer.
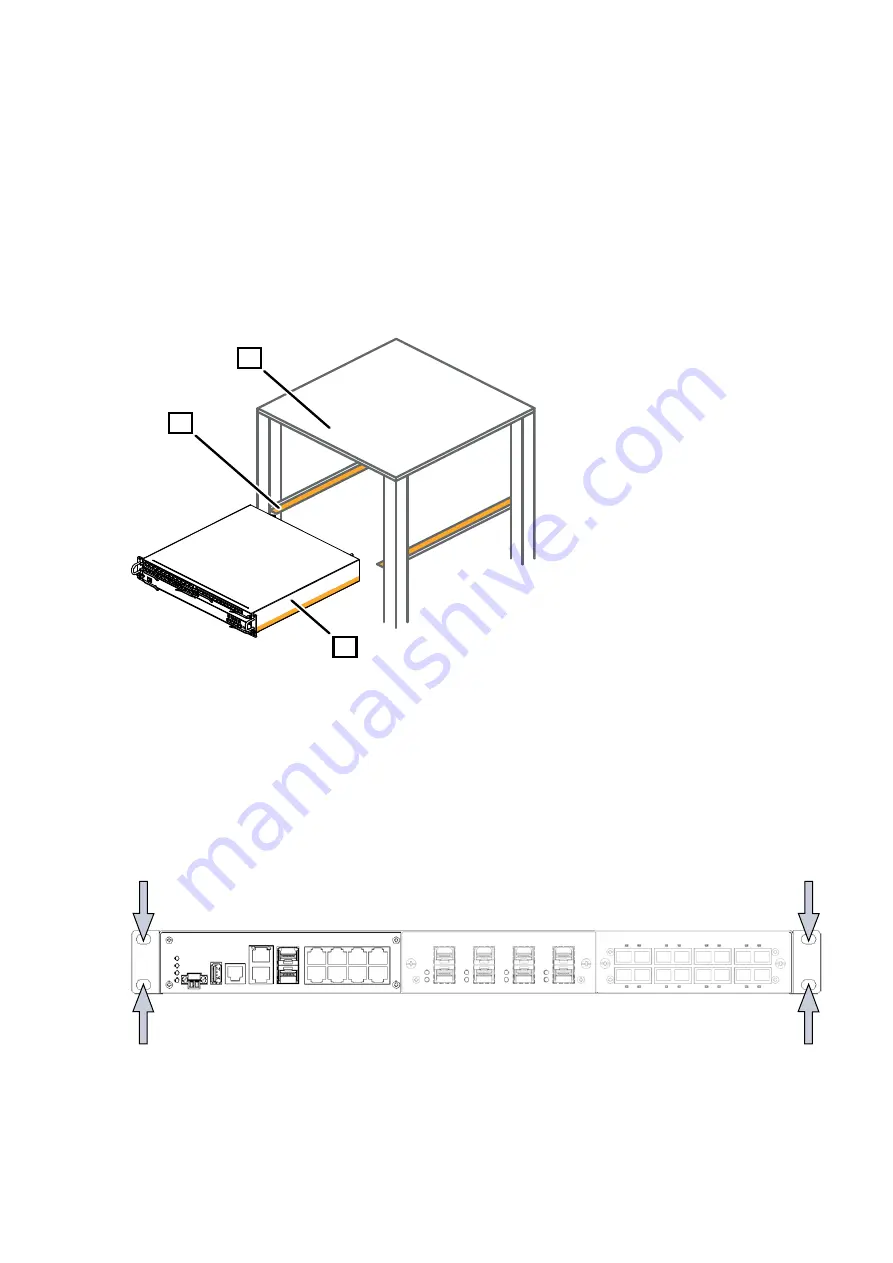
Figure 16: Assembly in a switch cabinet with sliding/mounting rails
1 - MACH102 device
2 - sliding/mounting rail
3 - 19" switch cabinet
On delivery, two brackets are attached to the sides of the device (see
figure below).
Figure 17: Mounting the MACH102 in the 19" cabinet
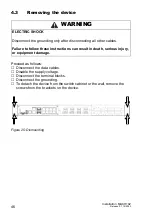
Fasten the device in the switch cabinet by screwing it in with the
mounting brackets.
1
3
2
LS DA
USB
V.24
MACH 1000
2
1
LS DA
3
4
9
10
P
StandBy
RM
FAULT
R1 R2
5
6
7
8
13
14
11
12
17
18
15
16
21
22
19
20
25
26
23
24
LS DA
LS DA
LS DA
LS DA
Summary of Contents for Hirschmann MACH102 Series
Page 62: ......


