19
Belkin
®
Advanced Secure Windowing KVM User Manual
SECTIONS
InsTallaTIon
3
Installation
step 1 – Connecting the Console devices to the belkin advanced
secure Windowing KVM
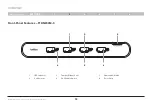
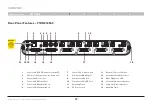
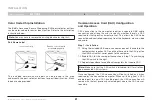
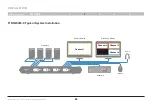
See figure above for connector locations.
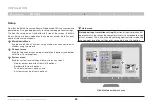
• Connect the user display.
• Connect the user keyboard (USB or PS/2).
• Connect the user mouse (USB or PS/2). Verify that mouse is a
5-buttontype.
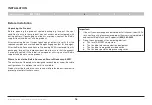
note:
If a USB mouse is connected to the USB keyboard port or if
USB keyboard is connected to the USB mouse port, it will not work.
note:
Keyboards with integrated USB hubs, card-readers, storage
devices or multimedia extensions will be either not supported at all
or only the keyboard function will operate.
• Connect the user authentication device to the CAC USB port
• Connect the user headphones or amplified speakers to The Belkin
Advanced Secure Windowing KVM audio output jack.
note:
Do not connect a microphone to the Belkin Advanced Secure
Windowing KVM audio output port.
step 2 – Connecting the Computers
Connect the computers to The Belkin Advanced Secure Windowing
KVM through the following steps:
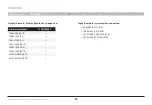
• Connect each computer with KVM cable (DVI and USB or VGA
and USB cables — for details on cables, see page 6). A USB cable
can be connected to any free USB port on the computer.
note:
If a computer has more than one video output connector, first
test for video output availability by connecting a display directly to
that port.
note:
The USB cable must be connected directly to a free USB port
on the computer with no USB hubs or other devices in between.
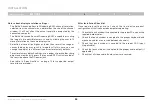
• Connect an audio cable to the computer audio output (lime green
color) or line output (blue color) jacks.

