Infinity WF Operator Manual
Page 46 of
117
S008459 Rev C
Increasing or decreasing the settings for each of the format controls can be done by:
•
Tapping
the
+
or
–
buttons to change the setting in single increments/decrements (e.g. 1, 2,
3, etc.)
•
Tapping and holding the
+
or
–
buttons
while the settings increase or decrease by at least
five single increments/decrements, at which time, the setting will then automatically increase
or decrease by whole increments/decrements of 5 (e.g. 5, 10, 15, etc.)
Note
Refer to
3.3.1 Using the Touch Screen
for explanations of the navigational buttons on
the Format Control 2 screen.
Auto Margin
The Auto Margin control adds or subtracts
margins from a scanned image. Adding
margin inserts a black border on the top,
bottom, and left and right sides of the
scanned image.
Individual margin control can be performed
using the Touch Screen’s Format Control 3
screen (see
5.5.3 Format Control 3
).
Auto Density
The Auto Density function detects the edges
of a document only if they are surrounded
by a dark background. It specifies the
density level used to decide whether a pixel
belongs to the background or not. Values of
25-35 are a proper setting in most cases
(default is 40).
Auto Skew
The Auto Skew enables the deskew
function and defines the maximum angle of
the document to be deskewed.
5.5.3 Format
Control
3
Tapping the
More
button on the Format Control 2 screen (
Figure 5.15
) displays the Format
Control 3 screen.
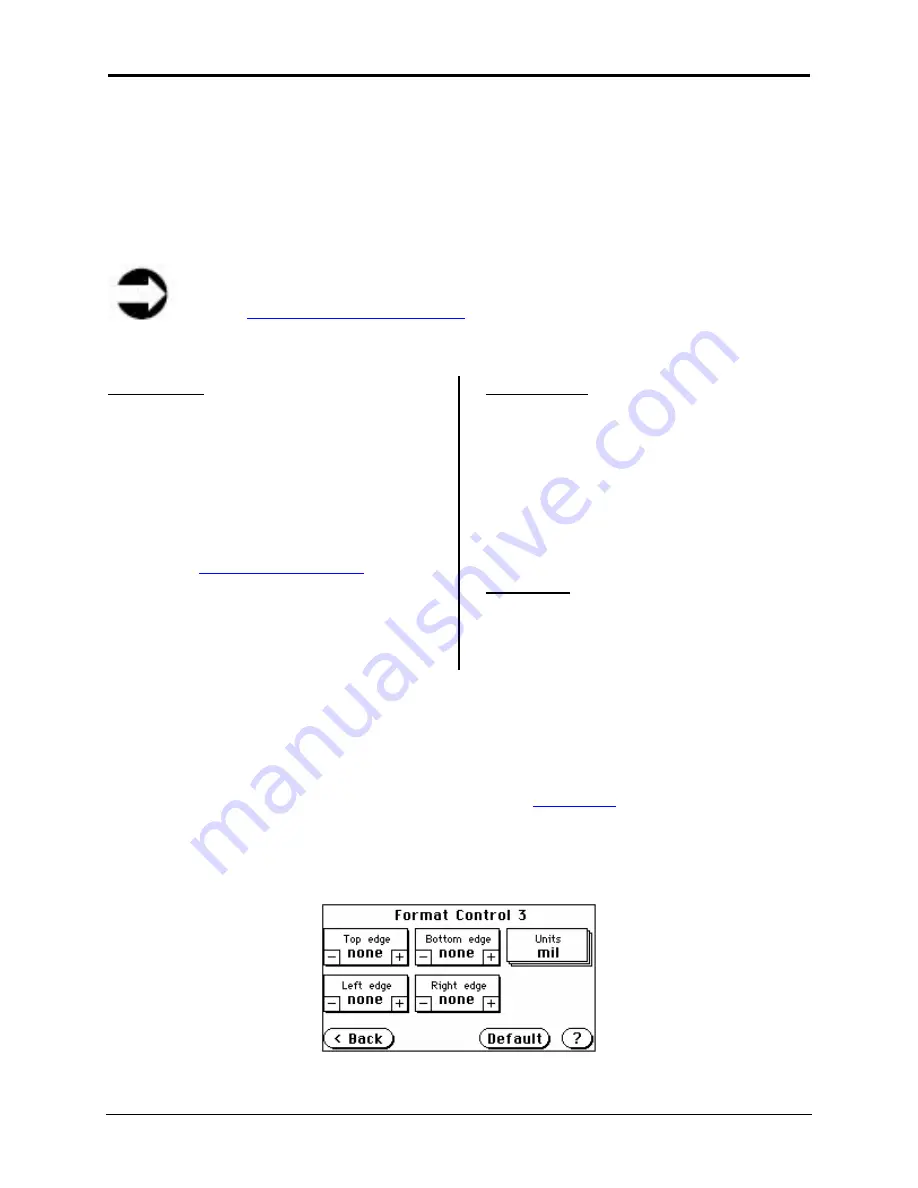
The Format Control 3 screen consists of the following controls: Top Edge; Bottom Edge; Units;
Left Edge; and Right Edge.
Figure 5.16: Format Control 3


