3. Using Your Monocular
13
3. Using the Monocular
3.1 Photo Shooting
Power the monocular
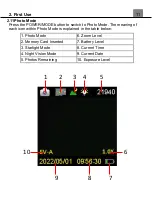
on and it will be ready to capture photos right away. A
camera icon will appear in the top left corner of the screen. Press the
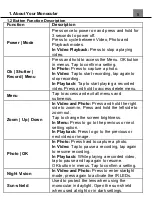
POWER/MODE button to switch to a different mode.
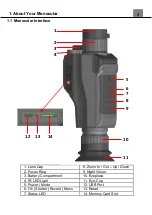
1. Line up your shot by looking at the LCD screen to see what is in the shot.
2. Hold the monocular steady and press the PHOTO button to capture a photo.
3. The number of photos that can be captured at a particular resolution
will be displayed in the top right corner of the screen.
4. The number of remaining photos is determined by the selected photo
resolution. The higher the photo resolution, the lower the number of photos
you are able to be save to the memory card. Before capturing any photos,
you can select a preferred photo resolution.
3.2 Video Recording
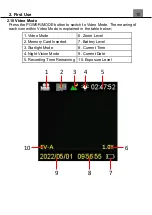
A camcorder icon will appear in the top left corner of the screen when you
are in Video mode. You may press the POWER/MODE button to switch to
another mode.
1. Line up your shot by looking at the LCD screen to see what is in view.
2. Hold the monocular steady and press the RECORD button to begin recording.
3. When recording begins, a rolling timer will display in red in the top right corner
of the screen. This indicates the recorded video time elapsed.
4. Press the RECORD button to stop recording.
5. The recorded video files will automatically save onto the inserted memory card.
Summary of Contents for BHNV10
Page 1: ...BHNV10 User s Manual...
Page 23: ......


