Network Functions
164
6.
Press the OK button. The original "Make New Connection" screen will appear. Press the
"Next>" button.
7.
Set up the phone number (and country code, if applicable). When the data is entered, press
the "Next>" button. You are now ready to establish a remote connection.
12.11.2.3 Setup for PPP Client using "Dial-Up Networking" – Remote
Connection
1.
In the Dial-Up Networking group, click once to highlight the icon for the ASG Guard/ASG
Guard Plus (from above) and press the right mouse button. From the "Menu" bar, select
"Properties".
2.
Select the Server Types. Select the "PPP" option from the drop down menu a (as a
minimum) click the box next to the TCP/IP selection.
3.
Next, press the TCP/IP "Settings" button and select "Specify and IP Address". Enter the ASG
Guard/ASG Guard Plus’s IP address and press the OK button.
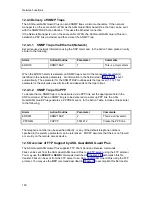
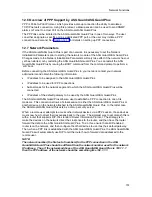
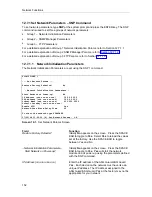
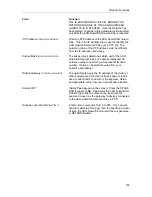
The PC is ready to start a PPP connection to the ASG Guard/ASG Guard Plus.
12.11.2.4 Establishing a PPP Connection
1.
From the Dial up Networking group, open the Profile entered for the dial up PPP connection
to the ASG Guard/ASG Guard Plus. The ’User Name’ and ’Password Fields’ are NOT used
by the ASG Guard/ASG Guard Plus for authentication. Consequently, the fields can be left
blank.
2.
To start the connection, press the Connect button. This will begin the dial out process.
3.
When the connection to the modem is made, a pop up terminal window will appear. Use this
window to authenticate yourself into the ASG Guard/ASG Guard Plus.
4.
When authentication is completed, type PPP at the system prompt and hit return.
5.
A string of characters will appear. Press the F7 key. This will complete the PPP connection
between the ASG Guard/ASG Guard Plus and the client PC. At this point any TCP/IP
protocol can be used over the connection.
Summary of Contents for Lucent Technologies Access Security Gateway Guard
Page 12: ...x Page intentionally left blank ...
Page 28: ...ASG Guard Overview 16 Page intentionally left blank ...
Page 36: ...Physical Connections 24 Page intentionally left blank ...
Page 60: ...Modem Port Setup 48 Page intentionally left blank ...
Page 82: ...Modifying the User Database 70 Page intentionally left blank ...
Page 120: ...Action and Event Tables 108 Page intentionally left blank ...
Page 158: ...User Connectivity 146 Page intentionally left blank ...
Page 188: ...Log Functions 176 Page intentionally left blank ...
Page 236: ...Troubleshooting 224 Page intentionally left blank ...
Page 252: ...Internal Battery Replacement 240 Page intentionally left blank ...
Page 258: ...Glossary of Command References 246 Page intentionally left blank ...

