26
21. Equipment
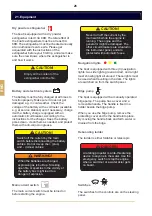
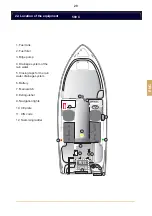
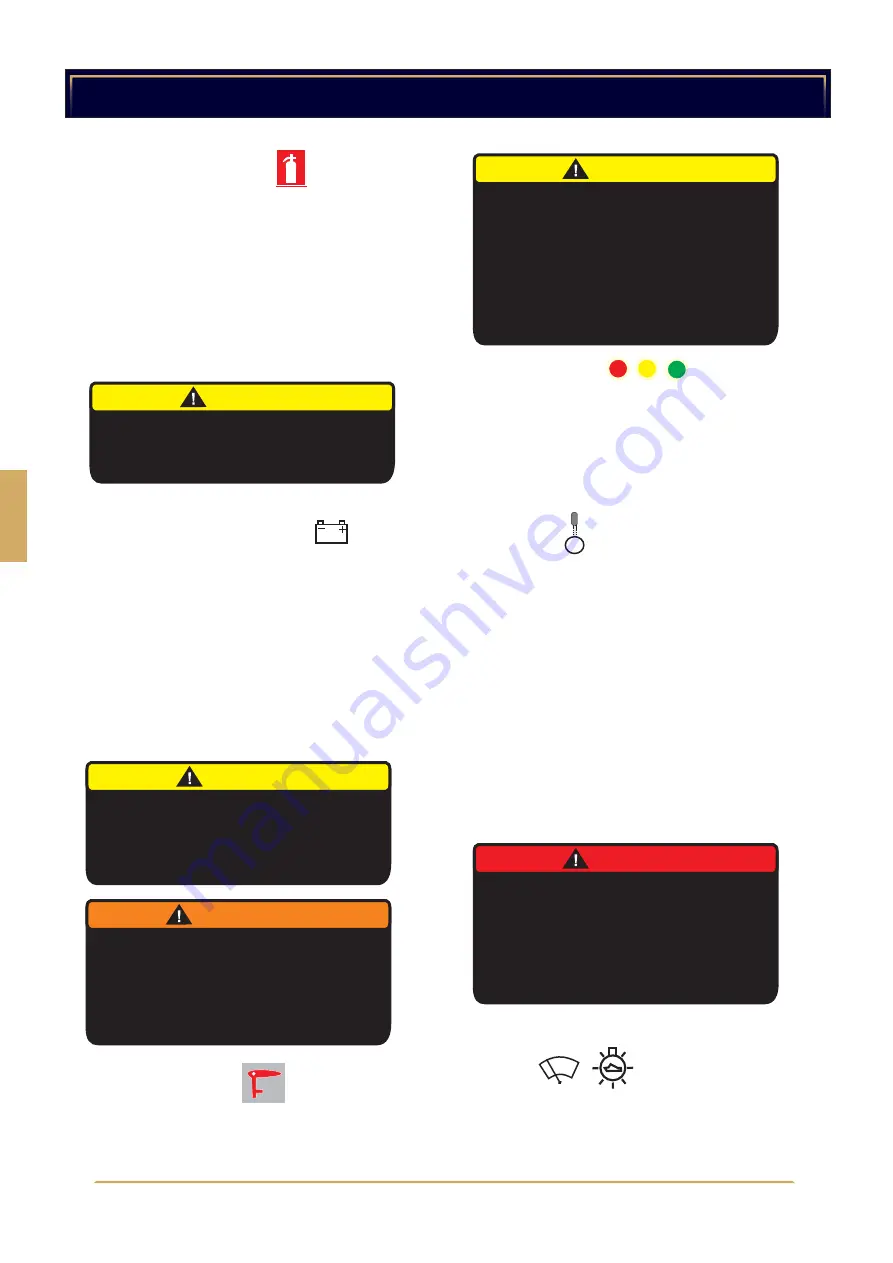
Navigation lights
Bilge pump
Reboarding ladder
The boat is equipped with three (3) navigation
lights: two side lights, green and red, and a light
mast showing light all around. These lights must
be used when travelling in the dark. The lights
are switched on from the switch panel.
The boat is equipped with a manually operated
bilge pump. The pump has a cover and a
removable handle. The handle is fixed in a
holder beside the bilge pump.
When you use the bilge pump, remove the
protecting cover and fix the handle into place.
By moving the handle back and forth, water is
drained from the bilge.
The ladder is either foldable or telescopic.
Switches
The switches for the controls are on the steering
panel.
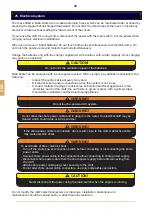
Empty all the content of the
extinguisher onto the fire.
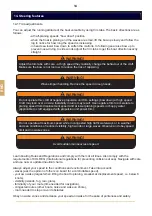
CAUTION!
CAUTION!
Switch off the current by the main
switch before disconnecting the battery
cables. Do not mix up the + (plus)
and - (minus) cables.
WARNING!
When the batteries are charged,
explosive gas is built up. Smoking,
open fire or sparkles in the vicinity of
the battery box might lead to a
danger of explosion.
Never turn off the current by the
main switch while the engine is
running. The engine and the
generator might be damaged. The
other circuit breakers are situated in
the instrument panel, and are
protected with automatic fuses.
CAUTION!
A rotating propeller is a life-threatening
device to anyone in the water. Use the
emergency switch or stop the engine
when a swimmer or a water skier gets
on board.
DANGER!
Dry powder extinguisher
Battery and electrical system
Main current switch
The boat is equipped with a dry powder
extinguisher rated 13A 89B. The total effect of
the boat’s extinguishers must be at least 8A
68B. The extinguisher must be checked annually
at an authorized service site. Please get
acquainted with the instructions of the
extinguisher before your first trip, and also make
sure the crew knows where the extinguisher is
and how it works.
The main current switch must be turned on
before starting the engine.
The battery must be fully charged at all times to
function properly. Make sure it does not get
damaged e.g. in cold weather. Check the
voltage of the battery with a voltmeter (available
e.g. at service stations) and if necessary, charge
it with a battery charger equipped with an
automatic circuit breaker, according to the
instructions for the charger. Keep the battery
poles clean - clean them as needed, and protect
them with anti-corrosion grease.
ENG
Summary of Contents for 530 HT
Page 1: ...Bella 530 HT Bella 560 HT Bella 580 C FIN SWE NOR ENG A6 V 2 7...
Page 2: ...Bella Veneet Oy We reserve the right to make changes without prior notice V 2 7...
Page 17: ...13 FIN 13 Oikea k ytt muut suositukset ja ohjeet VAARA 13 4 Hiilimonoksidivaara...
Page 25: ...Omistajan k sikirja Tekninen osio...
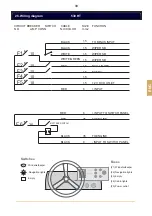
Page 38: ...26 S hk kaavio 560 HT 29 FIN...
Page 40: ......
Page 41: ...Bella 530 HT Bella 560 HT Bella 580 C FIN SWE NOR ENG A6 V 2 7...
Page 42: ...Bella Veneet Oy We reserve the right to make changes without prior notice V 2 7...
Page 57: ...13 SWE 13 4 Kolmonoxidrisk FARA 13 Korrekt anv ndning andra rekommendationer och riktlinjer...
Page 65: ...garens handbook Teknisk avsnitt...
Page 80: ......
Page 81: ...Bella 530 HT Bella 560 HT Bella 580 C FIN SWE NOR ENG A6 V 2 7...
Page 82: ...Bella Veneet Oy We reserve the right to make changes without prior notice V 2 7...
Page 97: ...13 NOR 13 Riktig bruk andre anbefalinger og retningslinjer 13 4 Fare for karbonmonoksid FARE...
Page 105: ...Eierens brukerh ndbok Teknisk del...
Page 120: ......
Page 121: ...Bella 530 HT Bella 560 HT Bella 580 C FIN SWE NOR ENG A6 V 2 7...
Page 122: ...Bella Veneet Oy We reserve the right to make changes without prior notice V 2 7...
Page 137: ...13 Proper use other recommendations and guidelines 13 4 Carbon monoxide hazard DANGER 13 ENG...
Page 145: ...Owner s handbook Technical section...
Page 160: ......
Page 161: ......

