G93
G93
12
USING A CERAMIC HOB - SAFETY
WARNING! If any crack should appear on the hob,
isolate the hob immediately from the mains supply.
Do not use any part of the hob but contact your
Belling Service Agent.
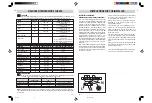
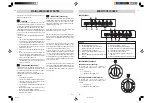
The following boiling plates are located beneath the
decorative circular patterned cooking areas:
Front Left
1.7 kW-1.8 kW (643SS only)
180 mm
Rear Left
1.2 kW
145 mm
Front Right
1.7 kW
180 mm
Rear Right
1.2 kW
145 mm
The cooking areas change colour when heated (become
red) indicating which heating element is energised. The
cooking area returns to its original colour when the
heating element is switched off and cools.
Halogen heating elements (where fitted) will appear to
be significantly brighter than the Fastlite ceramic
elements. As with other bright light sources, avoid
looking directly at the halogen elements for long periods
as you may feel some eye discomfort. Halogen elements
use a lamp and an inner heating coil together. As the
halogen lamp is very bright when lit, the inner coil may
appear duller (i.e. not working); this is normal and the
element is working correctly.
Warning
Even when the heating element control has been
returned to OFF position, the hotplate may still be hot.
The ceramic hob elements are fitted with special
controls to regulate the element temperatures and to
prevent overheating. The elements will be seen to switch
on and off during use as the temperature is maintained
automatically. This cycling effect is perfectly normal, and
is part of the designed operation of the elements and
controls. A slight hum may be heard from the elements
while they are in use. Although the heating elements
are fitted with safety cut-outs to prevent overheating, it
is important that the elements are not operated for any
length of time without a pan on the hob, as overheating
can still occur and may cause damage.
Whilst it is recommended that normal cleaning is carried
out when the hob has cooled, if jam, fruit or anything
with a high sugar content is spilled on the hob, or plastic
or aluminium is melted onto the hob, clean it off
immediately, as damage to the hob can result. (See ‘Care
of your hob’ on page 19)
Safety requirements for deep fat frying
IMPORTANT
- As with any cooking appliance there could
be some fire risk attached to the heating of oil,
particularly for deep fat frying, cooking utensils
containing oil
must not be left unattended
on or in
close proximity to the cooking zones. To minimise the
risks inherent with deep fat frying, we recommend the
following;
1. Use a deep pan, large enough to completely cover
the appropriate heating area.
2. Never fill the pan more than one-third full of fat or
oil.
3. Never leave oil or fat unattended during the heating
or cooking period.
4. Do not try to fry too much food at a time, especially
frozen food.
This only lowers the temperature of the oil or fat
too much, resulting in greasy food.
5. Always dry food thoroughly before frying, and lower
it slowly into the hot oil or fat. Frozen foods, in
particular, will cause frothing and spitting, if added
too quickly.
6. Never heat fat, or fry, with a lid on the pan.
7. Keep the outside of the pan, clean and free from
streaks of oil or fat.
In the unfortunate event of a chippan fire
1. Switch
Off
the electricity supply.
2. Smother flames with a fire blanket or damp cloth.
3. Leave the pan to cool for at least 60 minutes before
moving.
13
USING A CERAMIC HOB - GENERAL INFORMATION
NEVER
Never
cook directly on the hob surface without a cooking
utensil as this will result in damage to the surface of
the hob.
Never
use the hob as a worktop surface as damage
may occur to the smooth sides of the hob.
Never
drag or slide utensils on the hob surface, as this
will cause scratches in the surface of the hob.
Never
place anything between the base of the utensil
and the ceramic hob, e.g. do not use asbestos mats,
aluminium or wok stands.
Never
leave any utensils, food or combustible items on
the hob when it is not in use.
Never
place aluminium or plastic foil, or plastic
containers on the hob.
Never
leave the hotplates or cooking areas switched
ON unless they are being used.
Never
leave utensils partly covering the heated areas.
Always ensure that they are placed centrally over the
heated areas and have the same diameter as the heated
area used.
Never
use recessed or ridged base utensils. Ideally the
base of saucepan should be approximately the same
size as the heating area, up to a maximum of 254mm
(10").
Never
stare directly at Halogen heating units.
We recommend not to use a utensil with a base diameter
greater than 25cm (10"). We recommend not to place
large preserving pans or fish kettles across two heated
areas.
ALWAYS
Always
use good quality smooth flat based utensils.
Always
use a utensil which has approximately the same
base area as the heating area zone being used.
Always
use utensils which have more than sufficient
capacity for the amount of foor being cooked to prevent
boil over or spillage.
Always
use utensils with good fitting lids.
Always
use a low dome pressure cooker for best results.
saucepans with smooth flat bases. Aluminium pans with
coloured vitreous enamelled bases absorb heat and are
therefore more efficient in use. Almost equally as good
are saucepans with a thick machined aluminium base.
If using enamelled steel or cast iron pans, ensure that
they have good
smooth flat bases as otherwise the heat will not be
distributed evenly and damaging heat spots may be
created.
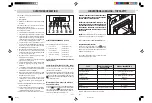
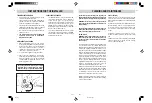
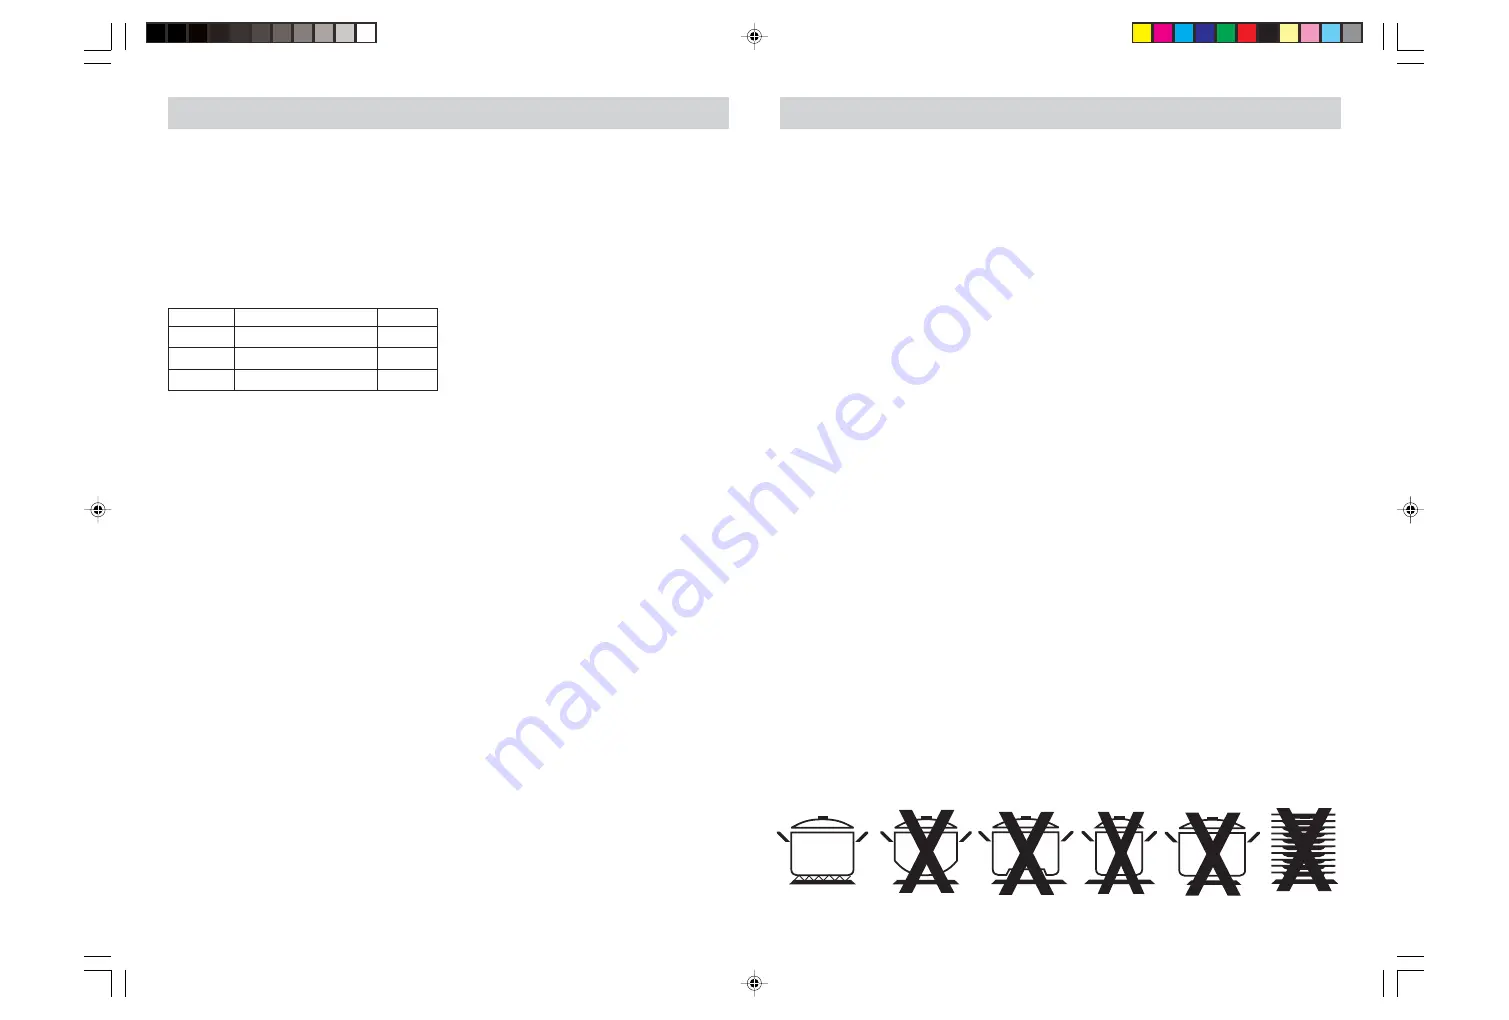
Good Quality
Flat Base
Convex
Base too
Concave
Base
Too
Small
Too
Large
No pan
Element
G93 Seg
9-05-2002, 10:50
12

