DISPLAY FUNCTIONS
Monitor Instruction Manual
TIME
DESCRIPTION
RPM
·
Display the rotation per minute with range from 0~ 199.
SPEED
·
Display current training speed. Maximum speed is 99.9 KM/H or ML/H.
TIME
·
Count up - No preset target, Time will count up from 00:00 to maximum
1:59:59 with each increment is 1 minute.
·
Count down – The console will countdown from preset time to 00:00:00 and
each preset increment or decrement will be 1 minute between 00:01:00 to 1:59:00.
DISTANCE
·
Accumulates total distance from 0.0 up to 999.9 KM or ML or count down from
preset value. User may preset target distance value with UP/DOWN key. Each
increment is 1.0KM or ML.
CALORIES
·
Accumulates calories consumption or count down during training from 0 to
maximum 999 calories.User may preset target Calories with UP/DOWN key.
WATT
·
Display the power consumption during training.
·
Display Range: 0~1999.
PULSE
·
User may set up target pulse value from 0~30 to 230 and the console buzzer will
beep when the actual heart rate is over the target value during workout.
BUTTON FUNCTION
TIME
DESCRIPTION
START
·
To start workout quickly or resume workout in Stop mode.
STOP
·
To stop/pause workout.
·
To clear up all settings.
·
Hold on this key for 2 seconds to reboot the console
DOWN
·
To adjust Distance, Calories, Heart-rate, Time, Age value down.
UP
Target Distance
Target Calories
Target Heart-rate
Target Time
Interval
ENTER
·
To adjust Distance, Calories, Heart-rate, Time, Age value up.
·
Fast access to Target Distance training mode.
·
Fast access to Target Calories training mode.
·
Fast access to Target Heart Rate training mode.
·
Fast access to Target Time training mode.
·
There are 3 programs: INTERVAL 10/20,INTERVAL 20/10, Custom.
·
T
o confirm settings or enter program.
OPERATION INSTRUCTION
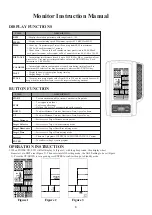
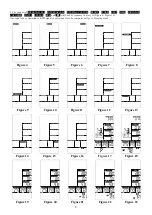
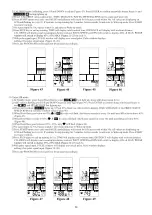
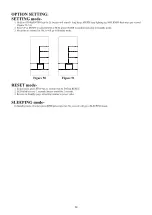
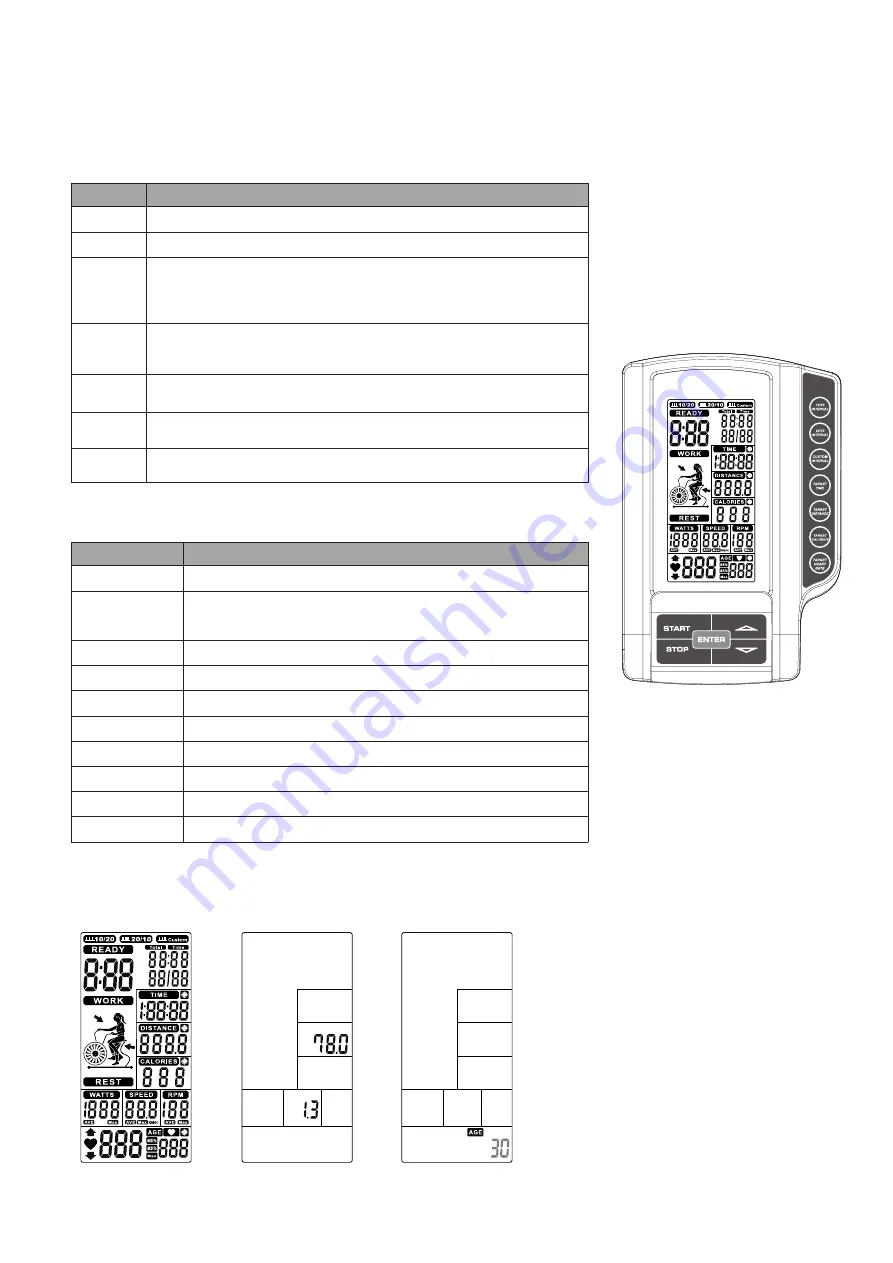
1. When POWER ON, LCD will full display 2s (Figure 1) with long beep sound, then display wheel
diameter 1s in DIST area (Figure 2). Then enter into AGE setting mode , the
AGE flashing to be set (Figure
3). Press the UP/DOWN to set age and press ENTER to confirm then go to Standby mode.
Figure 2
Figure 3
Figure 1
8


