background image

P/N: 501012500 


Loading the Ribbon 


(1)  Open  the  printer  top  cover  by  pressing  the 

top cover open tabs located on each side of 

the printer. 

(2)  Insert  the  paper  core  to  the  ribbon  rewind 

spindle. 

(3) Insert the left side of ribbon rewind spindle to 

the  ribbon  rewind  hub  first  then  insert  the 

right side of ribbon rewind spindle to the hole 

at the right side of ribbon mechanism. 


(4)  Push  the  print  head  release  button  to  open 

the print head mechanism. 

(5) Insert the ribbon to the ribbon spindle. 

(6) Insert the left side of ribbon supply spindle to 

the  ribbon  supply  hub  first  then  insert  the 

right side of ribbon supply spindle to the hole 

at the right side of ribbon mechanism. 


(7)  Pull  the  ribbon  through  the  print  head  and 

then stick the ribbon onto the ribbon rewind 

paper core. Keep the ribbon flat and without 

wrinkles. 

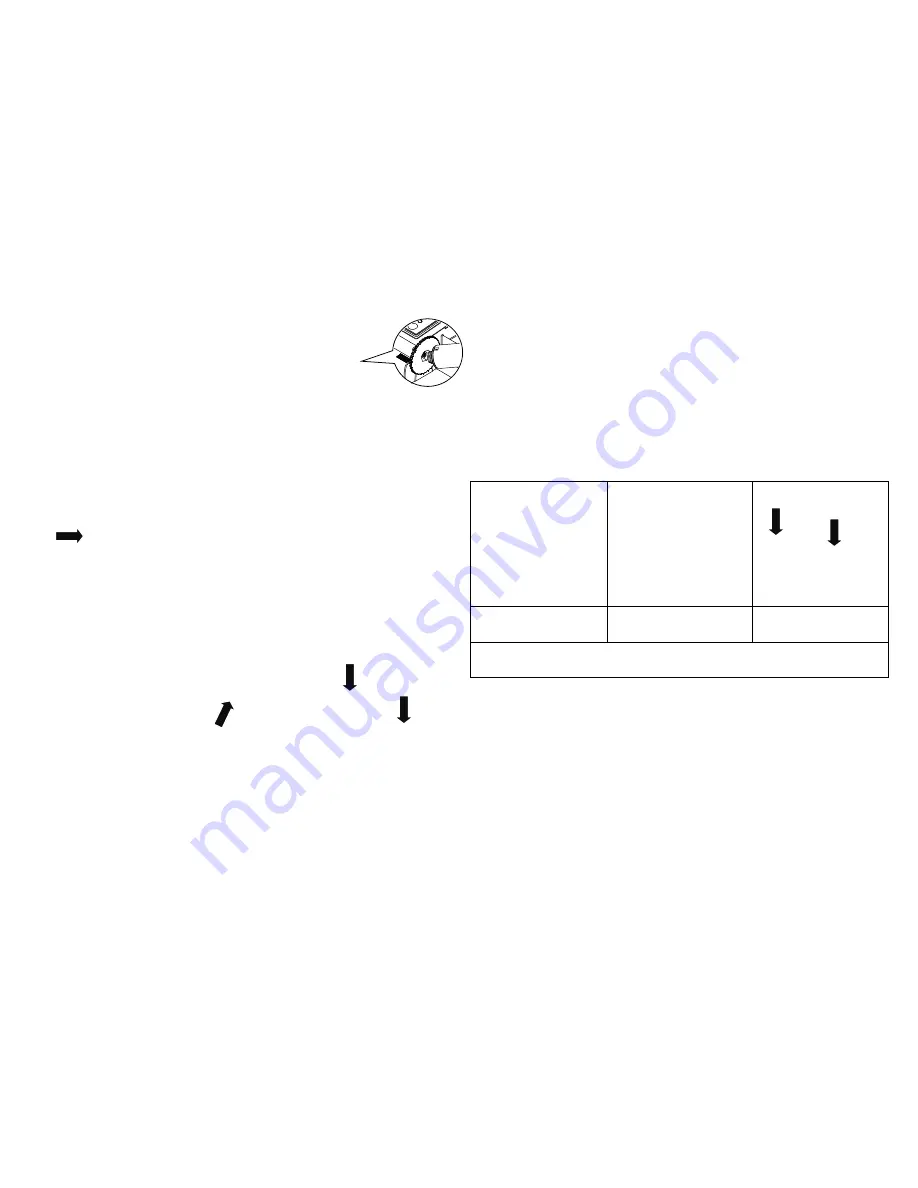
(8)  Turn  the  ribbon  rewind  hub  until  the  ribbon 

plastic  leader  is  thoroughly  wound  and  the 

black  section  of  the  ribbon  covers  the  print 

head. 

(9)  Close  the  print  head  mechanism  by  both 

hands  and  make  sure  the  latches  are 

engaged securely. 


Loading the Media 


(1) Open the printer top cover by pressing the 

top cover open tabs located on each side of 

the printer. 

(2) Insert the media supply spindle into the paper 

roll and use two fixing tabs to fix the paper roll 

onto the center of the spindle. 

(3)  Place  the  paper  roll  onto  the  paper  roll 

mount. (If your paper  width  is 4 inch,  you 

can remove the fixing tabs from the supply 

spindle.) 


(4) Push the print head release button to open 

the print head mechanism. 

(5) Feed the paper, printing side face up, through 

the  media  bar,  media  sensor  and  place  the 

label leading edge onto the platen roller. Move 

the media guides to fit the label width. 

(6)  Close  the  print  head  mechanism  by  both 

hands  and  make  sure  the  latches  are 

engaged securely. 

(7)  Use  “Diagnostic  Tool”  to  set  the  media  sensor  type  and  calibrate  the  selected  sensor.  (Start  the  “Diagnostic  tool”    Select  the  “Printer 

Configuration” tab   Click the “Calibrate Sensor” button ) Please refer to the diagnostic utility quick start guide for more information. 

Note: Please calibrate the gap/black mark sensor when changing the media. In case of changing the ribbon, the calibration process is not 

necessary.


Summary of Contents for LB-1000

Page 1: ...P N 501012500 ...

Page 2: ...P N 501012500 ...

Page 3: ...a a fita Eixo para Rolo de Etiqueta Estes itens dependem da configuração do produto e sistemas escolhidos Informações Gerais da Impressora Nota As interfaces representadas na imagem são apenas para sua referência Consulte as especificações do produto para confirmar a disponibilidade das interfaces Indicador Luminoso Chave Liga Desliga Tecla de Avanço Trava da Tampa Conector de Energia Interface RS...

Page 4: ... Para continuar imprimindo basta pressionar novamente o mesmo botão Trajeto percorrido pela Etiqueta e Fita de Impressão Eixo de fixação da fita de impressão Tampa da Impressora Guia de Fixação Engrenagem rebobinadora da fita de impressão Trava da Cabeça Térmica Eixo de Fixação da Bobina de Etiqueta Cabeça Térmica Eixo Rebobinador da fita de impressão Rebobinador da fita de impressão Rolo de Traçã...

Page 5: ...de forma segura Carregando o Rolo de Etiqueta 1 Abra a tampa da impressora pressionando os dois botões que se encontram em suas laterais 2 Insira o rolo de etiqueta em seu eixo de fixação e utilize os batentes plásticos laterais para centralizá lo 3 Coloque o rolo de etiqueta em seu suporte Para rolos com largura superior a 100mm será necessário remover os batentes laterias para acomodar o rolo de...

Page 6: ...óstico 3 Tabela de detalhamento das Funções da Impressora Função Descrição Calibrar Sensor Calibra o sensor especificado no campo Sensor de etiqueta do grupo de configuração da impressora Configurar interface Ethernet Configura o Endereço IP a Máscara de Sub rede e a Porta de entrada para a placa Ethernet Hora RTC Sincroniza o RTC da impressora com o PC Imprimir página de teste Imprime uma página ...

Page 7: ...P N 501012500 ...

Page 8: ...Ribbon Paper Core Label Spindle These items may be different depending on the product configuration Printer Overview Note The interface picture here is for reference only Please refer to the product specification for the interfaces availability LED Indicator Power Switch Feed Button Top Cover Open Tab Power Jack Socket RS 232C Interface Optional Centronics Interface Optional USB Interface Ethernet...

Page 9: ... a print job When the printer is paused the LED will be green blinking Press the button again to continue the printing job Ribbon and Media Loading Path Ribbon Rewind Spindle Printer Top Cover Fixing Tab Ribbon Rewind Hub Thermal Head Release Button Paper Roll Mount Print Head Ribbon Supply Spindle Ribbon Supply Hub Platten Roller Gap Sensor Media Guide Black Sensor Mark Media Bar Status LED Feed ...

Page 10: ...th hands and make sure the latches are engaged securely Loading the Media 1 Open the printer top cover by pressing the top cover open tabs located on each side of the printer 2 Insert the media supply spindle into the paper roll and use two fixing tabs to fix the paper roll onto the center of the spindle 3 Place the paper roll onto the paper roll mount If your paper width is 4 inch you can remove ...

Page 11: ...up are listed as below Function Description Calibrate Sensor Calibrate the sensor specified in the Printer Setup group media sensor field Ethernet Setup Setup the IP address subnet mask gateway for the on board Ethernet RTC Time Synchronize printer Real Time Clock with PC Print Test Page Print a test page Reset Printer Reboot printer Factory Default Initialize the printer and restore the settings ...

Page 12: ...P N 501012500 ...

Page 13: ... pueden ser distintos dependiendo de la configuración del producto Información general de la impresora Nota La imagen de la interfaz es solamente para referencia Consulte las especificaciones del producto para conocer la disponibilidad de las interfaces Indicador LED Interruptor Principal Botón de Alimentación Pestaña de apertura de la tapa superior Enchufe hembra de la Alimentación Interfaz RS 23...

Page 14: ... color verde Presione el botón de nuevo para continuar con el trabajo de impresión Trayectoria de carga de la cinta y los soportes Cinta Buje de rebobinado de la cinta Cabezal de impresión Núcleo del papel Soporte Barra del soporte Sensor de separación Rodillo de la bandeja Sensor de marcas negras Guía de soportes LED Indicador Botón de Alimentación Eje de rebobinador de la cinta Tapa superior de ...

Page 15: ...la tapa superior de la impresora presionando las pestañas de apertura de dicha tapa situadas a cada lado de la impresora 2 Inserte el eje de suministro de soportes en el rollo de papel y utilice dos pestañas de fijación para asegurar dicho rollo en el centro del eje 3 Coloque el rollo de papel en el soporte para rollo de papel Si el ancho del papel que es de 10 16 cm 4 pulgadas puede quitar las pe...

Page 16: ...l grupo Printer Function Función de la impresora Función Descripción Calibrar sensor Calibra el sensor especificado en el campo Media Sensor Sensor de soportes del grupo Printer Setup Configuración de la impresora Configuración Ethernet Configura la dirección IP la máscara de subred y la puerta de enlace para la interfaz Ethernet integrada Hora RTC Sincroniza el reloj de tiempo real de la impresor...

Reviews: