2
8
Making Splice or Scarf Joint Cuts
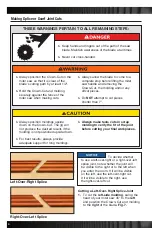
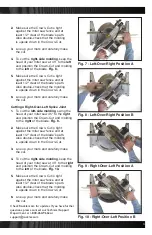
Cutting a Left-Over-Right Splice Joint
1. To cut the left-side molding, swing the
head of your miter saw 45° to the left
and position the Crown-Cut and molding
to the right of the blade. Fig. 7.
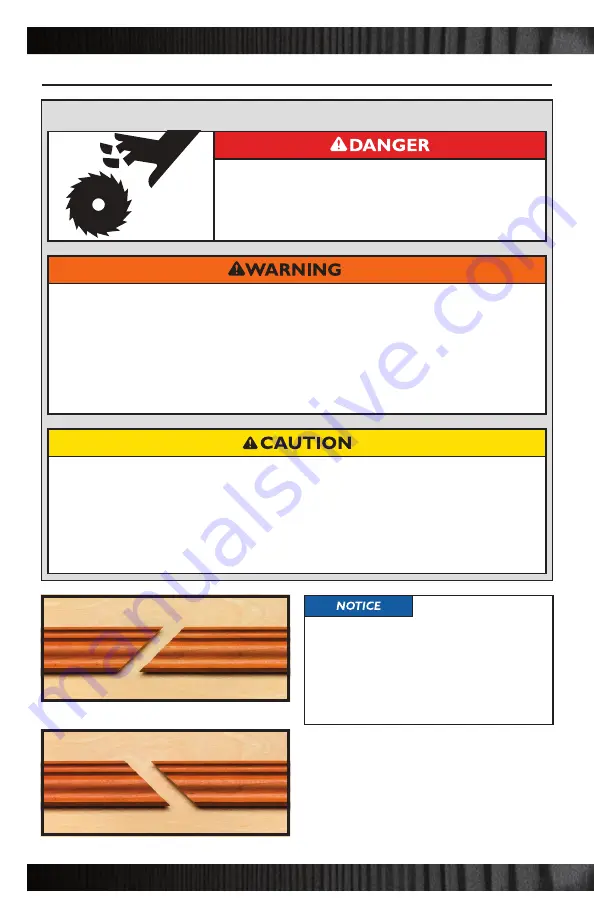
Right-Over-Left Splice
Left-Over-Right Splice
To decide whether
to use a left-over-right or a right-over-left
splice joint, note whether the joint will
be visible to the right or to the left when
you enter the room. If it will be visible
on the left, use the left-over-right cut.
If it will be visible to the right, use
the right-over-left cut.
> Always position the Crown-Cut on the
miter saw so that it is clear of the
blade’s cutting path by at least 1/2”.
> Hold the Crown-Cut and molding
securely against the fence of the
miter saw when making cuts.
> Always position moldings upside
down on the Crown-Cut. The jig will
not produce the desired results if the
molding is not positioned upside down.
> For best results, always provide
adequate support for long moldings.
> Always allow the blade to come to a
complete stop before lifting the miter
saw handle and removing the
Crown-Cut, the molding and/or any
offcut pieces.
> Do NOT attempt to cut pieces
shorter than 7”.
> Always make tests cuts in scrap
molding to verify the fit of the joint
before cutting your final workpieces.
THESE WARNINGS PERTAIN TO ALL REMAINING STEPS:
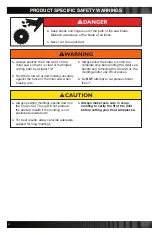
> Keep hands and fingers out of the path of the saw
blade. Maintain awareness of the blade at all times.
> Never cut cross-handed.


