Mounting, connection and commissioning
19
CP9xx_D00349_08_M_XXEN/02.2022
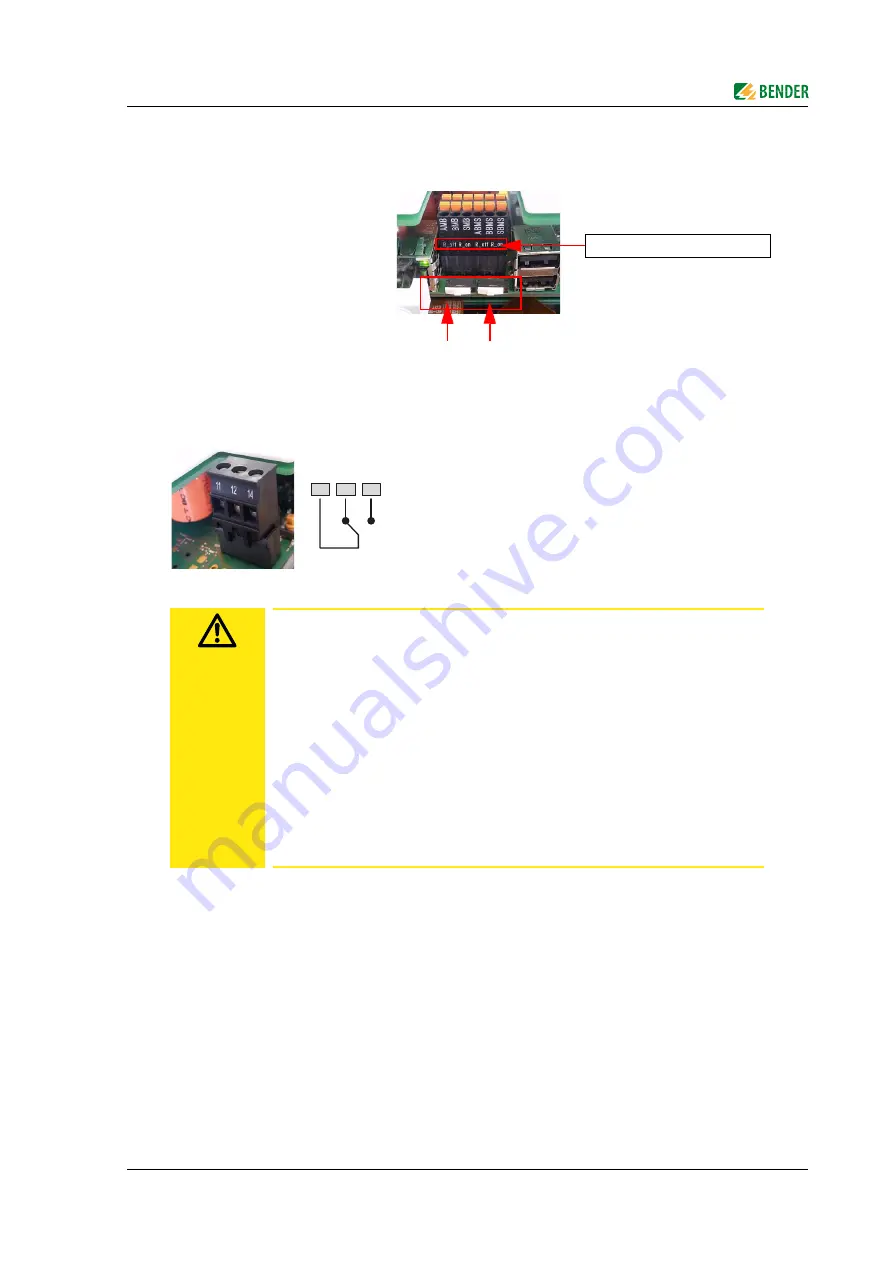
3. If the CP9xx is located at the beginning or end of the respective bus (Modbus RTU and BMS),
the respective terminating switch of the device (
7
) must be switched to "ON".
4. Establish connection with PC and BCOM:
Connect the CP9xx device to the PC network using an Ethernet cable (
5
).
5. Link digital inputs (see chapter 4.3).
6. Connect relay (if necessary).
7. Connect power supply
Connect terminals A1/+ and A2/- (
4
) to the power source. Connect PE to earth.
The CP907 can also be supplied via Ethernet (PoE).
The PoE switch must be earthed.
For fur-
ther details, see technical data.
8. Attach the front plate to the built-in flush-mounting enclosure.
CP907 is mounted. Subsequent steps for CP915 or CP924 only
Functional earth
The device must be earthed. Without connection of the functional earth, the de-
vice function is not guaranteed.
Electrostatic sensitive components
Observe the precautions for handling electrostatic sensitive devices.
Damage to components
Do not remove the device from the enclosure while it is in operation. Disconnect
the device from the supply voltage and from the network (Ethernet) beforehand.
Damage to the device due to incorrect connector plug
Connector plugs of other devices may have different polarity. Make sure to use the
supplied connector plug.
Protective separation
The power supply must be properly separated from hazardous voltages and meet
the limit values of UL/CSA 61010-1, clause 6.3.
Modbus RTU BMS
Termination
Modbus RTU
BMS bus
R_off R_on | R_off R_on
11 12
14
N/C
N/C
operation contacts
11-12
(the alarm relay is energised during normal operation).
N/O
N/O
operation contacts
11-14
(the alarm relay is de-energised during normal operation).
CAUTION


