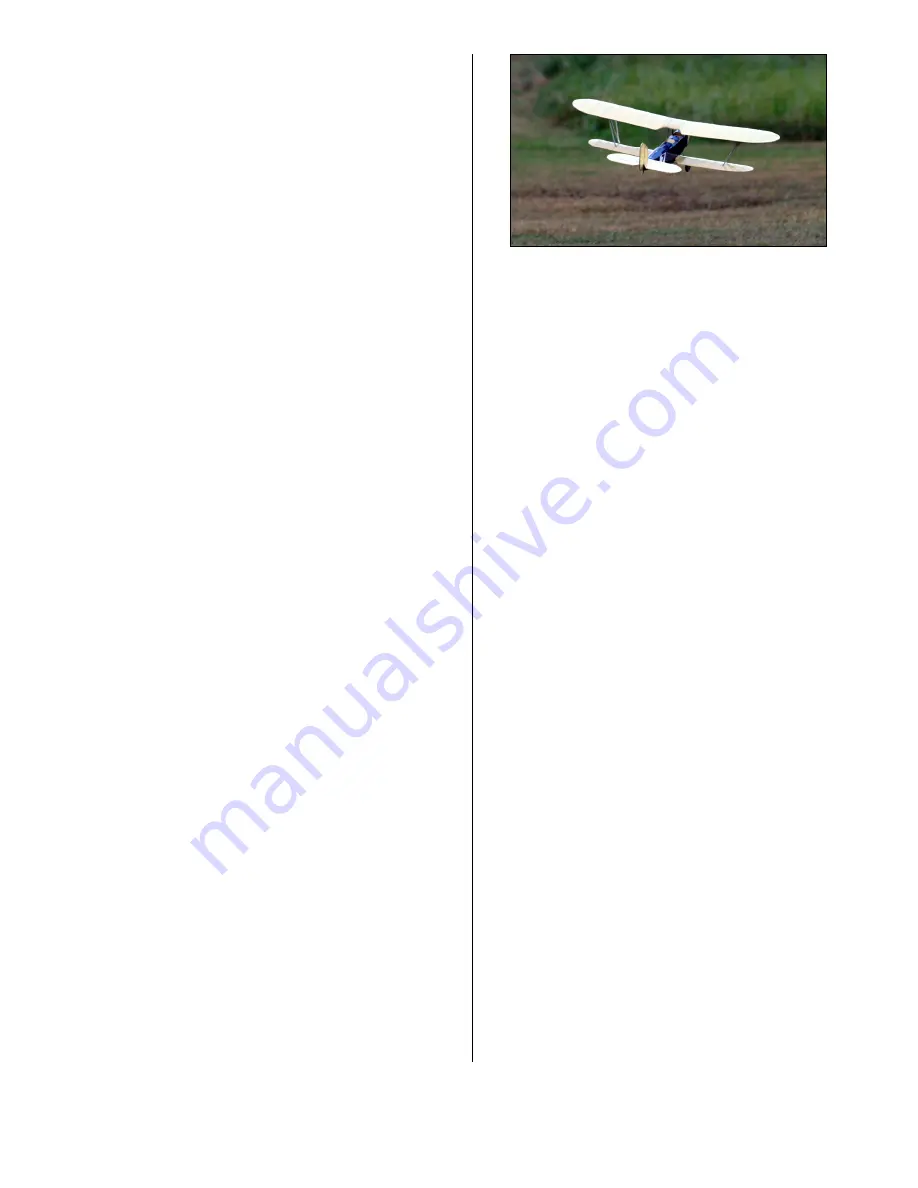
Supermarine Sparrow I 36”
Copyright© 2004-11 M.K. Bengtson All Rights Reserved Rev 07/11
ASSEMBLY
Wing
The lower wings are epoxied in place first propping their
wing tips up by the appropriate amount for dihedral.
The top wing is attached using 1/8” cowl cabane struts
and Bass “N “ wing struts.
Adding Detail Of Control Horns On The Pushrod
Ends
Slip the control horns onto the wire pushrod ends and,
with both the servos and the control surfaces centered,
glue the horns into their slots.
Undercarriage
Bind and cyano the u/c legs in place and bind and
solder them to the axle. Alternately, Kevlar thread and
CA glue also work well.
Fit The Access Hatch
Fit the access hatch; add the battery pack and your
model is finished.
Balancing The Model
Balance the model at the point shown. It is best to
position the battery to do this operation.
FLYING
Mike Stanley the prototype builder, reports: ”The
Sparrow is a beauty to fly, first flight was ROG from
asphalt as soon as you apply power the tail comes up
and it rolls perfectly straight on it wheels for about 8 to
10 feet before it lifts itself (no up elevator required) up
off the runway. I needed 2 clicks of right trim and off we
went. After a slow steady climb to about 60 feet gave
her full throttle and pointed her straight up until stall
(probably around 120 to 150 feet) she dropped over to
the left and the nose pointed straight down, the plane
fell about 8 feet and straightened out on its own.
Loops are very comfortable from level flight and
predictable, half to a quarter throttle flying is no problem
using 8 cell Kan 1050mah and a castle creations Pixie-
P20. Left and right turns are very flat causing me to
apply a little up elevator even when it wasn't needed.
With the speed 300 and 4:1 gearbox you can slow the
plane down then turn hard left then let loose of the left
stick (the motor rotation direction) while applying full
throttle and she will torque roll one time then straighten
out, a product of 8 cells I would say.
I'm using 50% throws on my JR Radio which works out
to about 3/8" both direction for the rudder and using
40% throws for the down elevator (1/4") with 60% up
elevator (1/2"). I'm a thumb flyer and always fly within
1/8" of center on the sticks (very light handed) if that
makes since. Also on 8 Kan 1050mah 12 to 15 minutes
of regular flying. After climbing to a safe altitude and
cutting off the motor the plane has a very slow and
predictable rate of glide.
”
The most important details for proper flight operations
are:
1. CG location. Tail-heavy models never fly well
or at all.
2. Down and right thrust
3. Straight and non-warped wings. (3/8” of
washout is OK to put into the wing tips)
4.
Be sure you assemble and lube the gearbox so
that it is not binding. A binding gearbox will rob
most of your batteries power.
CONTACT INFORMATION
Distributed by:
Bengtson Company
e-mail: sales@aerodromerc.com
Web Site: www.aerodromerc.com


