45
Disassembly Procedure
The following information describes the procedure for removing and accessing various
parts of the phone.
Rear Case and Main PCB Disassembly
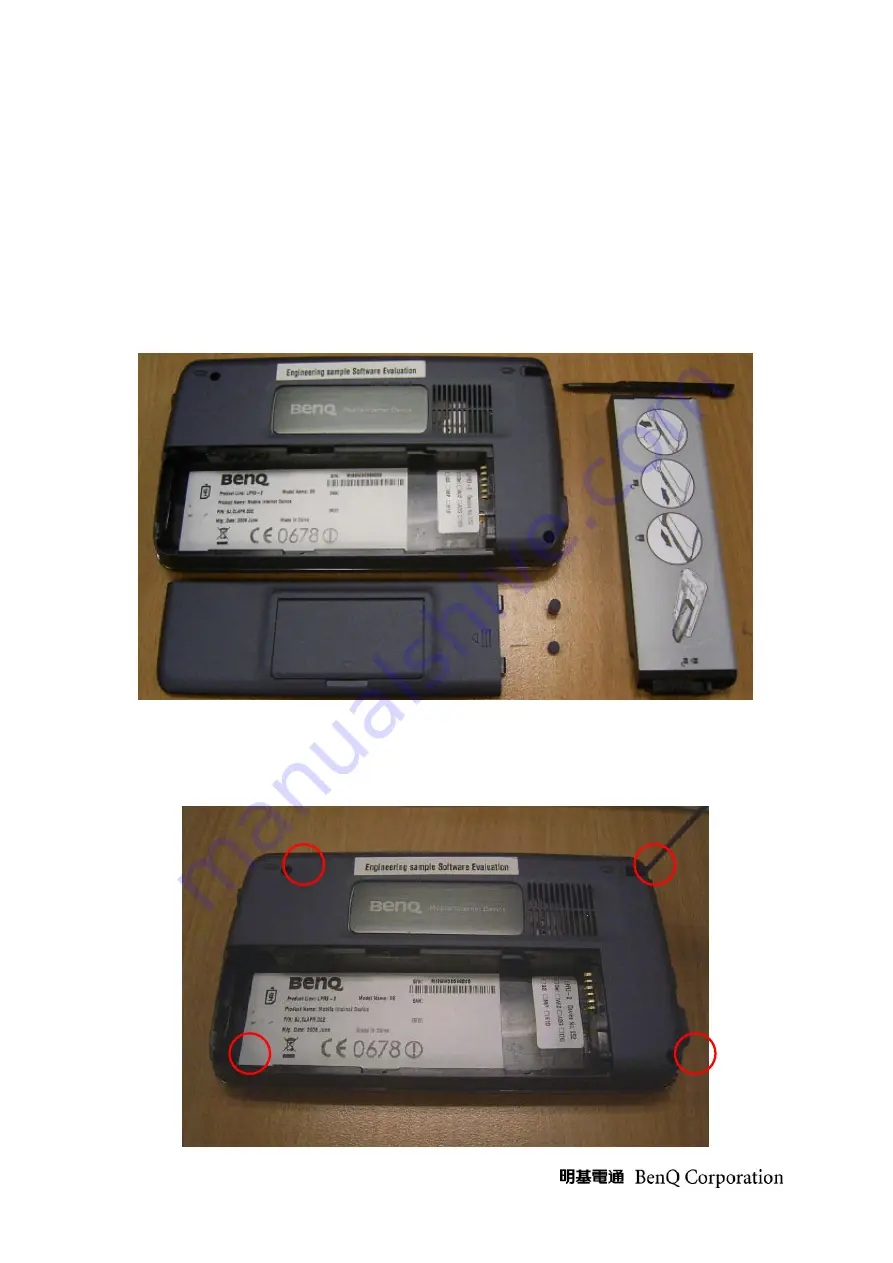
1.
Turn off power and remove attachments. (shown in following figure)
(1) Screw cap × 2 (2) battery cover (3) battery (4) stylus
2.
Screw off four screws between rear case and front case.
(1)
(2)
(3)
(4)
Summary of Contents for Aries Lite
Page 16: ...16 2 1 2 Click on Next 2 1 3 Choose to accept the agreement and click Next ...
Page 17: ...17 2 1 4 Installing 2 1 5 Install complete ...
Page 20: ...20 2 5 5 Formatting USB disk 2 5 6 USB disk formatted and click Yes ...
Page 36: ...36 Disassembly Assembly Exploded view ...
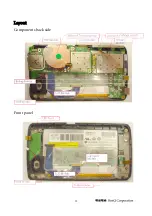
Page 39: ...39 Layout Components back side Front panel ...
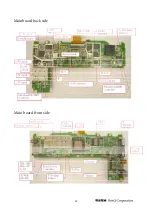
Page 40: ...40 Mainboard back side Main board front side ...
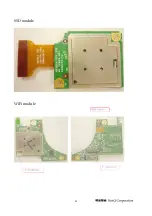
Page 41: ...41 SSD module WiFi module ...
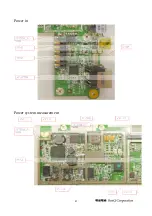
Page 43: ...43 Power in Power system measurement ...
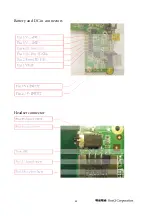
Page 44: ...44 Battery and DC in connectors Headset connector ...
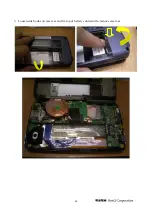
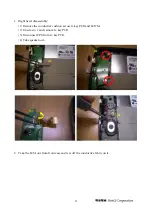
Page 46: ...46 3 Loosen side hooks on case rear and fix top of battery connector to remove case rear ...
Page 52: ...52 14 Main PCB finished Front Case Disassembly ...
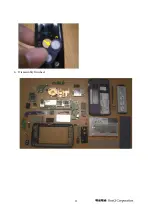
Page 55: ...55 4 Disassembly finished 5 ...


