P
ag
e
46
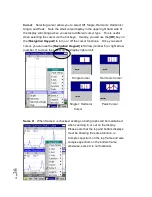
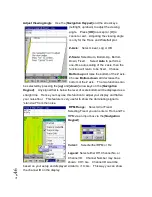
Adjust Viewing Angle
: Use the [
Navigation Keypad
] and the arrow keys
(left/right, up/down) to adjust the viewing
angle. Press [
OK
] to accept or [
C
] to
cancel or exit. Adjusting the viewing angle
is only for the Trace and Waterfall plot.
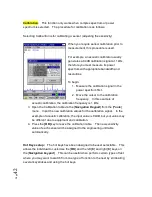
Z-Axis
: Select Linear, Log or dB
Z-Scale:
Select Auto, Bottom Up, Bottom
Down, Fixed. Select
Auto
to perform a
one-time auto scaling of the z axis, then the
function will return to be fixed. Choose
Bottom up
will raise the bottom of the Z axis.
Choose
Bottom down
will decrease the
bottom of the Z axis. The two functions can
be selected by pressing the [
up
] and [
down
] arrow keys on the [
Navigation
Keypad
]. Any signal that is below the level of scale bottom will be displayed as a
straight line. Hence you may use this function to adjust your display and flatten
your noise floor. This feature is very useful to show the dominating signal to
“stand out” from the noise.
RPM Range:
Select All or Fixed
.
Selecting Fixed, you can enter a From and To
RPM via an input box via the [
Navigation
Keypad
].
Cursor:
Select either RPM or Hz.
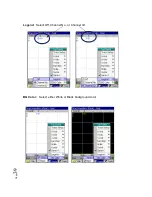
Legend
: Select either Off, Channel No. or
Channel ID. Channel Number may be as
shown: CH1: Gs. Channel ID would be
based on your setup and displayed similar to +1X: Gs. This way you can show
the channel ID on the display.
Summary of Contents for Fieldpaq
Page 5: ...Page 4 ...
Page 54: ...Page 53 Orbit x y ...
Page 61: ...Page 60 ...
Page 104: ...Page 103 Power Spectrum Time Waveform Bearing Spectrum ...
Page 199: ...Page 198 ...
Page 200: ...Page 199 DVF specifications Maximum frequency band Maximum resolution Maximum file size ...
Page 204: ...Page 203 Done ...
Page 206: ...Page 205 5 Start the Data Explorer Program 6 Select File Import ...
Page 215: ...Page 214 ...
Page 222: ...6 ...


