26
Bentone BFG1
!
When servicing/replacing components which affect the combustion, gas side
leakage analysis and check should be performed on the system.
K
I
J
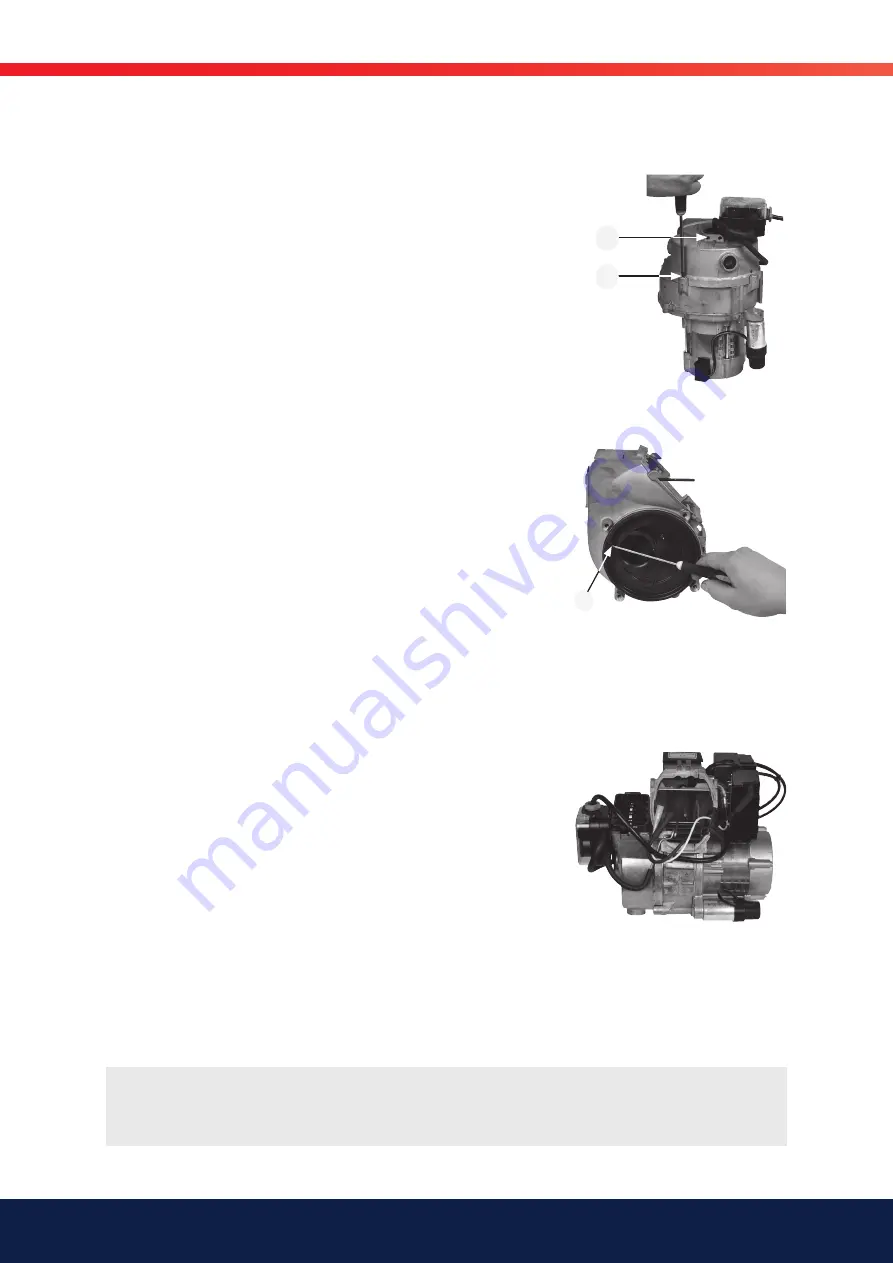
5.1.3 Air intake and inlet cone service
1.
Switch off the main current, disconnect the Eurostecker from the
burner and turn off the gas.
2.
Loosen the screw assembling the front piece of the burner and the fan
housing, but not more than that the fan housing can be removed from
the front piece. Disconnect the cables to the multiblock.
3.
Remove the fan housing from the front piece and pull it backwards
until the cables to the ignition electrode and ionisation electrode can be
loosened.
4.
Loosen the screws (K) holding the air switch, 2 pcs. Remove the air
switch.
5.
Loosen the screws (I) holding the air intake, 3 pcs.
6.
Remove the air intake.
7.
Loosen the screw (J) holding the inlet cone and note the inlet cone
position.
8.
Remove the inlet cone from the fan housing.
9.
Check the function and appearance of the different components in the
air regulation. Clean and replace the components as needed.
10. Assemble the burner. Be careful when installing the inlet cone - install it
in the same position as it was before being removed.
11. Fit the O-ring in the groove between the fan housing and inlet cone.
Ensure that it is properly located in the groove and is not damaged
when the air intake is fitted.
12. Install the Eurostecker; switch on the main current and open the gas flow.
13. Start the burner and check the combustion*.
5.1.4 Fan wheel check
1.
Switch off the main current, disconnect the Eurostecker from the
burner and turn off the gas.
2.
Loosen the screw assembling the front piece of the burner and the fan
housing, but not more than that the fan housing can be removed from
the front piece. Disconnect the cables to the multiblock.
3.
Remove the fan housing from the front piece and pull it backwards
until the cables to the ignition electrode and ionisation electrode can be
loosened.
4.
Visually check the fan wheel. Carefully rotate the fan wheel with your
fingers or a tool.
5.
If possible, carefully clean the fan wheel if it is not heavily soiled.
6.
If thorough cleaning is deemed necessary, proceed to Fan wheel
service. If cleaning is not necessary, assemble the burner.
7.
Install the Eurostecker, switch on the main current and open the gas flow.
8.
Start the burner and check the combustion.
Summary of Contents for BFG 1 H1
Page 13: ...13 Bentone BFG1 4 3 5 1 6 2 10 16 9 15 14 13 7 8 22 11 12 2 7 Description ...
Page 47: ...47 Bentone BFG1 Alt 1 Acc to DIN 4791 Alt 2 Alt 3 8 2 Wiring diagram ...
Page 54: ......
Page 57: ......
Page 58: ......
Page 59: ......
Page 60: ...Enertech AB P O Box 309 SE 341 26 Ljungby www bentone se www bentone com ...


