USE
9
2 USE
2.1 Initial settings
The remote control was designed to ensure user-friendliness even
with no special programming.
To activate, just install batteries and set current time.
Battery insertion
The remote control is powered by two AAA batteries (1.5 V) housed
at the back, under a cover.
Should you notice a poorer reception or if display information fades
out, the batteries must be changed.
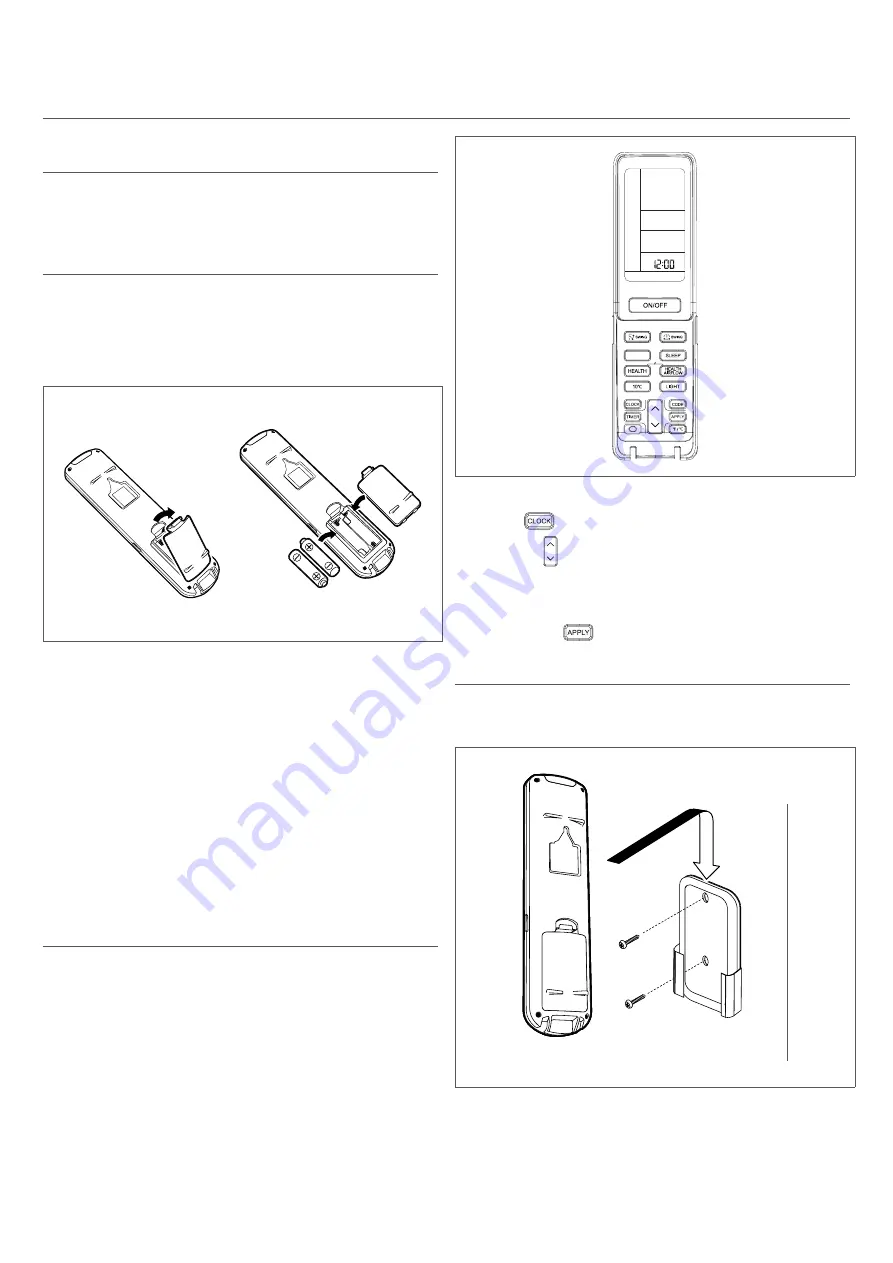
To fit or change batteries:
— remove the cover by pressing it down and lifting it up
— if present, remove old batteries
— fit new batteries according to proper polarity
9
Two 1.5V AAA batteries are supplied with the unit for its first
set-up.
9
Never mix and match new and old batteries or different types of
batteries.
9
When you remove the batteries, all settings in the remote control
will be deleted. Fit the new batteries and reprogram.
9
Do not dispose of old batteries in the environment. Always take
them to the suitable containers at points of sale.
time setting
The current time must be set before using the remote control:
FAN MODE
— open the door
— press
— work on
— select the current time
Each time the key is pressed, the values changes by 1. By keeping
the key pressed down, the value changes faster.
— confirm with
Wall mounting
The unit comes with a remote control support to be mounted on the
wall.
Fasten the support as follows:
— mark mounting hole positions using the support as a template
— drill holes in the marked positions
— fasten the support, using the supplied screws
— set the remote control in the support


