7
After having correctly completed installation,
power the controller up.
The display briefly shows the controller firm-
ware version. The standard display is then
shown.
b
For correct operation, enter the time and
date and then suitably configure the sys-
tem. Consequently, the first step involves
setting parameters [P1]/[P2]/[P22].
When the controller is next restarted, it is
ready to operate with the factory settings
(except for parameters [P1]/[P2]/[P22]).
SETTING THE TIME AND THE WEEKDAY
-
Turn the function selector to User Menu .
-
The display lists the various sub-menus
available to the user.
-
Turn the parameter selector to "Clock".
-
Press the Enter button to display the current
time.
-
Turn the parameter selector clockwise to
increase or anti-clockwise to decrease the
setting to the desired time.
-
Press the Enter button to enter your chang-
es.
-
Turn the parameter selector to "Weekday".
-
Press the Enter button to enter the sub-
menu.
-
Turn the parameter selector to select the
current weekday, then press the Enter but-
ton to enter your selection.
2.4
Commissioning
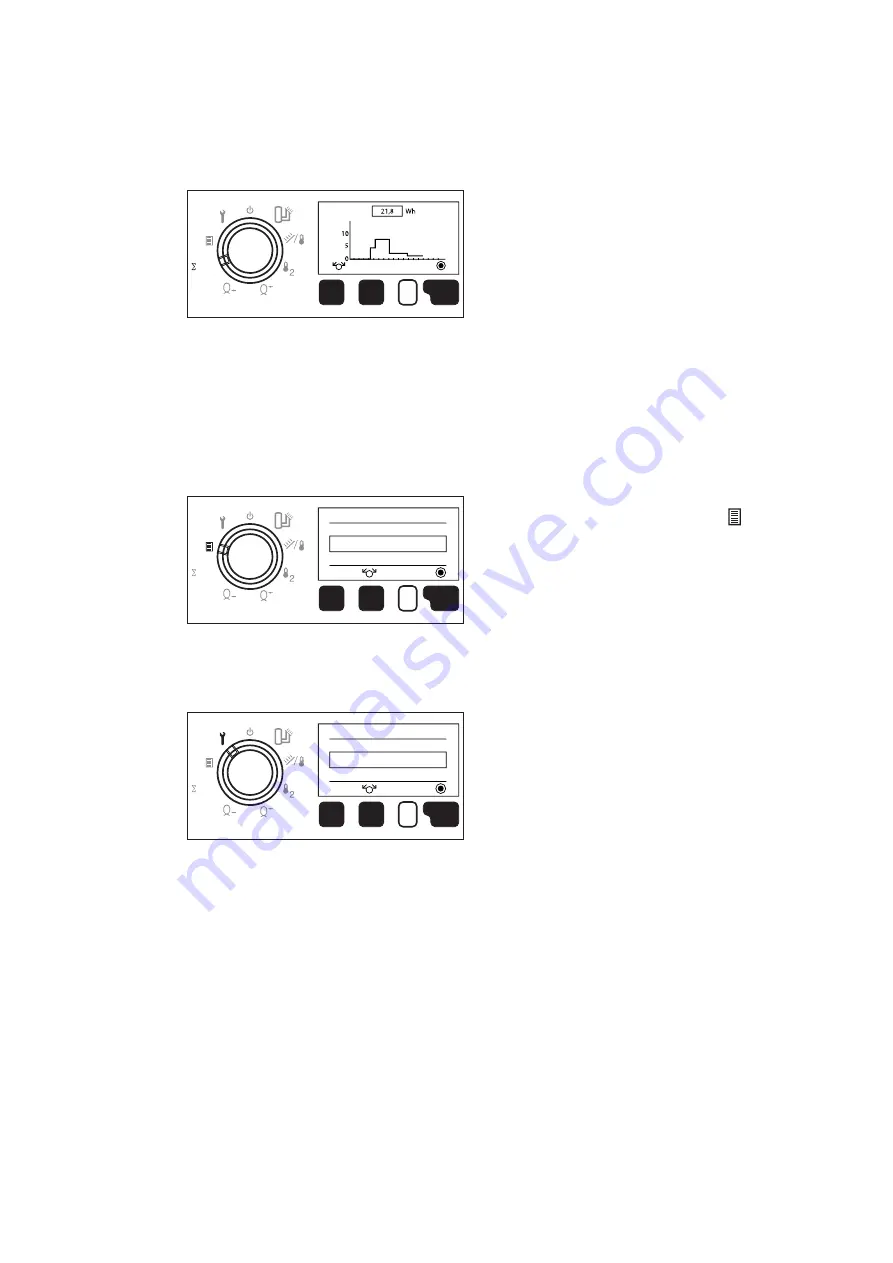
Thermal energy metering
-
The display shows the thermal energy pro-
duced by the collector/s. You can view
energy production for today, yesterday, this
week, last week, this month and last year
(the last 365 days).
-
The display switches automatically between
Wh, kWh and MWh.
User settings
-
The display shows the menus the user can
access to configure the system as needed.
Service settings
-
The display shows the menus the installer
can use to put the solar controller into ser-
vice.
-
A code (password) is required to access
these settings.
esc
kWh
Energy produced
today
delete
esc
User menu
Language
Clock
select
OK Press
kWh
esc
Service menu
Technician
Parameter
select
OK Press
kWh


