background image


Draft version 02  Operatots Manual / SmartMonitor SHIP L 


page 17 of 26 


13.2


Setup 

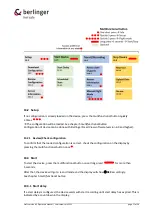
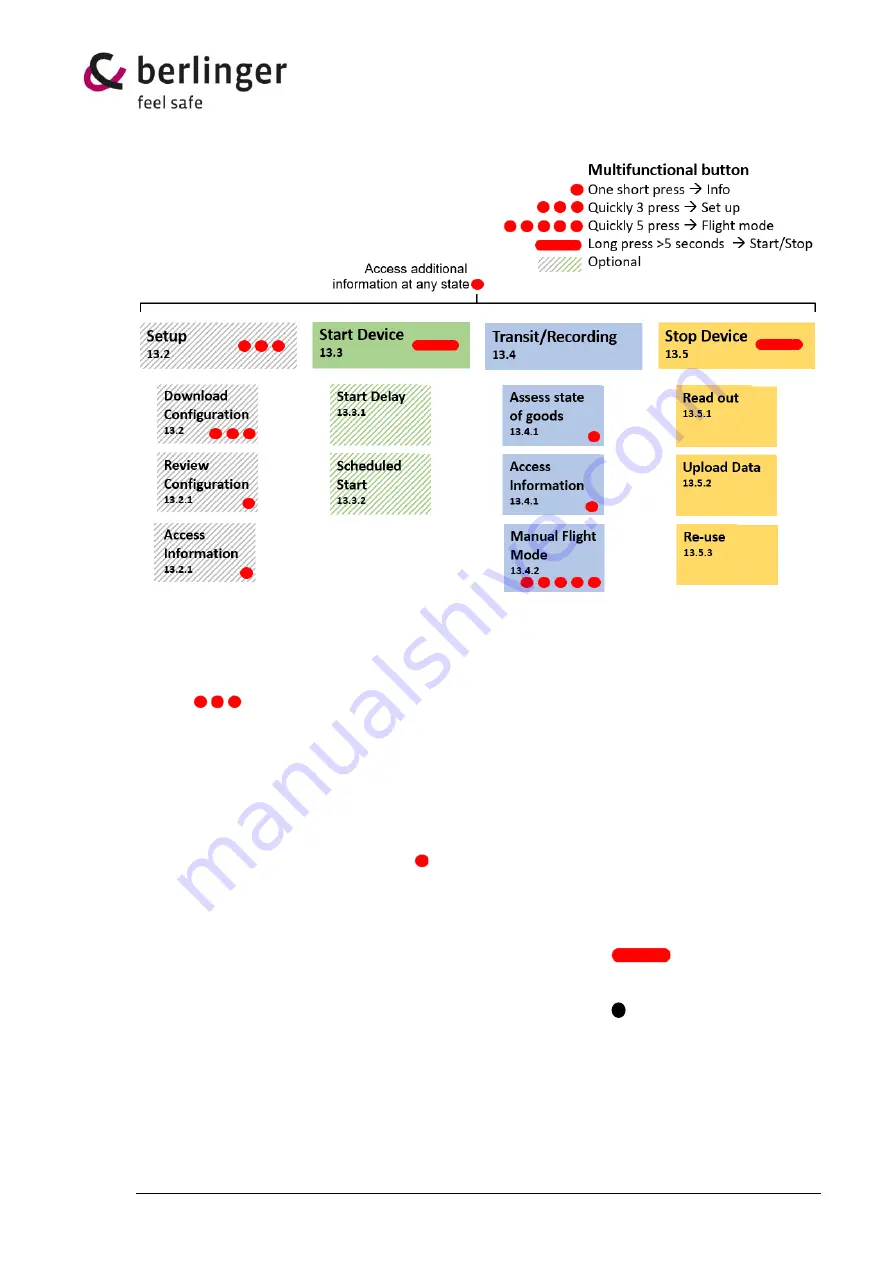
If no configuration is already loaded on the device, press the multifunctional button quickly  
3 times 

 The configuration will be loaded. See chapter 5

 multifunctional button 

Configuration of device can be done with Berlinger SmartView software (version 6.0 and higher). 


13.2.1


Review/Check configuration 

To confirm that the loaded configuration is correct, check the configuration on the display by 
pressing the multifunctional button once . 


13.3


Start 

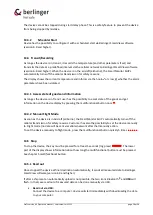
To start the device, press the multifunctional button once (long press) 

 for more than  

5 seconds.  

After that, the device will go to record mode and the display will show     

REC

 accordingly. 

See chapter 5

 multifunctional button


13.3.1


Start delay 

If a start delay is configured, the device waits with start recording until start delay has expired. This is 
indicated by a countdown in the display. 

Summary of Contents for SmartSystem SHIP L

Page 1: ...SmartSystem SHIP L Datalogger Operators Manual ...

Page 2: ...dity and pressure sensor 11 9 Tilt Shock Vibration 11 10 Configuration 12 11 Start Stop 13 11 1 Start 13 11 2 Stop 14 12 Start delay 15 12 1 Start SmartMonitor SHIP L with start delay 15 12 2 Start SmartMonitor SHIP L with scheduled start 15 13 Usage Process 16 13 1 Preparation 16 13 1 1 Battery check 16 13 1 2 Display check 16 13 1 3 Housing check 16 13 2 Setup 17 13 2 1 Review Check configuratio...

Page 3: ... Return device 19 14 Where to place SmartMonitor SHIP L 19 15 External Temperature Sensor 20 15 1 Connect an external sensor to SmartMonitor SHIP L device 21 16 Connect SmartMonitor SHIP L device to SHIP S devices 22 17 Troubleshooting 23 18 Disposal 25 19 Certification 25 19 1 Specific Information for North America FCC ISED 25 20 Standards 26 ...

Page 4: ...radiation risk of battery explosion X rays Avoid long term exposure to X rays risk of damage to the device Battery The battery cannot be removed or replaced SmartMonitor SHIP L device has a rechargeable Non lithium NiMH battery Risk of fire or explosion if the battery is replaced by an incorrect type Risk of explosion if the battery is disposed of in a fire or hot oven Leaving the battery in an ex...

Page 5: ...Draft version 02 Operatots Manual SmartMonitor SHIP L page 5 of 26 2 Quick Guide 2 1 Quick Start if configuration is already loaded on the device ...

Page 6: ...Draft version 02 Operatots Manual SmartMonitor SHIP L page 6 of 26 2 2 Quick Start if configuration needs first loaded to the device ...

Page 7: ...ional button was successful or not 4 Cover for ext sensor Protect plug for external sensor 5 QR Code Contains the serial number for M2M Machine to Machine 6 Serial number Serial number of the device 7 Device Type Indicates which type of device you have 8 Multifunctional button 1 x long press Start the device 1 x short press Info 3 x short press loading profile 9 Light sensor Measure the light sens...

Page 8: ...s that there is one or more alarm violation 4 Logging Modus OFF SmartMonitor SHIP L is ready to start REC SmartMonitor SHIP L is logging SmartMonitor SHIP L has stopped 5 7 digit display Information line see more in section 7 digit display 6 External readout Device ready for readout via USB or Bluetooth 7 Warning Symbol Additional warning for function 8 Cloud status Upload successful Upload not po...

Page 9: ...utton to operate Long press to multifunctional button One long press 5 sec to multifunctional button will start or stop the device 3 short press to multifunctional button Three short press to the multifunctional button will start setup process 1 short press to multifunctional button One short press to the multifunctional button device will show information on the display or skip to the next inform...

Page 10: ...ight ratio has changed That sensor can be enabled or disabled in the Berlinger SmartView software version 6 0 and higher Important Do not stick any label or tape over the light sensor 1 x short white flash Confirmation of an action or task 1 sec green flash Cancel Message Short press has released too early Green blinking when longpress is going on 1 x long green flash Longpress was successful mult...

Page 11: ... label or tape over the light sensor The sensor shall not get in close contact with volatile chemicals such as solvents or other organic compounds Especially high concentration and long exposure must be avoided Ketenes Acetone Ethanol Isopropyl Alcohol Toluene etc are known to cause drift of the humidity reading 9 Tilt Shock Vibration SmartMonitor SHIP L has a built in motion sensor to record tilt...

Page 12: ...ion If a new configuration is to be loaded it is configured in the Berlinger SmartView software version 6 0 and higher and then assigned to the device To load a defined and assigned configuration the multifunctional button on the SmartMonitor SHIP L device must be pressed 3 times in quick succession The display starts showing after press quickly 3 times following screen Start screen Test screen Co...

Page 13: ...the information START will be displayed as a ticker keep pressed the multifunctional button and hold the multifunctional button for at least 5 seconds As confirmation the green LED will flash for at least 2 sec If no start delay is configured the device goes directly into the Record modus and shows REC on the display as confirmation that the device is recording The large indicator on the screen or...

Page 14: ...STOP or the green LED lights for at least 2 sec As soon as the device has stopped the 7 segment display shows STOP Additionally the Stop symbol will be shown As confirmation the LED will flash 3 times short Device will start now the synchronisation process by uploading the remaining data Synchronisation in Synchronisation progress SYNC completed DONE Cloud Symbol is blinking ...

Page 15: ...igured a counter in minutes seconds will start counting down to 00 00 after that the device starts and goes to the Record modus 12 2 Start SmartMonitor SHIP L with scheduled start If a scheduled start is configured a counter in days hours minutes e g 01d14 32 start in 1 day 14 hours and 32 sec will be displayed on the 7 segment display By a short press to the multifunctional button the information...

Page 16: ...sfer interval of 6h at 30 C 60 days at a transfer interval of 6h To check the battery level press the multifunctional button once The battery level is displayed as follow Fully charged battery Device can be used for shipment Charged battery Battery needs to be charged Half charged battery Battery needs to be charged Low battery Battery needs to be charged Empty battery Battery needs to be charged ...

Page 17: ...view Check configuration To confirm that the loaded configuration is correct check the configuration on the display by pressing the multifunctional button once 13 3 Start To start the device press the multifunctional button once long press for more than 5 seconds After that the device will go to record mode and the display will show REC accordingly See chapter 5 multifunctional button 13 3 1 Start...

Page 18: ...e goods and get information on the device display by pressing the multifunctional button once 13 4 2 Manual Flight Mode As soon as the device is in Aircraft airborne the SmartMonitor SHIP L automatically turns off the cellular transmission for safety reasons Customer has also the possibility to set the device manually to Flight mode no data will be sent via cellular network after that manually act...

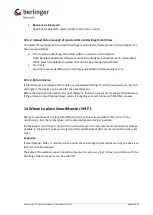
Page 19: ...are version 6 0 and higher the device can be used for the next shipment Before the device will be used for the next shipment follow the instruction at chapter Maintenance If the unit was rented from Berlinger return it to Berlinger in accordance with the RMA process 14 Where to place SmartMonitor SHIP L Berlinger recommends to place SmartMonitor SHIP L as close as possible to the product to be mon...

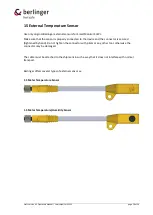
Page 20: ...operly connected to the device and the connector is secured tightened by hand Do not tighten the connector with pliers or any other tool otherwise the connector may be damaged The cable must be attached to the shipment in such a way that it does not interfere with normal transport Berlinger offers several types of external sensor as 1 5 Meter Temperature Sensor 1 5 Meter Temperature Humidity Senso...

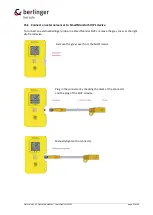
Page 21: ...rtMonitor SHIP L device To connect an external Berlinger probe to a SmartMonitor SHIP L remove the grey cover at the right site from device Remove the grey cover from the SHIPL device Plug in the connector by checking the mark at the connector and the plug of the SHIP L device Manually tighten the connector ...

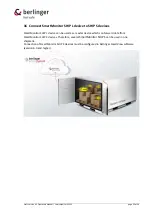
Page 22: ...SHIP S devices SmartMonitor SHIP L device can be used as a master device which can forward data from SmartMonitor SHIP S devices Therefore several SmartMonitor SHIP S can be used in one shipment Connection of SmartMonitor SHIP S devices must be configured in Berlinger SmartView software version 6 0 and higher ...

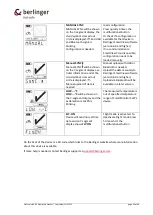
Page 23: ...ower to charge the battery BATTERY EXPIRED BAT EXPIRED will be shown on the 7 segment display and the battery symbol is blinking Exclamation mark is blinking Use of device is no longer possible due to safety reason Replace device PLUG IN PLUG IN will be shown on the 7 segment display and the exclamation mark is blinking Device is configured for an external sensor but no external sensor is detected...

Page 24: ...d symbol crossed out circle is displayed Manual upload of data is needed Manual upload with USB or Bluetooth is needed Upload the data manually to Berlinger SmartView software version 6 0 and higher Upload via Bluetooth will be available in a later version LOW C LOW C will be shown on the 7 segment display and the exclamation mark is blinking The measured temperature is out of specified temperatur...

Page 25: ... Canada applicables aux appareils radio exempts de licence L exploitation est autorisée aux deux conditions suivantes 1 L appareil ne doit pas produire de brouillage 2 L appareil doit accepter tout brouillage radioélectrique subi même si le brouillage est susceptible d en compromettre le fonctionnement Changes or modifications made to this equipment not expressly approved by Berlinger Co AG may vo...

Page 26: ...ipment should be installed and operated with minimum distance of 20 cm between the radiator and your body This transmitter must not be co located or operating in conjunction with any other antenna or transmitter Cet équipement est conforme aux limites d exposition aux rayonnements ISED établies pour un environnement non contrôlé Cet équipement doit être installé et utilisé avec un minimum de 20 cm...

Reviews: