Setup Program
59
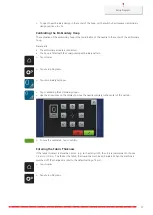
> Turn off the switch in the lower section to deactivate the securing stitches at the end.
– If the embroidery design doesn't have any programmed securing stitches, none are embroidered.
> Turn on the switch in the lower section to activate the securing stitches at the end.
– If the embroidery design doesn't have any programmed securing stitches, the securing stitches are
added and will be embroidered.
Adjusting the Thread Cut
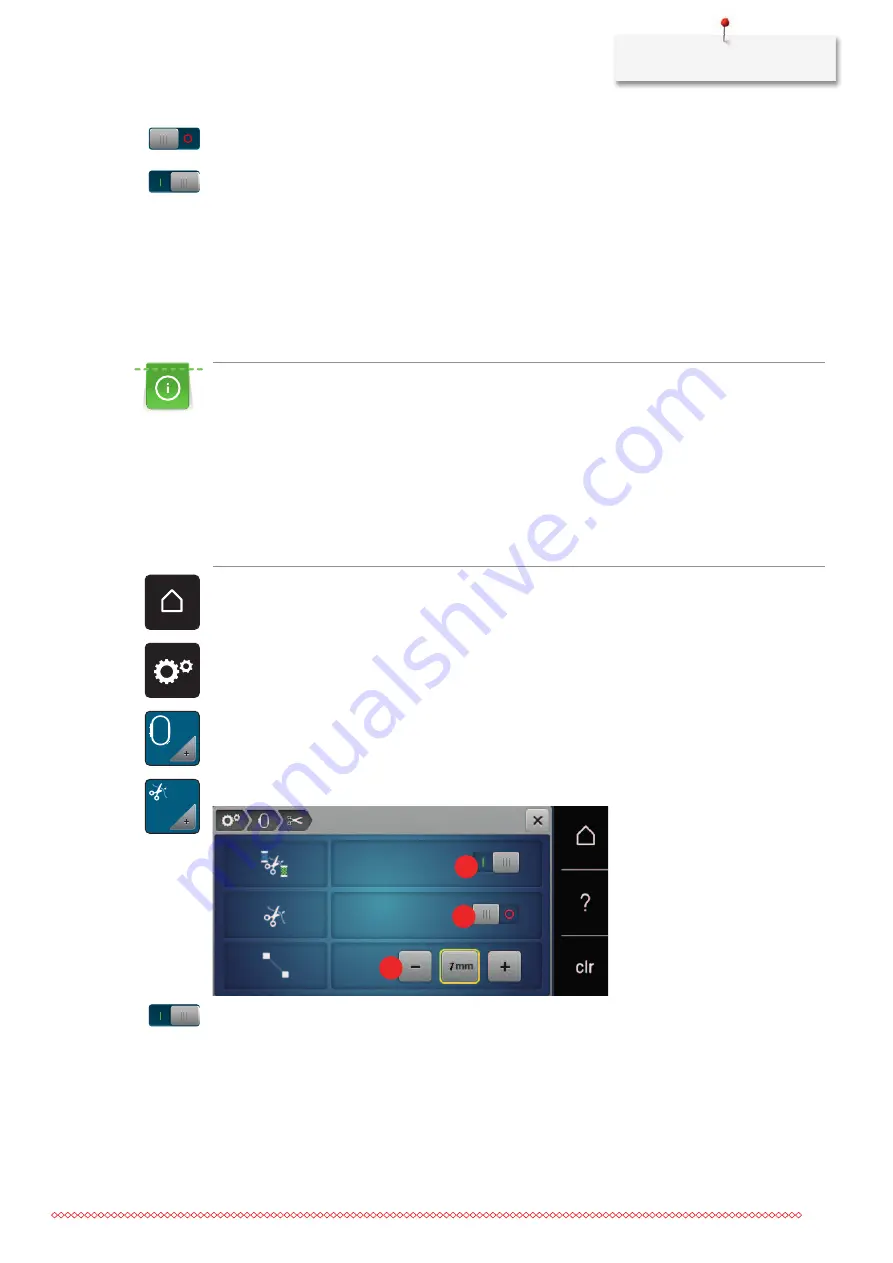
The settings for the thread cut can be customized. Deactivate the thread cut before a color change (1) or
adjust the length of the connecting stitch (3). The machine does the cutting of the connecting threads at the
determined length for you. First, set the length from which the connecting stitches are cut, and then select
the embroidery design.
The length of the connecting thread can be adjusted between 1 mm and 15 mm, the default setting is
6 mm. This means that all connecting stitches longer than 6 mm are cut automatically. If the value is
reduced to 1 mm, more thread cuts are carried out, it takes longer to embroider and more loose thread
ends can be seen on the wrong side of the fabric, especially when the function ‘Thread-away’ is activated
too. On the right side of the fabric there will be practically none or merely very short connecting stitches
which results in a wonderful stitch formation. Reducing the length of the thread cut to 1 mm is
particularly of advantage when embroidering texts where usually many short connecting threads occur.
When both sides of the embroidery designs are visible, it may be reasonable to not reduce the length of
the thread cut so much so that there won’t be too many loose thread ends on the wrong side of the
fabric. Loose ends get sewn over and can hardly be removed afterwards.
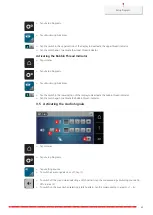
> Tap «Home».
> Tap «Setup Program».
> Tap «Embroidery Settings».
> Tap «Thread Cut Settings».
1
2
3
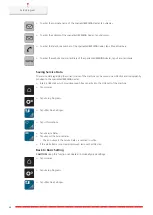
> To deactivate the automatic thread cut before changing a thread, tap the switch in the upper section of
the display (1).
> To activate the automatic thread cut before changing a thread, tap the switch in the upper section of the
display (1) again.
> Tap the switch in the middle section of the display (2) so that the machine will stop after about 7 stitches
and the remaining thread can be cut manually.
Summary of Contents for 570 QE
Page 1: ...BERNINA 570 QE User Manual...
Page 2: ......


