My
BERNINA
11
B E R N I N A S E W I N G M A C H I N E W O R K B O O K
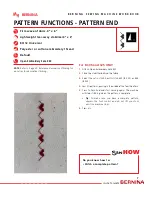
TRIPLE STRAIGHT STITCH
Notes:
The Triple Straight Stitch creates a very sturdy seam on
items that will receive a lot of wear.
It also creates beautiful bold topstitching with regular
weight thread that mimics the look of a heavier decorative
topstitching thread and a topstitch needle.
Triple Straight Stitch Seam
Triple Straight Stitch available only on
B 335 and 325
1.
Attach Reverse Pattern Sole #1.
2.
Select the Triple Straight Stitch #6 (B 335 and 325 ONLY).
B 215 may wish select Straight Stitch #1, but note that
stitch will not look the same.
3.
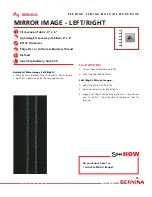
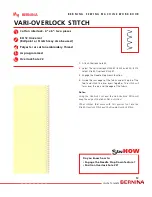
Place the fabric pieces right sides together.
4.
Position the edge of the fabric along the 5/8” mark on
the stitch plate.
5.
Sew the seam and press it open.
Triple Straight Stitch Topstitching
1.
Change to optional Edgestitch Foot #10 and adjust the
needle position to the far right.
• Note: If Edgestitch Foot #10 is not used, use Reverse
Pattern Sole #1. Place the edge of the sole along the
seam line and adjust the needle position to the far
left or far right.
• Note: The B 215 could create a similar look of heavy
topstitching by using a large needle and heavier
thread.
2.
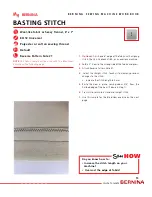
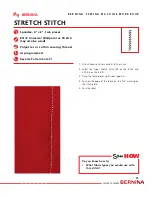
With the right side of the fabric up and with the guide
of the foot in the ditch of the seam, sew the length of
the seam from top to bottom.
3.
Adjust the needle position to the far left.
4.
Stitch a second time with the guide of the foot in the
ditch of the seam. Sew in the same direction as before.
Firm woven fabric, 4” x 6”, two pieces
80/12 Universal (for best results use a
Topstitch Needle to prevent looping)
Polyester or cotton embroidery thread
As directed in instructions
Reverse Pattern Sole #1
Full Shank Edgestitch Foot #10
(optional accessory)
HOW
Do you know how to:
• Adjust the needle position?
• Use the optional Edgestitch Foot #10?

