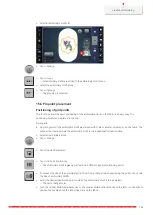
Embroidering preparation
142
Using paper-backed adhesive stabilizer
Paper-backed adhesive stabilizers are intended to be used for fabrics such as jersey and silk as well as for
embroidery projects which are not suited to be hooped in the embroidery hoop.
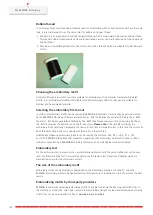
> Place the stabilizer in the hoop, so that the paper side is up.
> Use a a pair of scissors to score the paper and remove paper in the hoop area.
> Position the fabric to be embroidered on the stabilizer and press it on place.
> Remove any adhesive residue before starting the machine.
Using water-soluble stabilizer
For lace embroidery it is recommended to hoop 1 – 3 layers of water-soluble stabilizer in the embroidery
hoop. As the embroidery motif is not embroidered on the fabric, only the thread embroidered motif is
left. The embroidery motifs should be combined with short stitches otherwise the individual motifs may
fall out.
Water-soluble stabilizers are ideal for fine, sheer fabrics where other stabilizers may show through the
embroidery stitches as well as for lace embroidery. The stabilizer dissolves in water. Water-soluble stabilizers
are an ideal protection for looped pile fabrics preventing the loops from being damaged. It prevents threads
from sinking into the material and keeps the fabric pile from poking though the embroidery.
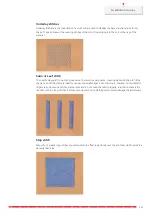
> Place the stabilizer on the underside of the material.
> Use adhesive spray to adhere stabilizer if necessary.
> For material with a pile, reinforce with additional, suitable stabilizer on the wrong side.
> Place all the layers together into the embroidery hoop.
> After dissolving, lay the motif down flat and let dry.
Preparing the embroidery hoop
The embroidery hoop consists of an outer and an inner hoop. There is a corresponding template for every
hoop. The area to be embroidered is marked in 1 cm (0.39 inch) squares. The center and corner points are
marked with holes. The required marks can be transferred to the material.
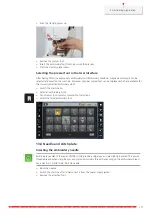
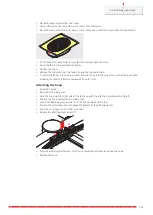
> Mark the center of an embroidery motif on the fabric, using a water-soluble pen.
> Loosen the screw on the outer hoop.
> Remove the inner hoop.
> Make sure that the arrows marks of both hoops match.
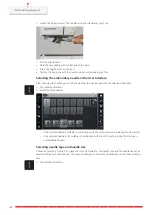
> Attach the template holder.
> Place the template in the inner hoop, so the BERNINA logo is at the front edge at the arrow mark until it
clicks into place.
Summary of Contents for Kaffe 770 QE PLUS
Page 1: ...BERNINA 770 QE PLUS KAFFE EDITION ...
Page 2: ......
Page 234: ......
Page 235: ......
Page 236: ...BERNINA recommends threads from 1068025 00A 04 2022 01 EN ...


